
Overview
MacromatiX has desktop-based reporting tools that allow the store managers to access in-depth reports on sales, transactions, and restaurant operational data.
Desktop Reporting
- From the Menu tab, navigate to Reporting
- Select the reporting task needed
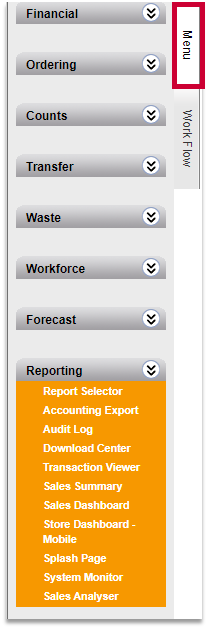
Fig.1 - Menu navigation
Report Selector
This reporting tool allows managers to generate a wide range of reports through use of report selection criteria.
- On the Menu tab, navigate to Reporting
- Select Report Selector

Fig.2 - Report Selector from menu
- From the Group drop-down menu, select the required report group
- From the list of reports, select one to generate
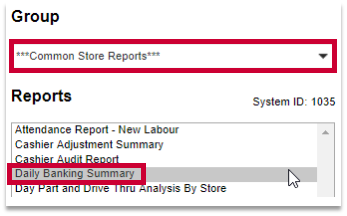
Fig.3 - Select group/report
- Select the dates based on the calendar/period options available for that report
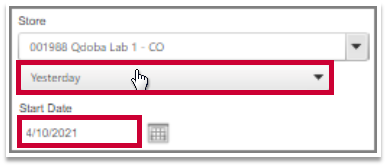
Fig.4 - Calendar/period settings
- Choose the report format type from the drop-down options, which will vary depending on the report
- Select the Generate button to pull up the report
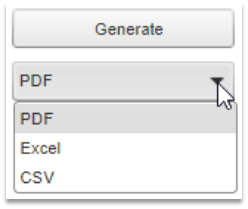
Fig.5 - Report format type
![]() There may be additional report selection options based on the specific report that was selected.
There may be additional report selection options based on the specific report that was selected.
Download Center
The Download Center is a location where reports will generate whilst managers continue with other tasks. Some reports are quite large, so they take time to run, and they can be retrieved here.
- From the Menu tab, navigate to the Reporting
- Select Download Center
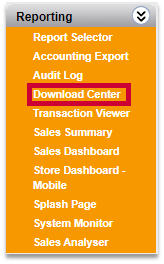
Fig.5 - Download Center from menu
- Once the report is listed in the Download Center main panel, you can choose to download it, delete it, or email it
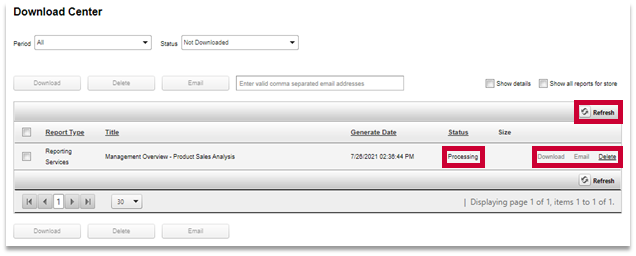
Fig.6 - Download Center main panel
![]() You may need to select the Refresh button for the report to display the updated status.
You may need to select the Refresh button for the report to display the updated status.
Transaction Viewer (TV)
The Transaction Viewer (TV) is a sales analysis tool that provides an electronic trace of POS transactions. Store managers can use this feature to look at specific tickets/transactions long after the POS day has been finalized.
- From the Menu tab, navigate to the Reporting
- Select Transaction Viewer
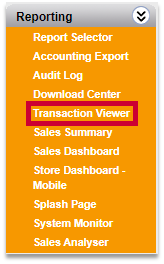
Fig.6 - Transaction viewer from menu
The functionality is designed to provide the store managers with visibility of transaction-level detail for all of the sales. The Transaction Viewer has a range of search functionality, so that the details for a past transaction can be found.
- Select the Start Date and End Date
- Select Search
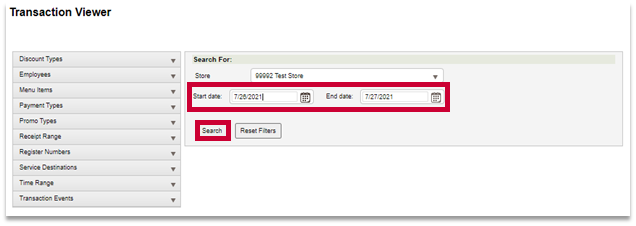
Fig.7 - Select date range for Transaction Viewer
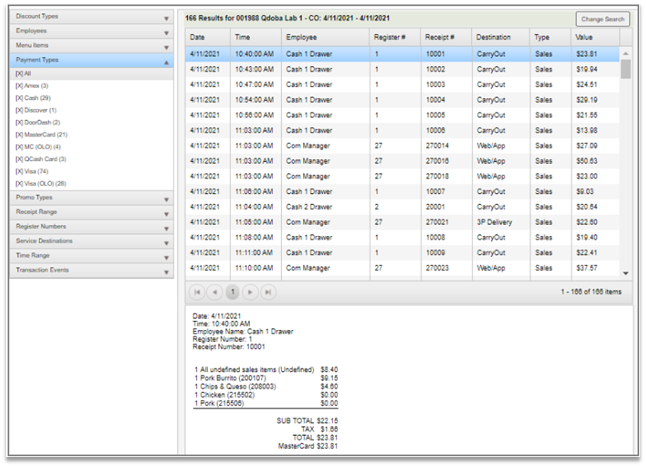
Fig.7 - Transaction viewer dashboard
![]() The filters on the left hand side can be selected to look at specific transactions types. If you select a different filter after initially searching, the date selector will display, and you will need to select search again for the new query.
The filters on the left hand side can be selected to look at specific transactions types. If you select a different filter after initially searching, the date selector will display, and you will need to select search again for the new query.
Audit Log
The Audit Log Viewer allows users to track activities that have been completed and on which data. This can be used for security purposes as well as quality assurance.
- Audit events for the Cash management audit category:
-
-
Cash deposit inserted
-
Cash Deposit updated
-
Cash Deposit deleted
-
Add new cash deposit
-
Verify audit record
-
Edit cash deposit
-
Verify audit record
-
Delete cash deposit
-
Verify audit record
-
- From the Menu tab, navigate to the Reporting
- Select Audit Log
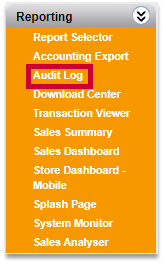
Fig.8 - Audit Log from menu
- Select Cash Management from the Type drop-down list
- Select the appropriate financial activities from the list
- Select the Start Date and End Date
- Navigate to the store selector section and select store(s)
- Select the Search button to view the audit logs
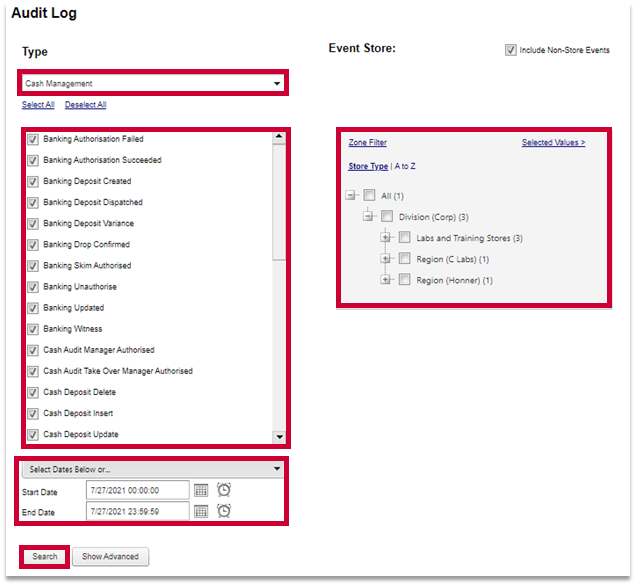
Fig.9 - Audit log configuration settings
- A list of audit logs appear with details. Select the Report button to generate the log as a report
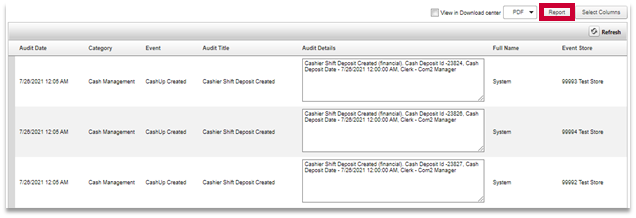
Fig.10 - Audit log report
System Monitor
The System Monitor module enables the user to view the polling status of their store at a glance.
- From the Menu tab, navigate to the Reporting
- Select System Monitor
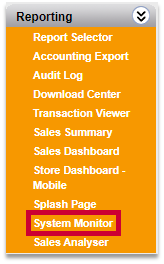
Fig.11 - System Monitor from menu
- Select the options of what should be displayed at the top of the page, then select Refresh
- The System Monitor will then display the statuses of the locations
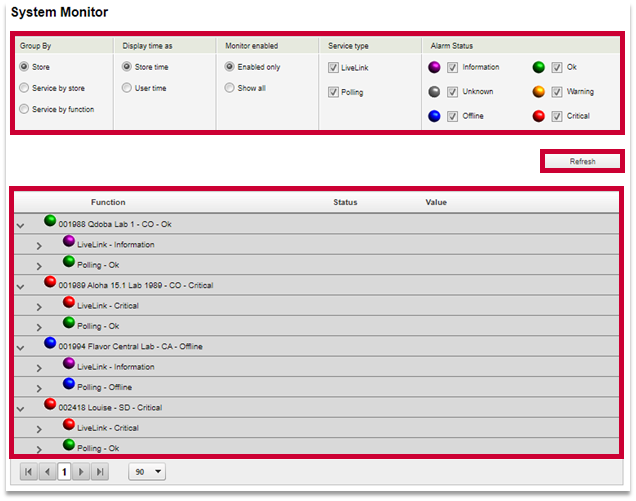
Fig.12 - System monitor
Splash Page
The Splash Page is where mass messages can display after users log into Fourth. It is used to inform users of news, updates, and alerts from their Head Office.
- To view the current message, select Reporting from the Menu tab
- Select Splash Page
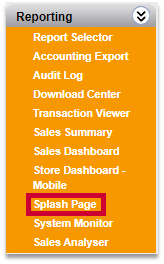
Fig.11 - Splash Page from menu
Once the message is read, users will have two options:
- Select the Continue button to close the Splash page and move on to other areas of Macromatix
- Select the available checkbox to not see the page again until it changes

Fig.13 - Splash page
Comments
Please sign in to leave a comment.