
Overview
Outlet Accounts allow administrators to define available accounts when purchasing or moving stock between individual outlets. This is particularly useful if a customer wishes to have the same product impact different accounts depending on outlet.
It is important to remember that as soon as the functionality is enabled it will restrict any further stock movements with immediate effect.
Therefore it should not be enabled until at least one account has been associated to each outlet.
Associating Accounts to Outlets
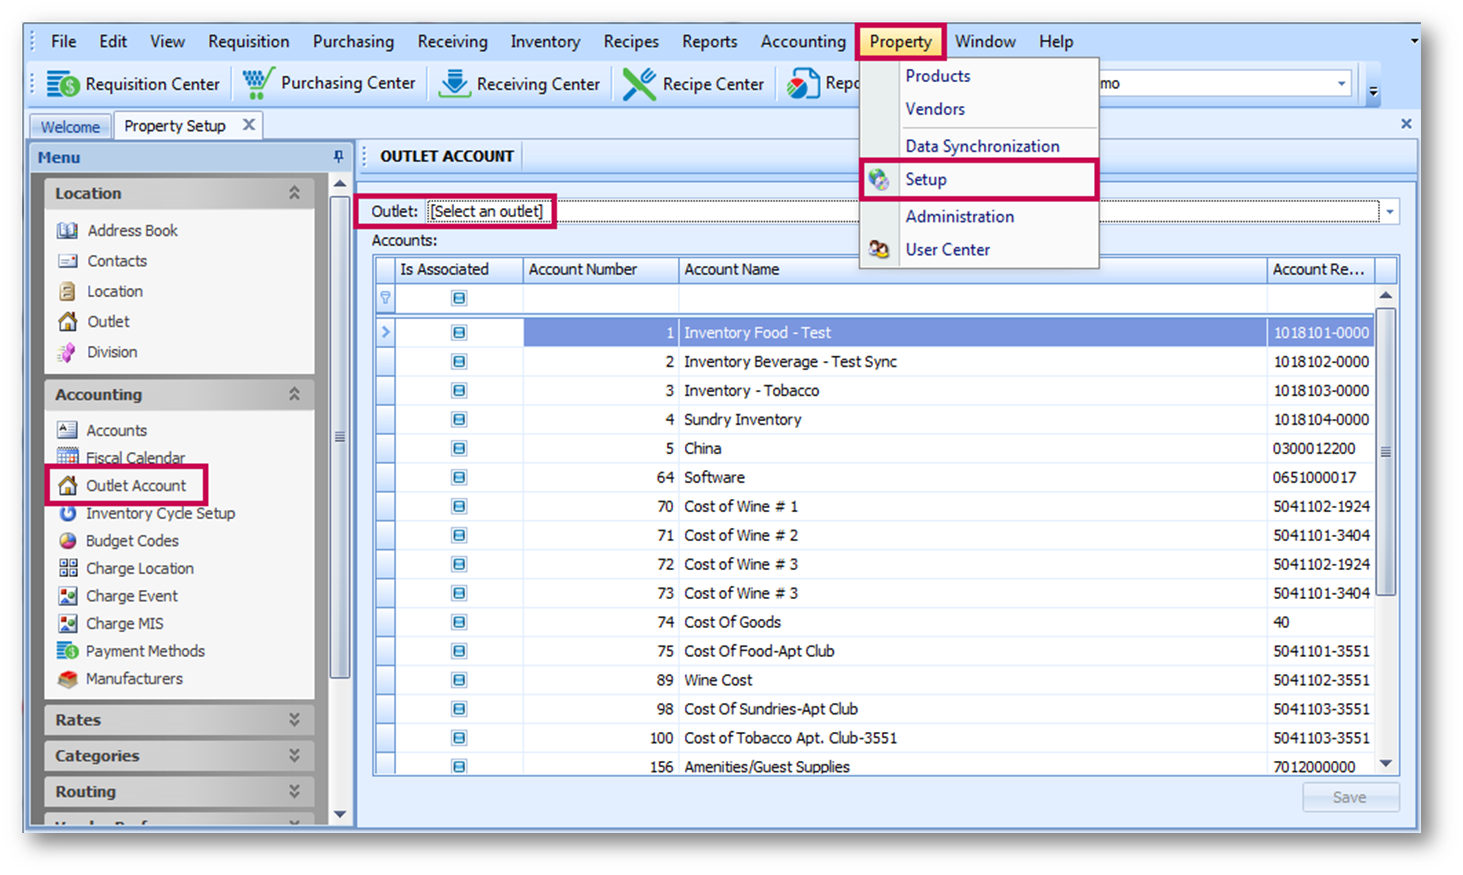
Fig.1 - Selecting an Outlet from the Outlet Account setup
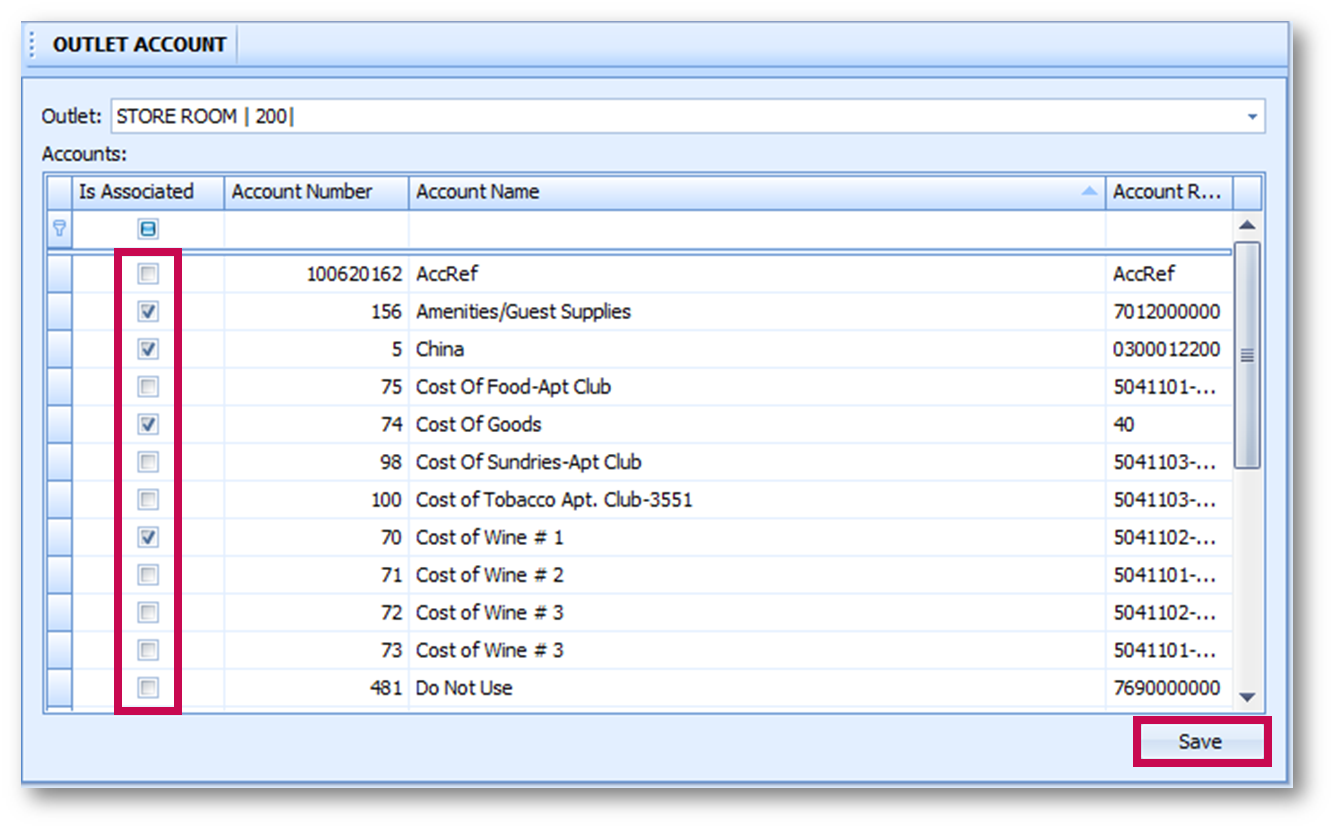
Fig.2 - Selecting accounts to associate
Enabling GL & Outlet Accounts
Best practice is to apply these settings at the end of the business day to minimise operational impact.
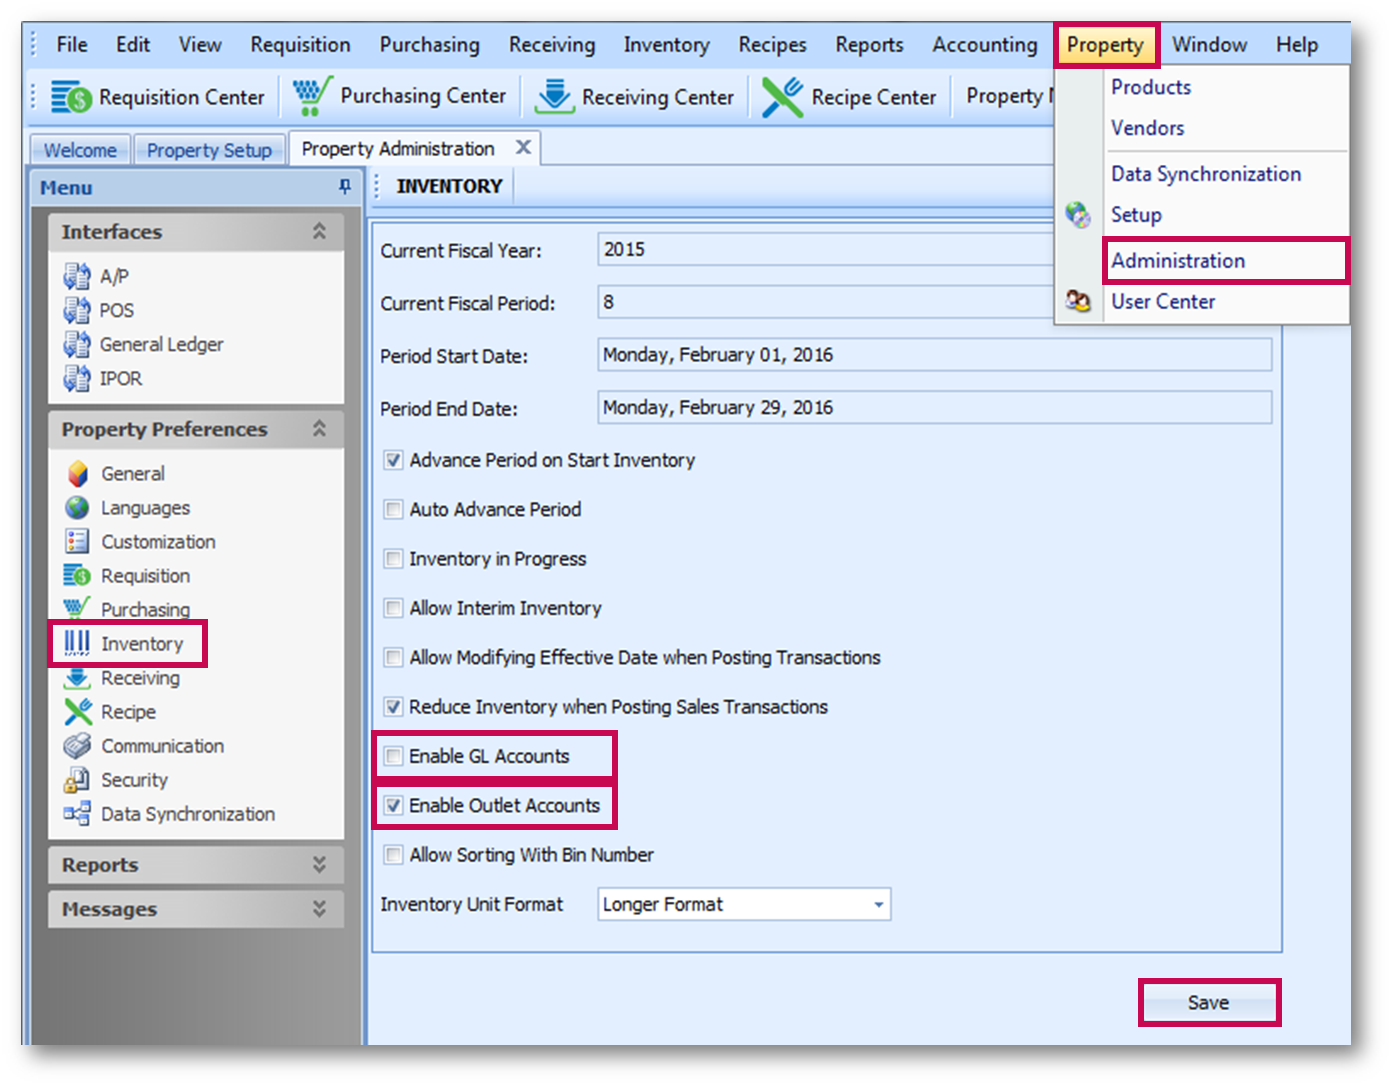
Fig.3 - Applying the Enable GL and Outlet Accounts settings
Review all Guides to ensure that the correct Accounts are assigned to each Product/Recipe.
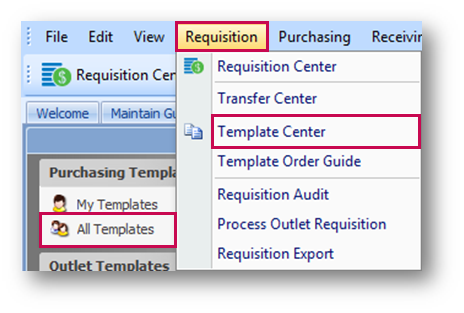
Fig.5 - Requisition > Template Center > Purchasing Templates > All Templates
Review all Templates to ensure correct Accounts are assigned to each Product.
Outlet Accounts allow administrators to define available accounts when purchasing or moving stock between individual outlets. This is particularly useful if a customer wishes to have the same product impact different accounts depending on outlet.
It is important to remember that as soon as the functionality is enabled it will restrict any further stock movements with immediate effect.
Therefore it should not be enabled until at least one account has been associated to each outlet.
Associating Accounts to Outlets
- Go to Property > Setup > Accounting > Outlet Account
- From the Outlet drop-down select the outlet to associate accounts to
Fig.1 - Selecting an Outlet from the Outlet Account setup
- Tick the Is Associated boxes against each account that are to be associated
- Use the Save button before selecting another Outlet from the drop-down (if required)
- Save once more at the end once complete
Fig.2 - Selecting accounts to associate
Enabling GL & Outlet Accounts
Best practice is to apply these settings at the end of the business day to minimise operational impact.
- Go to Property > Admin > Property Preferences > Inventory
- Tick the boxes against Enable GL Accounts and Enable Outlet Accounts and then Save
Fig.3 - Applying the Enable GL and Outlet Accounts settings
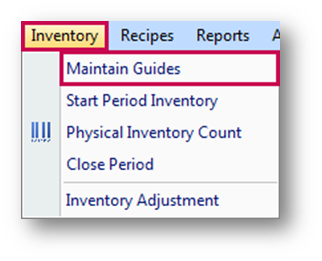
- Then, go to Inventory > Maintain Guides
Fig.4 - Inventory > Maintain Guides
Review all Guides to ensure that the correct Accounts are assigned to each Product/Recipe.
- Finally, go to Requisition > Template Center > Purchasing Templates > All Templates
Fig.5 - Requisition > Template Center > Purchasing Templates > All Templates
Comments
Please sign in to leave a comment.