
Overview
Process
- To do this go to Property (tab)>Data Synchronization
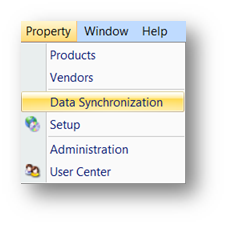
Fig.1 – ‘Data Synchronization’ in the Property Tab
- A pop-up window will open. Ensure that Product Pull is selected as shown below and select Next
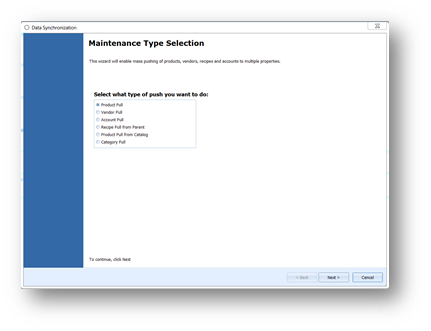
Fig.2 – Maintenance Type Selection pop-up window
- From the following screen use the search box to find the product required
- Use the ‘Selected’ column to select the product(s) that are to be pulled to the property
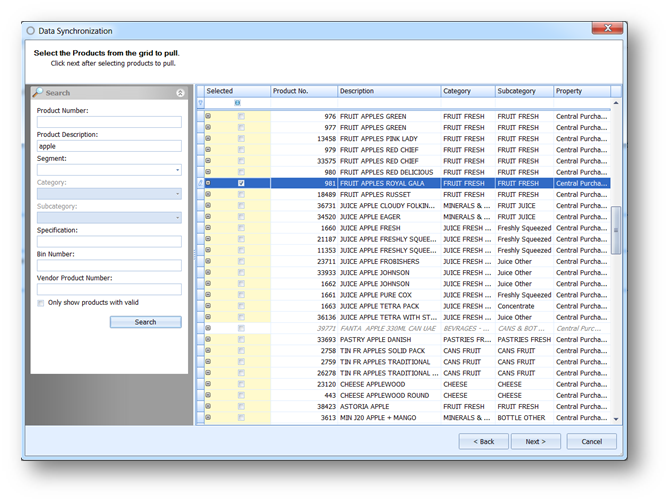
Fig.3 – selecting products in the Data Synchronization screen
- A further pop-up will request confirmation that it is OK to start synchronization
- Once complete the window will change to confirm the number of products successfully ‘pulled’. Click on Finish and the pop up window will close
Data Sync Property Preferences
- To do this, go to Property (tab)>Administration.
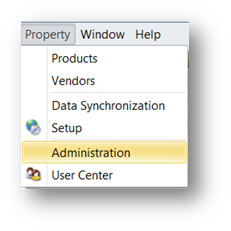
Fig.4 – ‘Administration’ in the Property tab
- From the menu on the left of the screen, expand property preferences and then select Data Synchronization
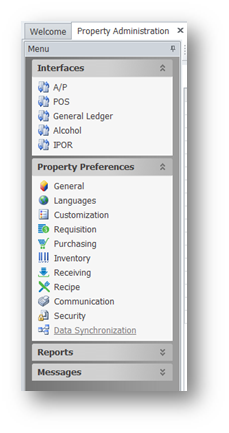
Fig.5 – ‘Data Synchronization’ in ‘Property Preferences
- The screen will now show a list of fields that can be configured according to what will sync with the Central Purchasing level and what will not
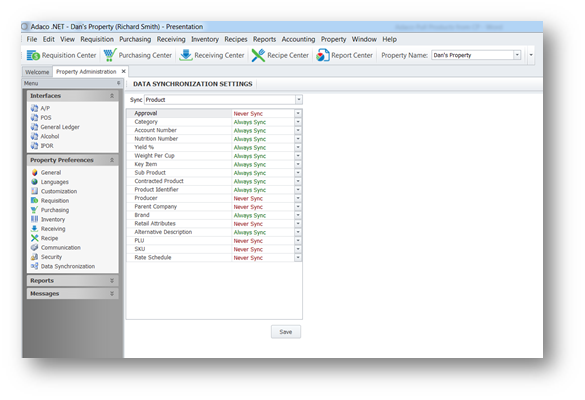
Fig.6 – list of fields available for syncing
Using Data Synchronization, pulling products will override these settings and pull all details relating to the product that is being pulled to the property.
Comments
Please sign in to leave a comment.