
The purpose of this article is to show the user how to add a document in the Receiving screen. This is helpful if the property scans or takes photo's of documents, products, or whatever is deemed important to make note of for receiving.
- Go to Receiving>Receiving Center or Receiving>Receiving Corrections menu, open the PO that needs to attach a scanned document to.
- Click PO Comments tab in the lower half of the menu, as per Fig 1.
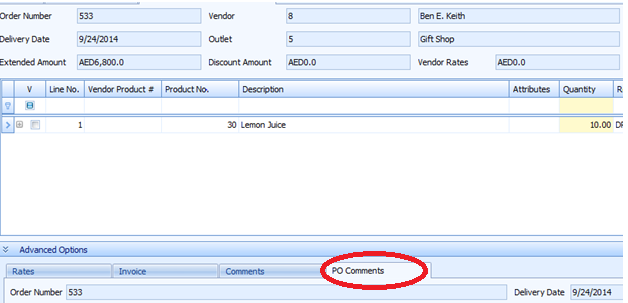
Fig 1 - The PO Comments tab
- Type a required comment where it states “start typing here”, as per Fig 2.
- Click the square box "…" (with the 3 dots) along the right of the Attachment field (outlined in red) to open the find file dialog box.
Note: if adding the attachment from the Receiving Correction menu the typed words do not display.

Fig 2 - Entering a Comment & Attaching a File.
- Once the file is located, click Open. This will assign the document to the receiving.
- Click Add Comment, as per Fig 2, to apply the comment and attach the file to the PO.
- Post the order as usual.
- Once the Receiving completed and the Invoice is Applied and Exported to AP the PO and Attachment can be viewed from Purchasing>Purchase Order Center.
- Select “Show Auto Closed” PO’s as per Fig 3, and click Search. This will display the auto closed PO’s.
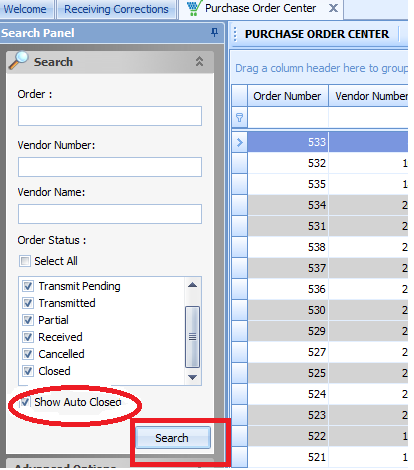
Fig 3 - Searching in Purchase Order Center
- To view the attachment, right-click on the PO, and click Comments Log.
- Double-click the Attachment icon (the Paperclip) to open the attachment.
Comments
Please sign in to leave a comment.