Overview
You know your business needs better than anyone, so why waste time creating the same shifts every week? With Schedule Templates, you can quickly apply a specific template of shifts to one or many of your schedules at the same time. This article will walk you through how to create templates and apply them to your schedules.
There are two types of templates:
Unassigned Templates: When these templates are applied, all of the shifts from the template are created as house shifts in that schedule.
Assigned Templates: Assigned refers to the shifts being pre-assigned to the employees. When the template is applied, the shifts are always assigned to the same employees. If those employees are unavailable, the shifts become house shifts.
- On the Scheduling page, select Menu in the upper, right-hand corner and then select Templates
Fig.1 - Accessing Templates [select image to enlarge]
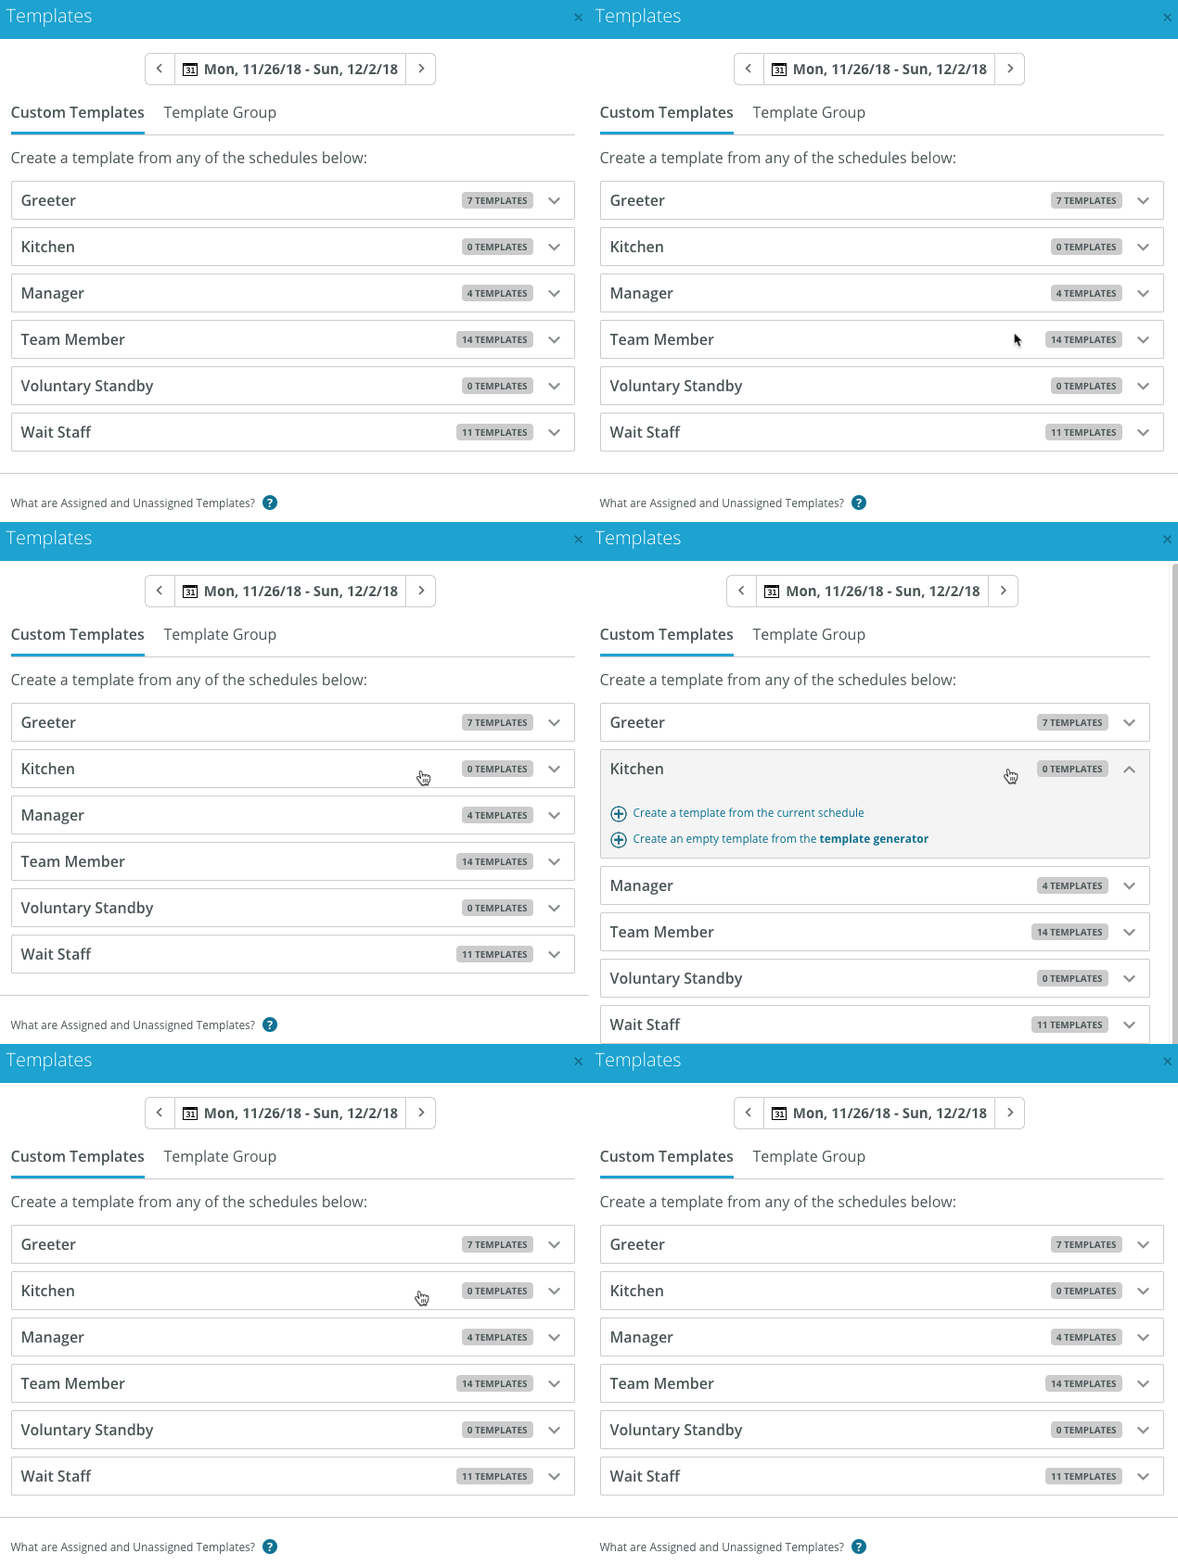
Depending on which permissions are enabled, the Templates window will include the following:
- A - Date Picker to allow you to quickly change the week to apply a template
- B - Custom Templates tab to allow you to assign individual templates to the various schedules your site uses
- C - Template Group (Also known as Forecast Templates) tab which allows you to apply a group of templates to multiple schedules. See HS Scheduling: Forecast Templates for more information
- D - List of the schedules your site uses
Fig.2 - Template modal
Applying Templates
It's important to know that templates are specific to schedules. This is because shifts can only exist on one schedule. For example, a template that was created for the Server schedule can only be applied to the Server schedule. It cannot be applied to the Bar or Greeter schedules. A new template would need to be created for each schedule.
Also, templates can only be applied to blank schedules (with a status of Not Started or Deleted). This ensures that the schedule is an exact copy of the template. After it is applied, managers can make changes to, create, or delete any shifts on the schedule. For this reason, only one template can be applied per schedule per week. Applying a template should always be your first step in creating the schedule.
- Ensure you have the correct week selected at the top of the window
- Select the name of the schedule to expand the window and display all of the available templates
- Select Apply for the template needed
Fig.3 - Apply template
Please note: Assigned templates will be flagged to signify that those shifts will be pre-assigned to employees. All other templates are Unassigned.
Creating Templates
You can create new templates from the same window. Again, click on the name of the schedule to expand the tile. There will be two options to create new templates, Create a template from the current schedule and Create an empty template from the template generator.
Fig.4 - Create a template [select image to enlarge]
Create a Template from the Current Schedule
Turn one of your existing schedules into a template by selecting this option.
- Create a name for your new template
- Add an optional description
- Choose whether you want this to be an assigned or unassigned template
- Select Save
Fig.4 - Create a template from a schedule
Please note: Assigned templates will keep the shifts assigned to the same employees when it is applied to future schedules. Unassigned templates will create house shifts.
Create an Empty Template from the Template Generator
Selecting this option allows you to manually create all of the shifts that will be in the template. It is more time consuming than creating templates based on schedules you have already written, so keep that option in mind if you have already built a schedule with most of the shifts.
- Create a name for your new template
- Add an optional description
- Select Now Create Shifts
Fig.4 - Create an empty template
The Template Generator is separated by Day Parts. In order to create a new shift, you'll need to create a new row and select which Day Part you want that shift to appear in.
Fig.5 - Adding rows to day parts [select image to enlarge]
Let's take a closer look at the contents of each row. Each row is representative of one shift for each of your days in the week. It will include what the Job and Location are along with the in and out times on each day.
Fig.6 - Template row [select image to enlarge]
The row will automatically default to certain selections and times, but you can easily change the Job and Location by selecting a different one from their respective menu. You're also able to change the time for a particular shift or for all shifts by clicking on one of the times. Here, you're also able to specify if you don't need a shift for a particular day.
Fig.7 - Template shift editor [select image to enlarge]
Each time you add a row, your changes are saved in real-time, so there's no need to worry about losing your work. Once you've finished, the Template Generator may look something like this:
Fig.8 - Completed template [select image to enlarge]
Related Articles
HS Scheduling: Forecast Templates


Comments
Please sign in to leave a comment.