
The scheduler allows users to filter the information that they see while working on the schedule. Users can filter by Schedules, Jobs, Locations, and Day Parts to show only employees that meet the filtered criteria. You can also save filter settings as your default view.
Follow these steps to use filters:
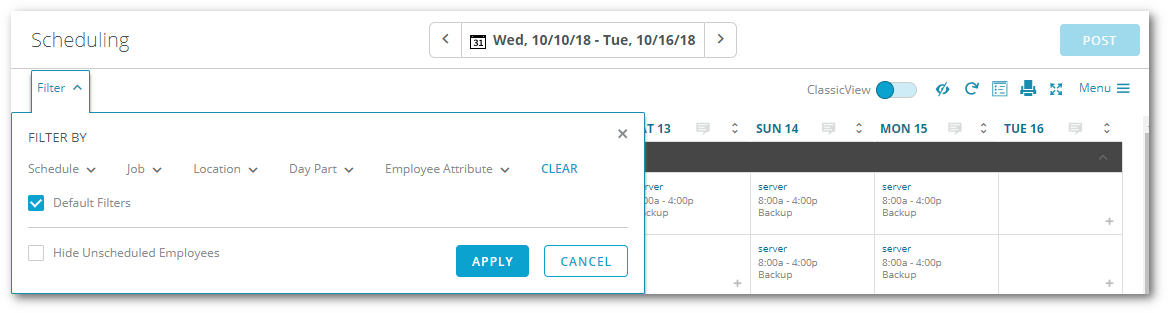
- Log into your HotSchedules account, and go to the Scheduling tab. After specifying the week you would like to view select Filter in the top right corner.
- This will open the filter menu. Here you will see columns with the schedules, jobs, locations, and day parts being used by your location.
- Choosing a Schedule will organize the Scheduler so that only the schedule or schedules selected are shown. Please note that once a schedule filter is chosen, the options available for the job code filter will be limited to only the default job codes for the selected schedule.
- Choosing a Job will organize the schedule so that only employees who can be scheduled that particular job are shown.
- Choosing a Location will organize the schedule so that only employees who can be scheduled that location are shown.
- Choosing a particular Day Part will organize the schedule so that only shifts in that Day Part are shown.
- Choosing an Employee Attribute based on employees that have a note, are minors or are in the Voluntary Standby List
- Selecting Hide Unscheduled Employees will hide any employees that don't have a shift.
- Save as new default will make that filter the default view whenever you enter the scheduler.
Comments
Please sign in to leave a comment.