
Overview
Recipe & Menu Engineering (RME) has a number of GET/Export APIs available for use by customers and third parties for the extraction and consumption of data.
Technical information on the APIs is listed here: RME - Export API - Guide
Reference information on the APIs is listed here: RME - Export API - Reference
This article will cover general details about these APIs and is intended for customer use and knowledge. Third parties should be directed to the technical documentation linked above.
Granting API Access
Access to the APIs is available to all RME customers and their respective third parties.
Access must be requested via a Fourth representative and customers must request this on behalf of any third parties. Credentials and Root URLs will be provided for use, along with any API specific guidance.
Separate credentials must be requested for each third party or integration.
Authentication Types
There are two different authentication types depending on the API in use:
- Basic authentication
- This is a simple username/password combination
- OAuth 2.0
- Requires a request to a token URL using an ID/secret combination
- Access token then granted for use in main API request
Authentication details will be provided when credentials are issued.
Data Availability/Restrictions
Depending on the API in use, data availability will either be:
- Full Access
- Provides full unrestricted access to all data on the customer's database
- Restricted by Group and Sets
- Data available in the API is based on datasets linked to a specified group and can be controlled ongoing by the customer
- Further information on Groups and Sets can be found here: Creating Groups in RME
Root URLs and Endpoints
The structure of the APIs is as follows:
- Root URL
- This is the first part of the URL used to call the API and does not change
- eg. https://examplerooturl/
- Endpoints
- These are specific data sets and the endpoint name is added to the end of the URL
- eg. https://examplerooturl/ingredients/
Some endpoints require a Global Unique ID (GUID) and will only return information for the specific data linked to that GUID.
- eg. https://examplerooturl/ingredients/{GUID}/nutrition/
- In these instances, the base endpoint (https://examplerooturl/ingredients/) will return the GUID in the response, which can then be utilised in these specific requests.
Guidance for Root URLs and Endpoints will be provided when credentials are issued.
Parameters
It is not efficient to repeatedly call all data available in the API each time updates are required. Parameters can be used to enable smaller subsets of data to be called, based on values like lastmodifiedafter.
If data is to be refreshed weekly, for example, a full initial payload can be requested. Then each week a small subset of data with a lastmodifiedafter date since the initial payload can be requested - meaning a much smaller volume of data is requested and processed by both Fourth and the requestor - giving much more efficient results.
Guidance for available parameters will be provided when credentials are issued.
Making API Calls
Most third-parties will have automated solutions in place to call the API endpoints, but customers can also utilise applications like Postman to make basic API calls.
Basic Authentication
For this example, the Ingredients endpoint will be used along with the parameter lastmodifiedafter.
- Start with a GET request, using the Root URL and Ingredients endpoint
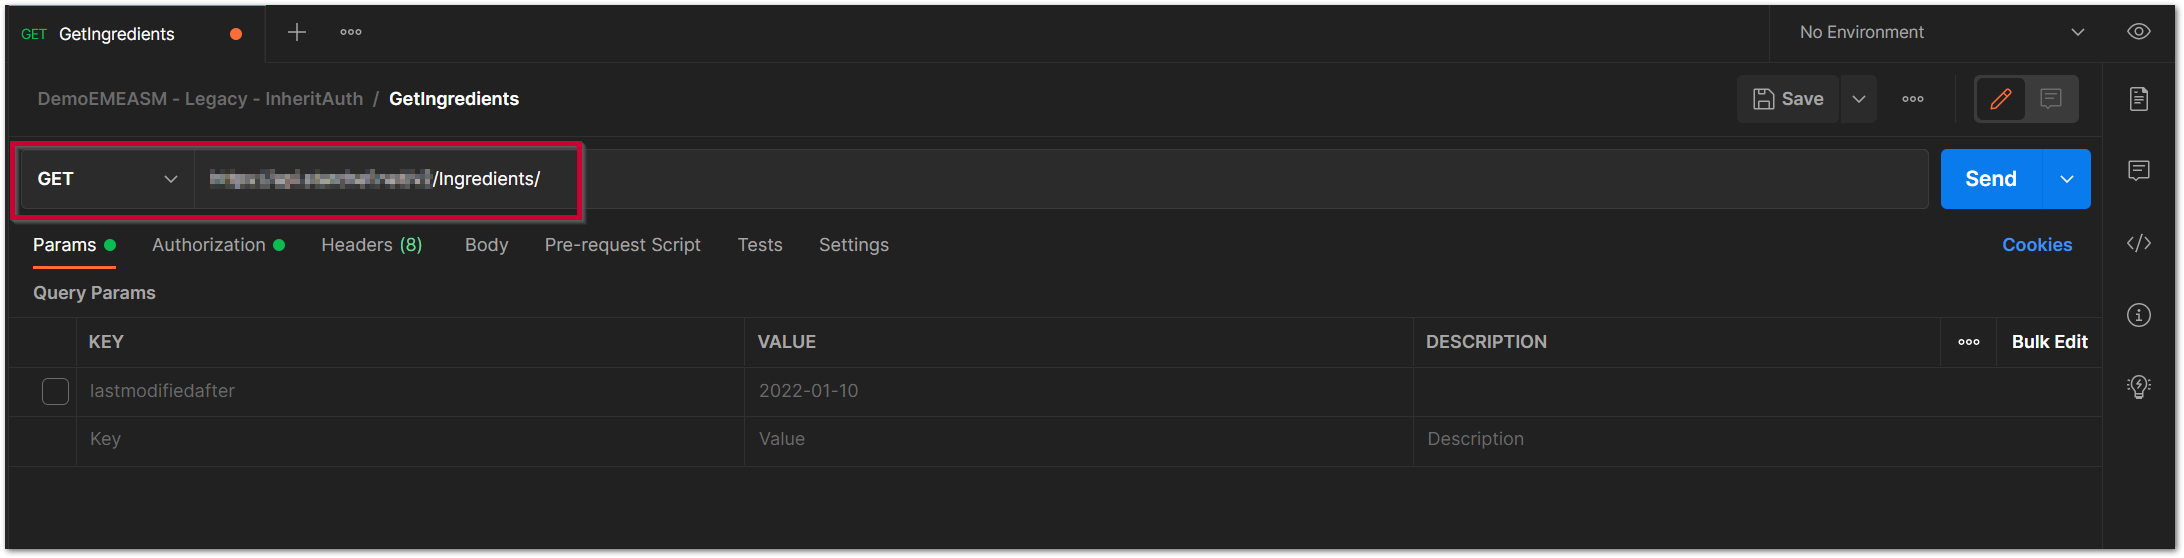 Fig.1 - Root URL & Endpoint
- Add the Parameter lastmodifiedafter and the required Value. This will update the URL automatically
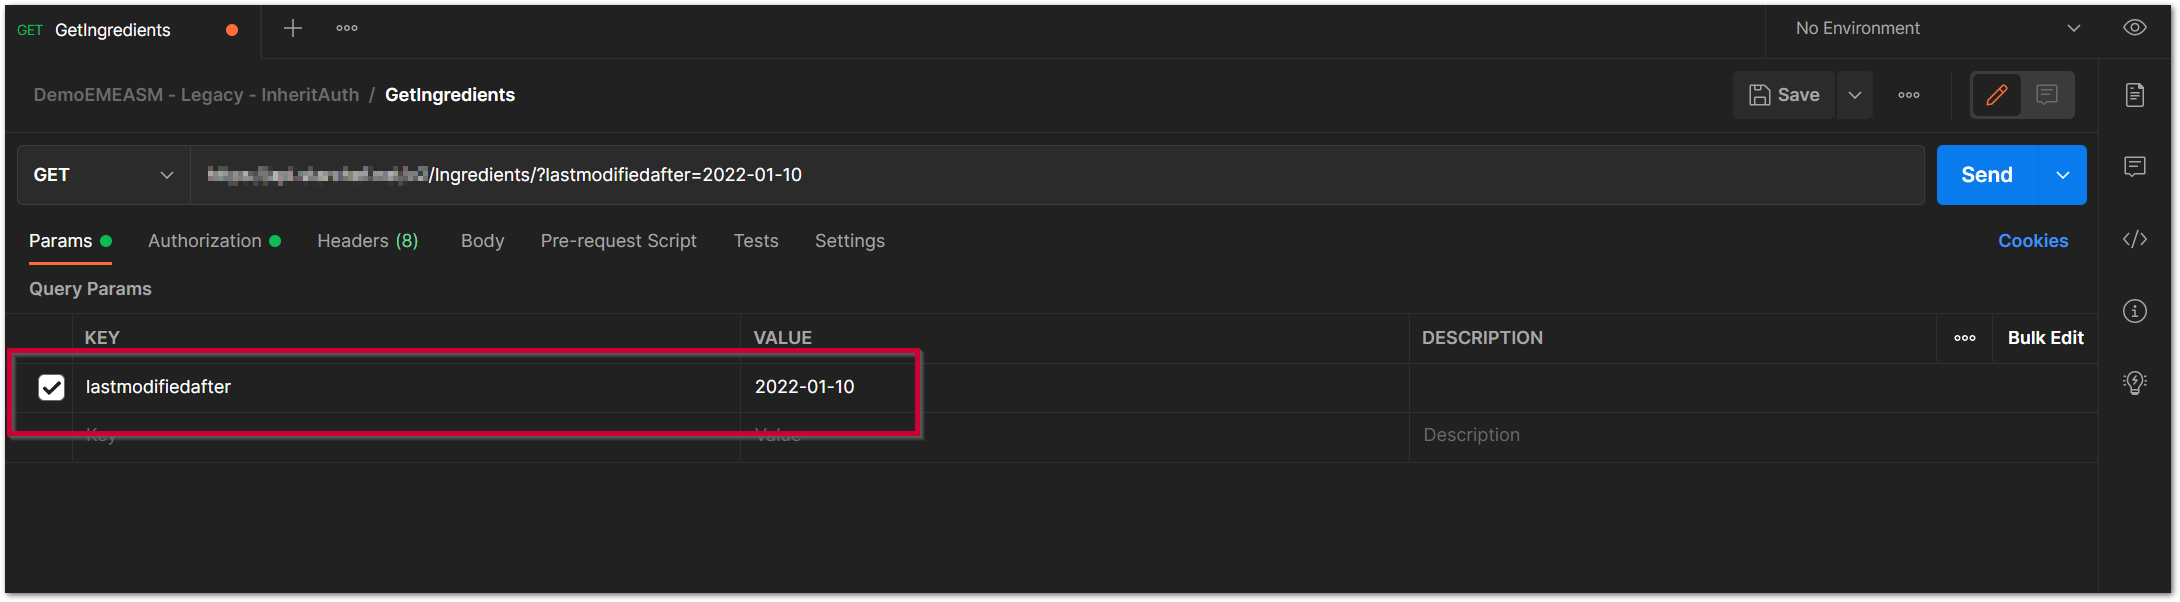 Fig.2 - Parameters
- Go to the Authorization tab and add the Basic Authentication credentials that have been provided
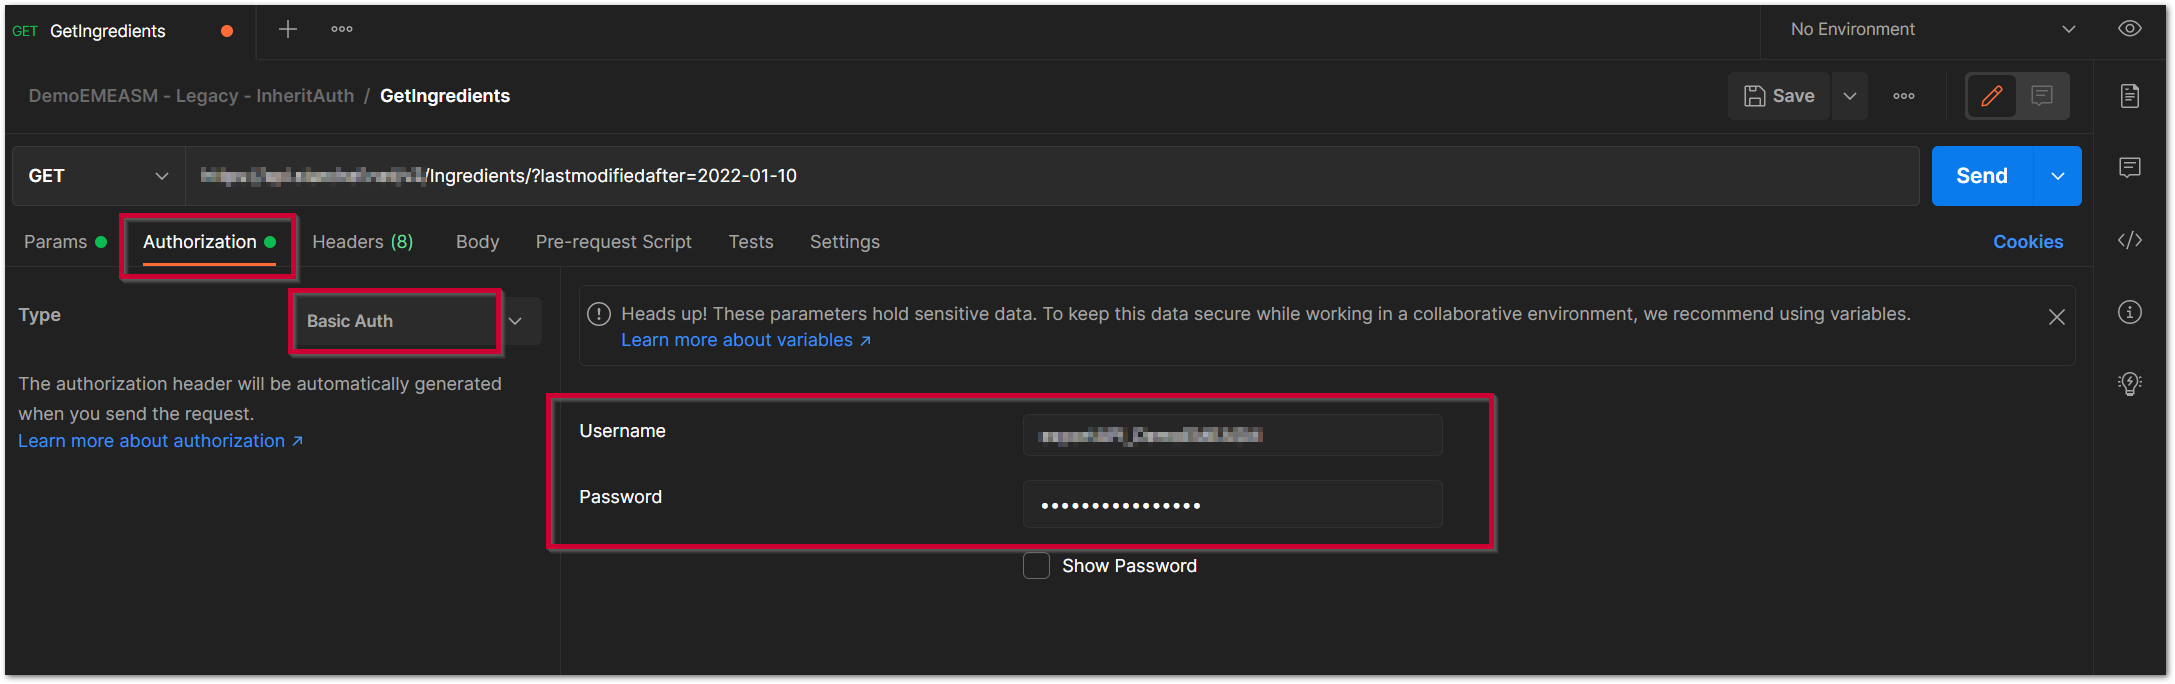 Fig.3 - Authentication
- To make the request and see the results, select Send
- The results can then be saved to a file
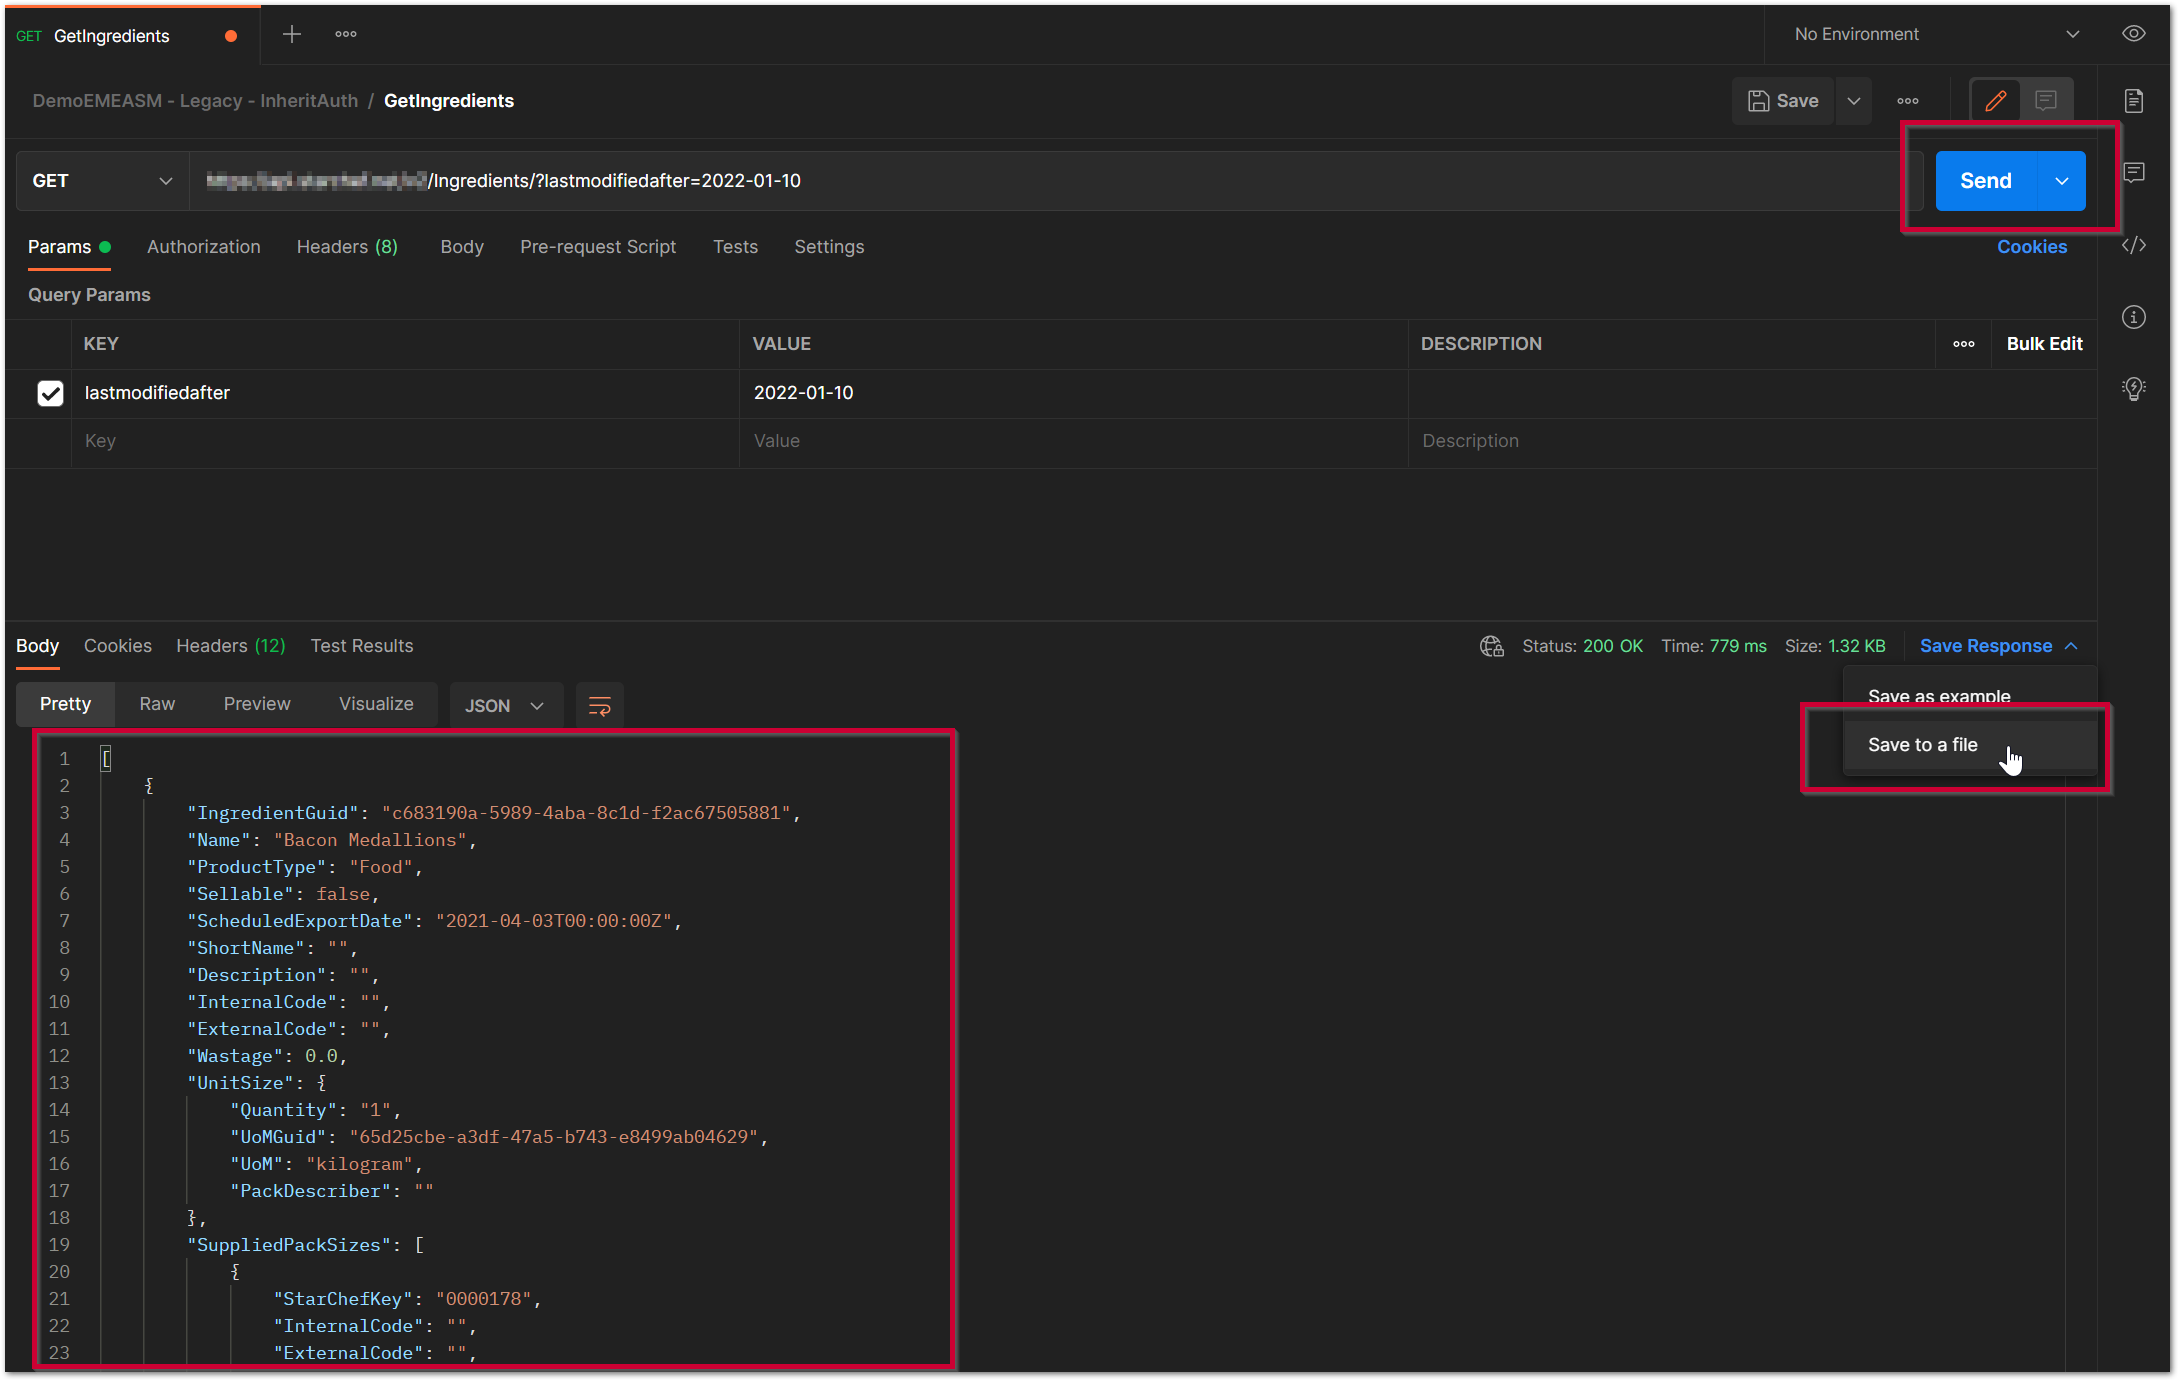 Fig.4 - Request & results
OAuth 2.0 Authentication
For this example, the Ingredients endpoint will be used along with the parameter lastmodifiedafter.
OAuth authentication is a two-part process; token generation and API request.
- To generate the token start with a POST request and the Token URL
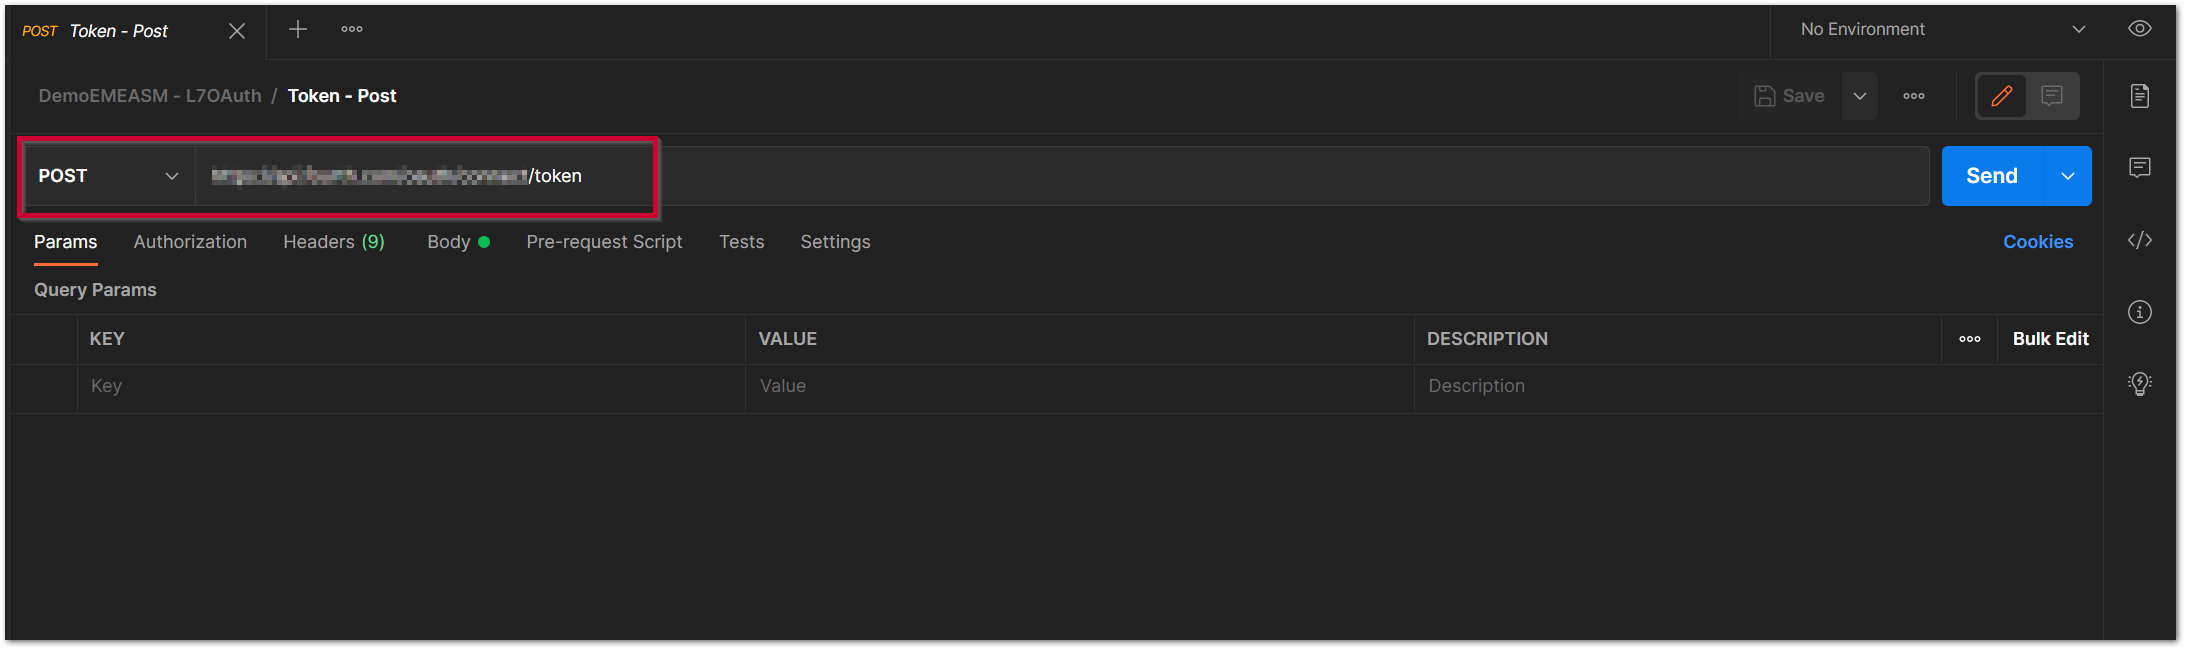 Fig.5 - Token URL
- Then navigate to the Body tab and enter the Credentials - add the 4 Keys and Values and select Send to generate the authorisation token
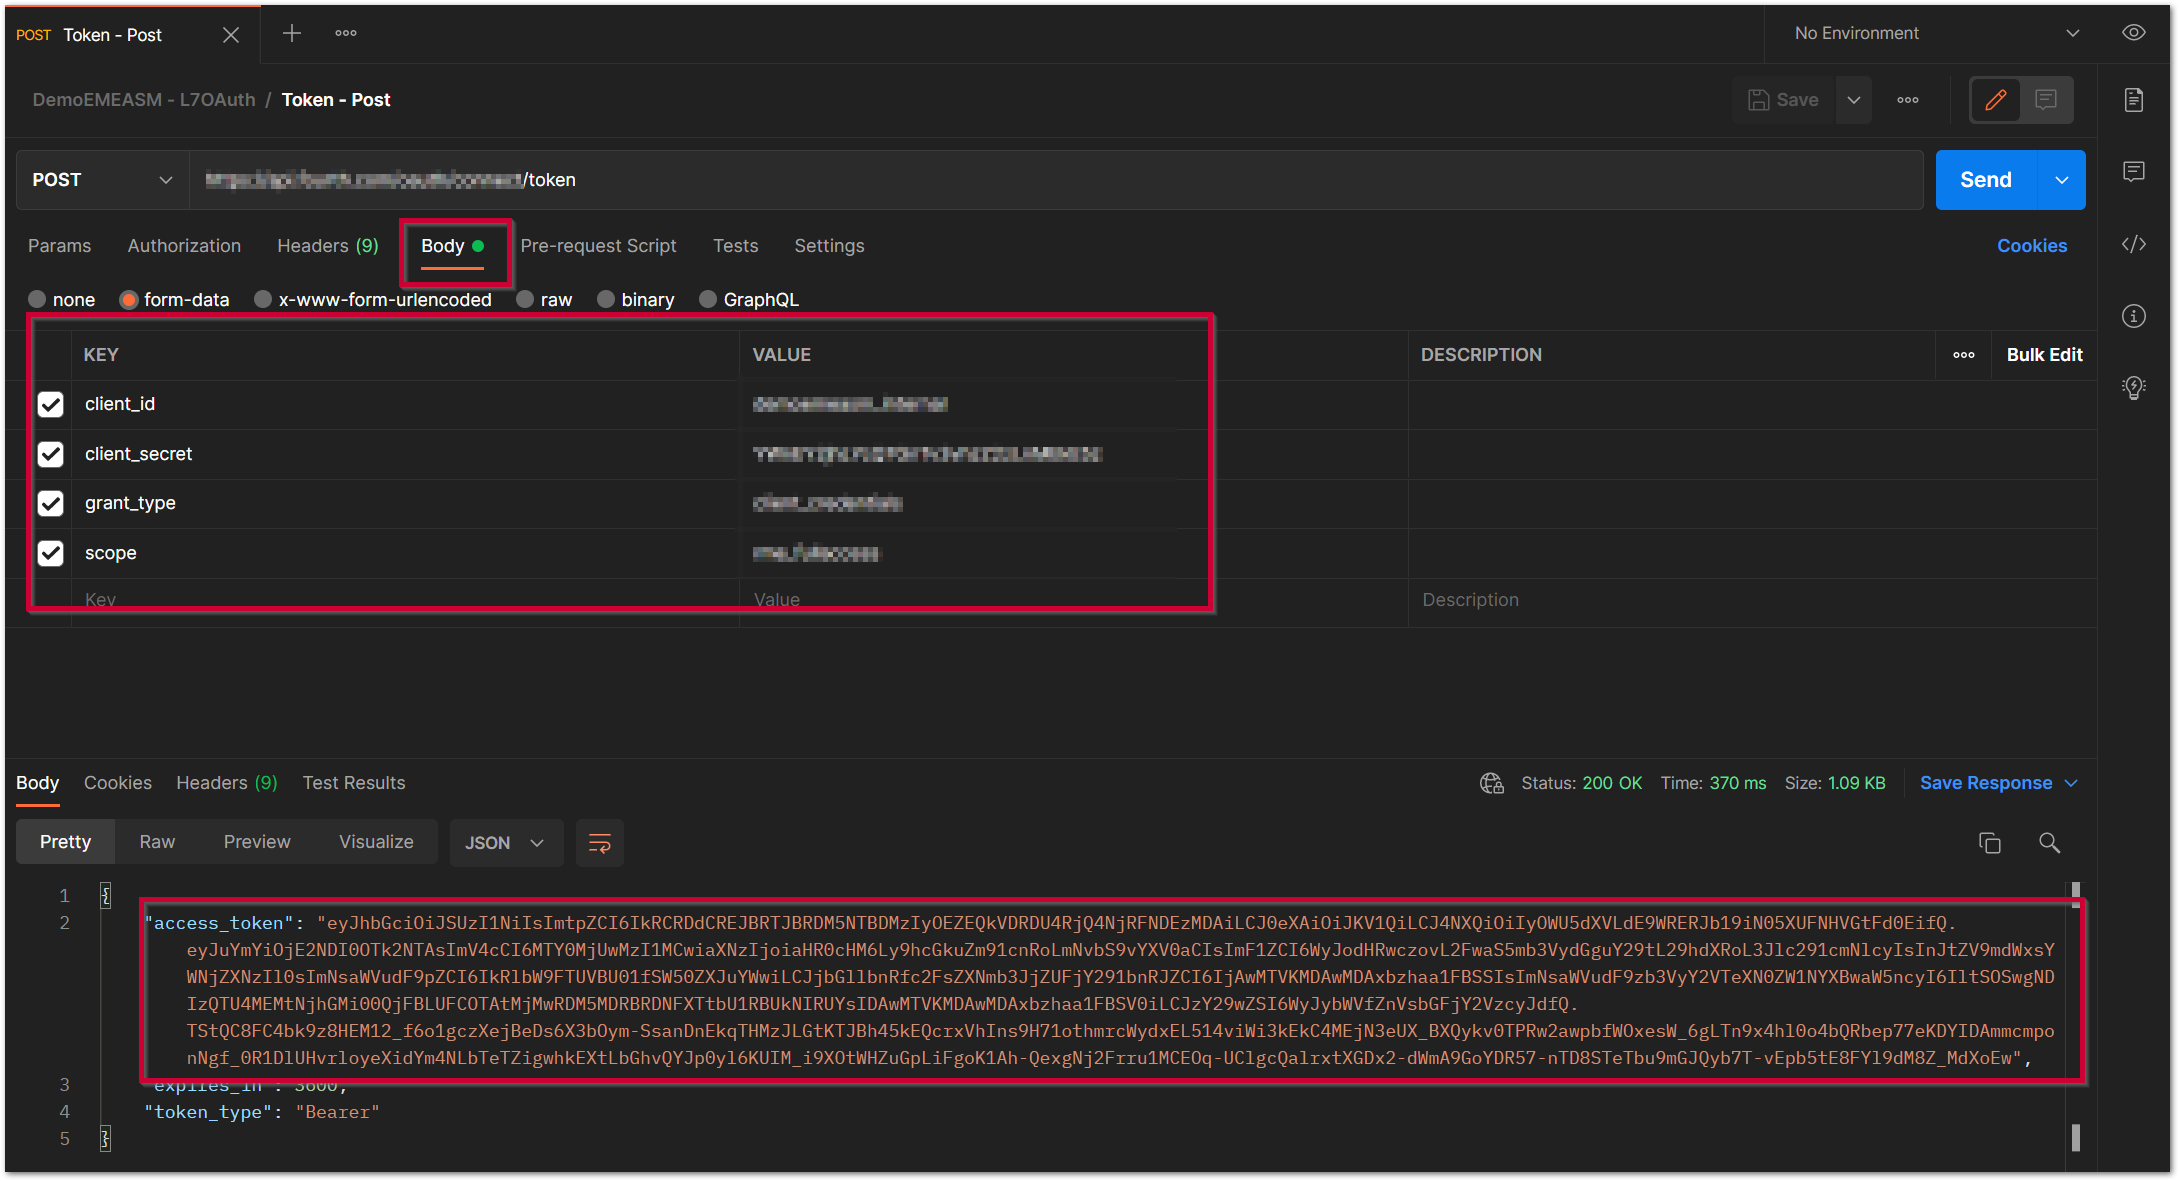 Fig.6 - Token credentials and generation
The API request can then be generated.
- Start with a GET request, the Root URL and the Ingredients endpoint
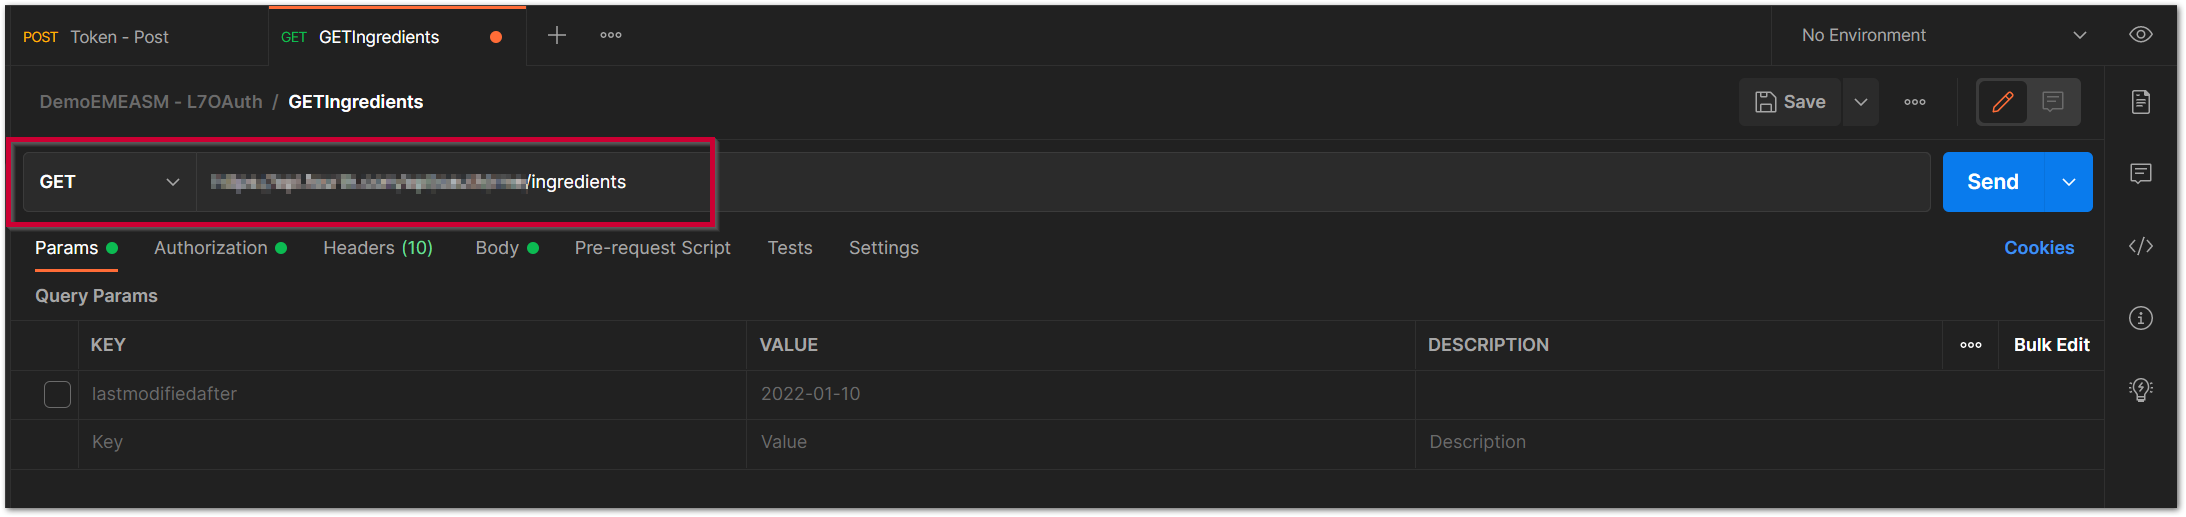 Fig.7 - Root URL & Endpoint
- Add the Parameter lastmodifiedafter and the required Value
This will update the URL automatically.
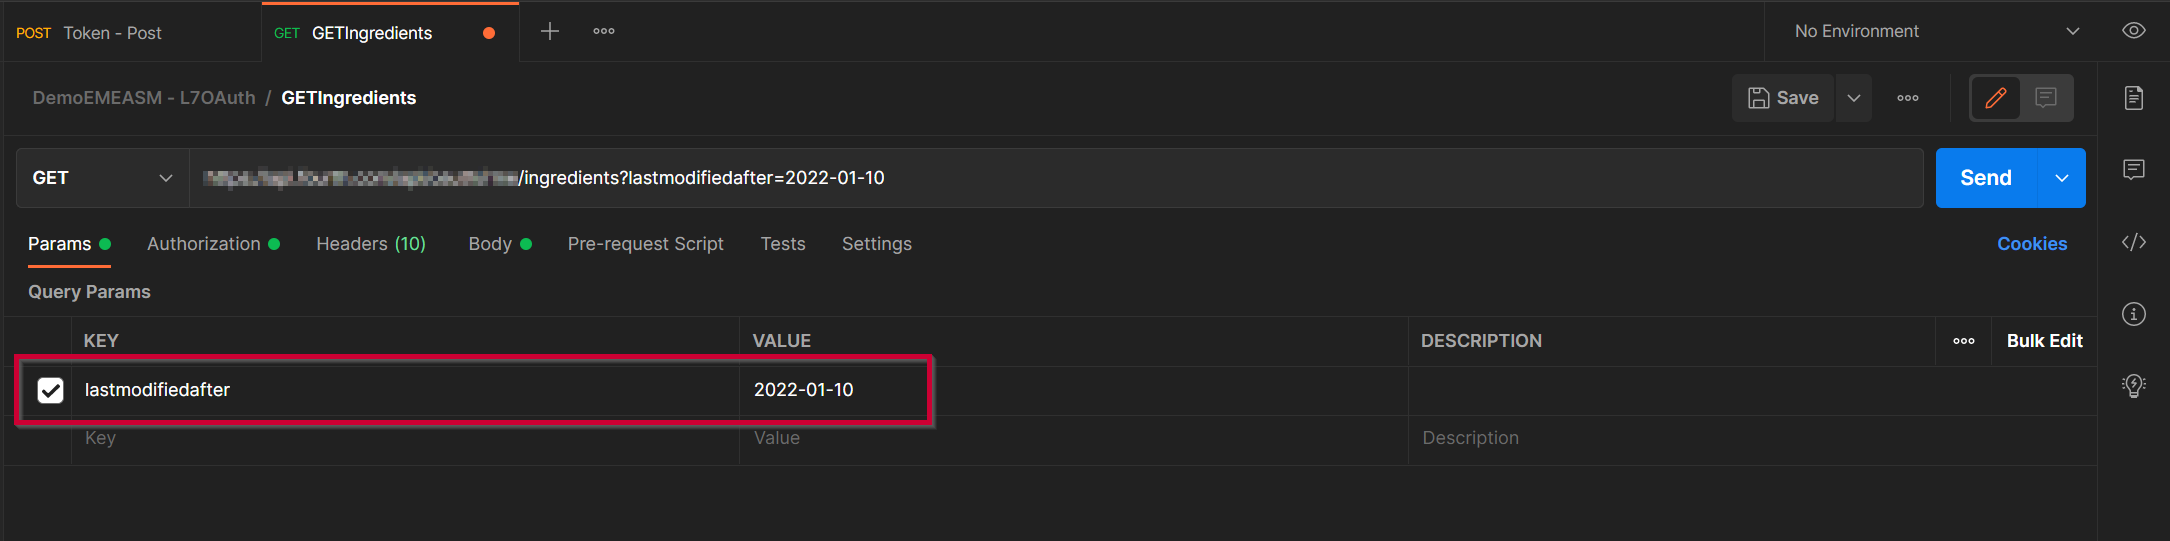 Fig.8 - Parameters
- Navigate to the Authorization tab and add the Bearer Token value from the token request
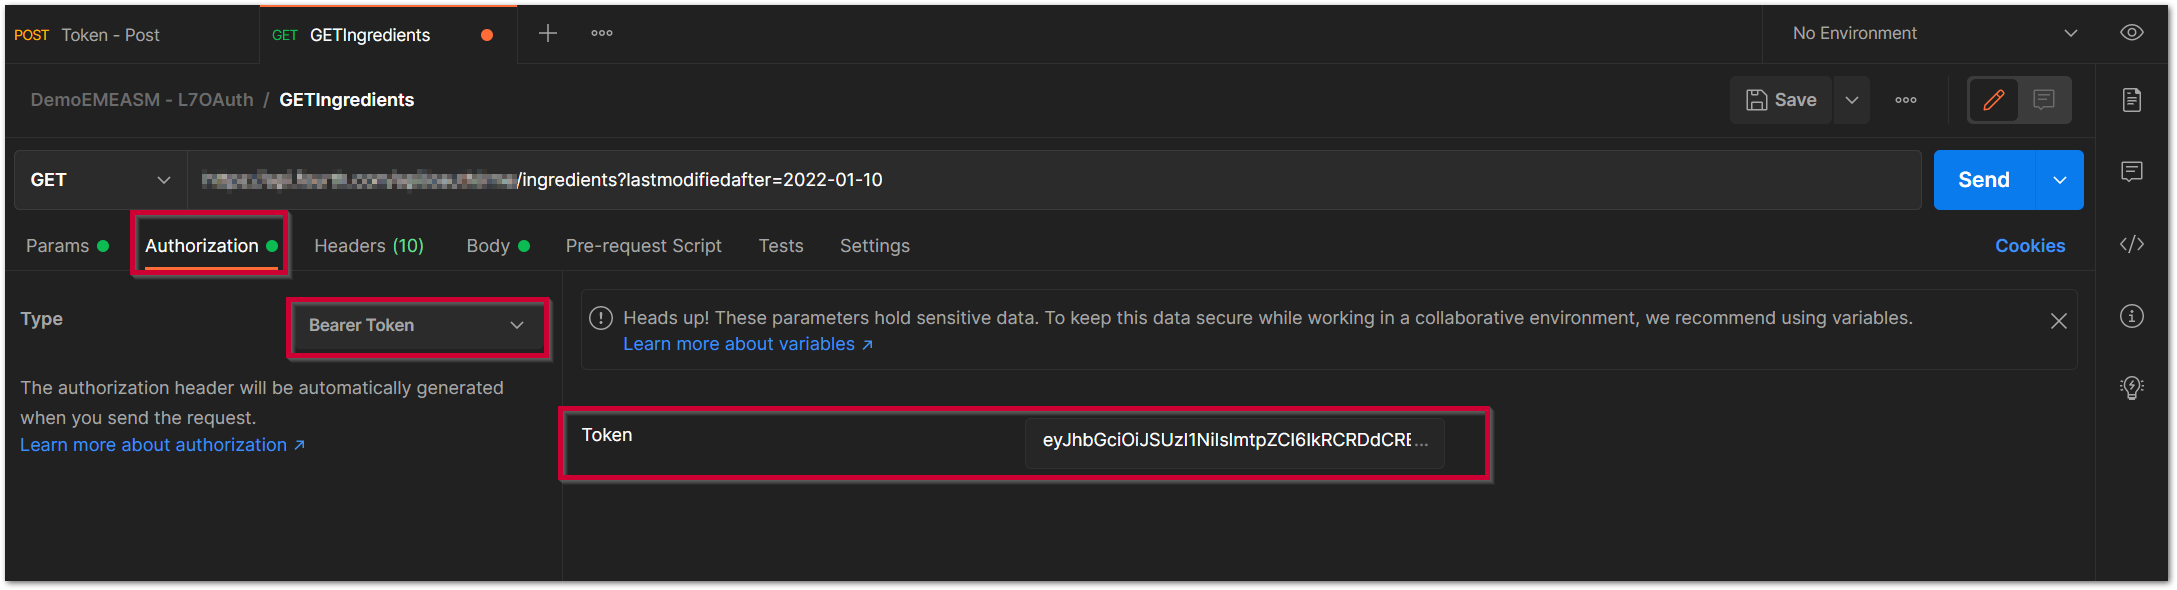 Fig.9 - Authentication
- To make the request and see the results, select Send
- The results can then be saved to a file
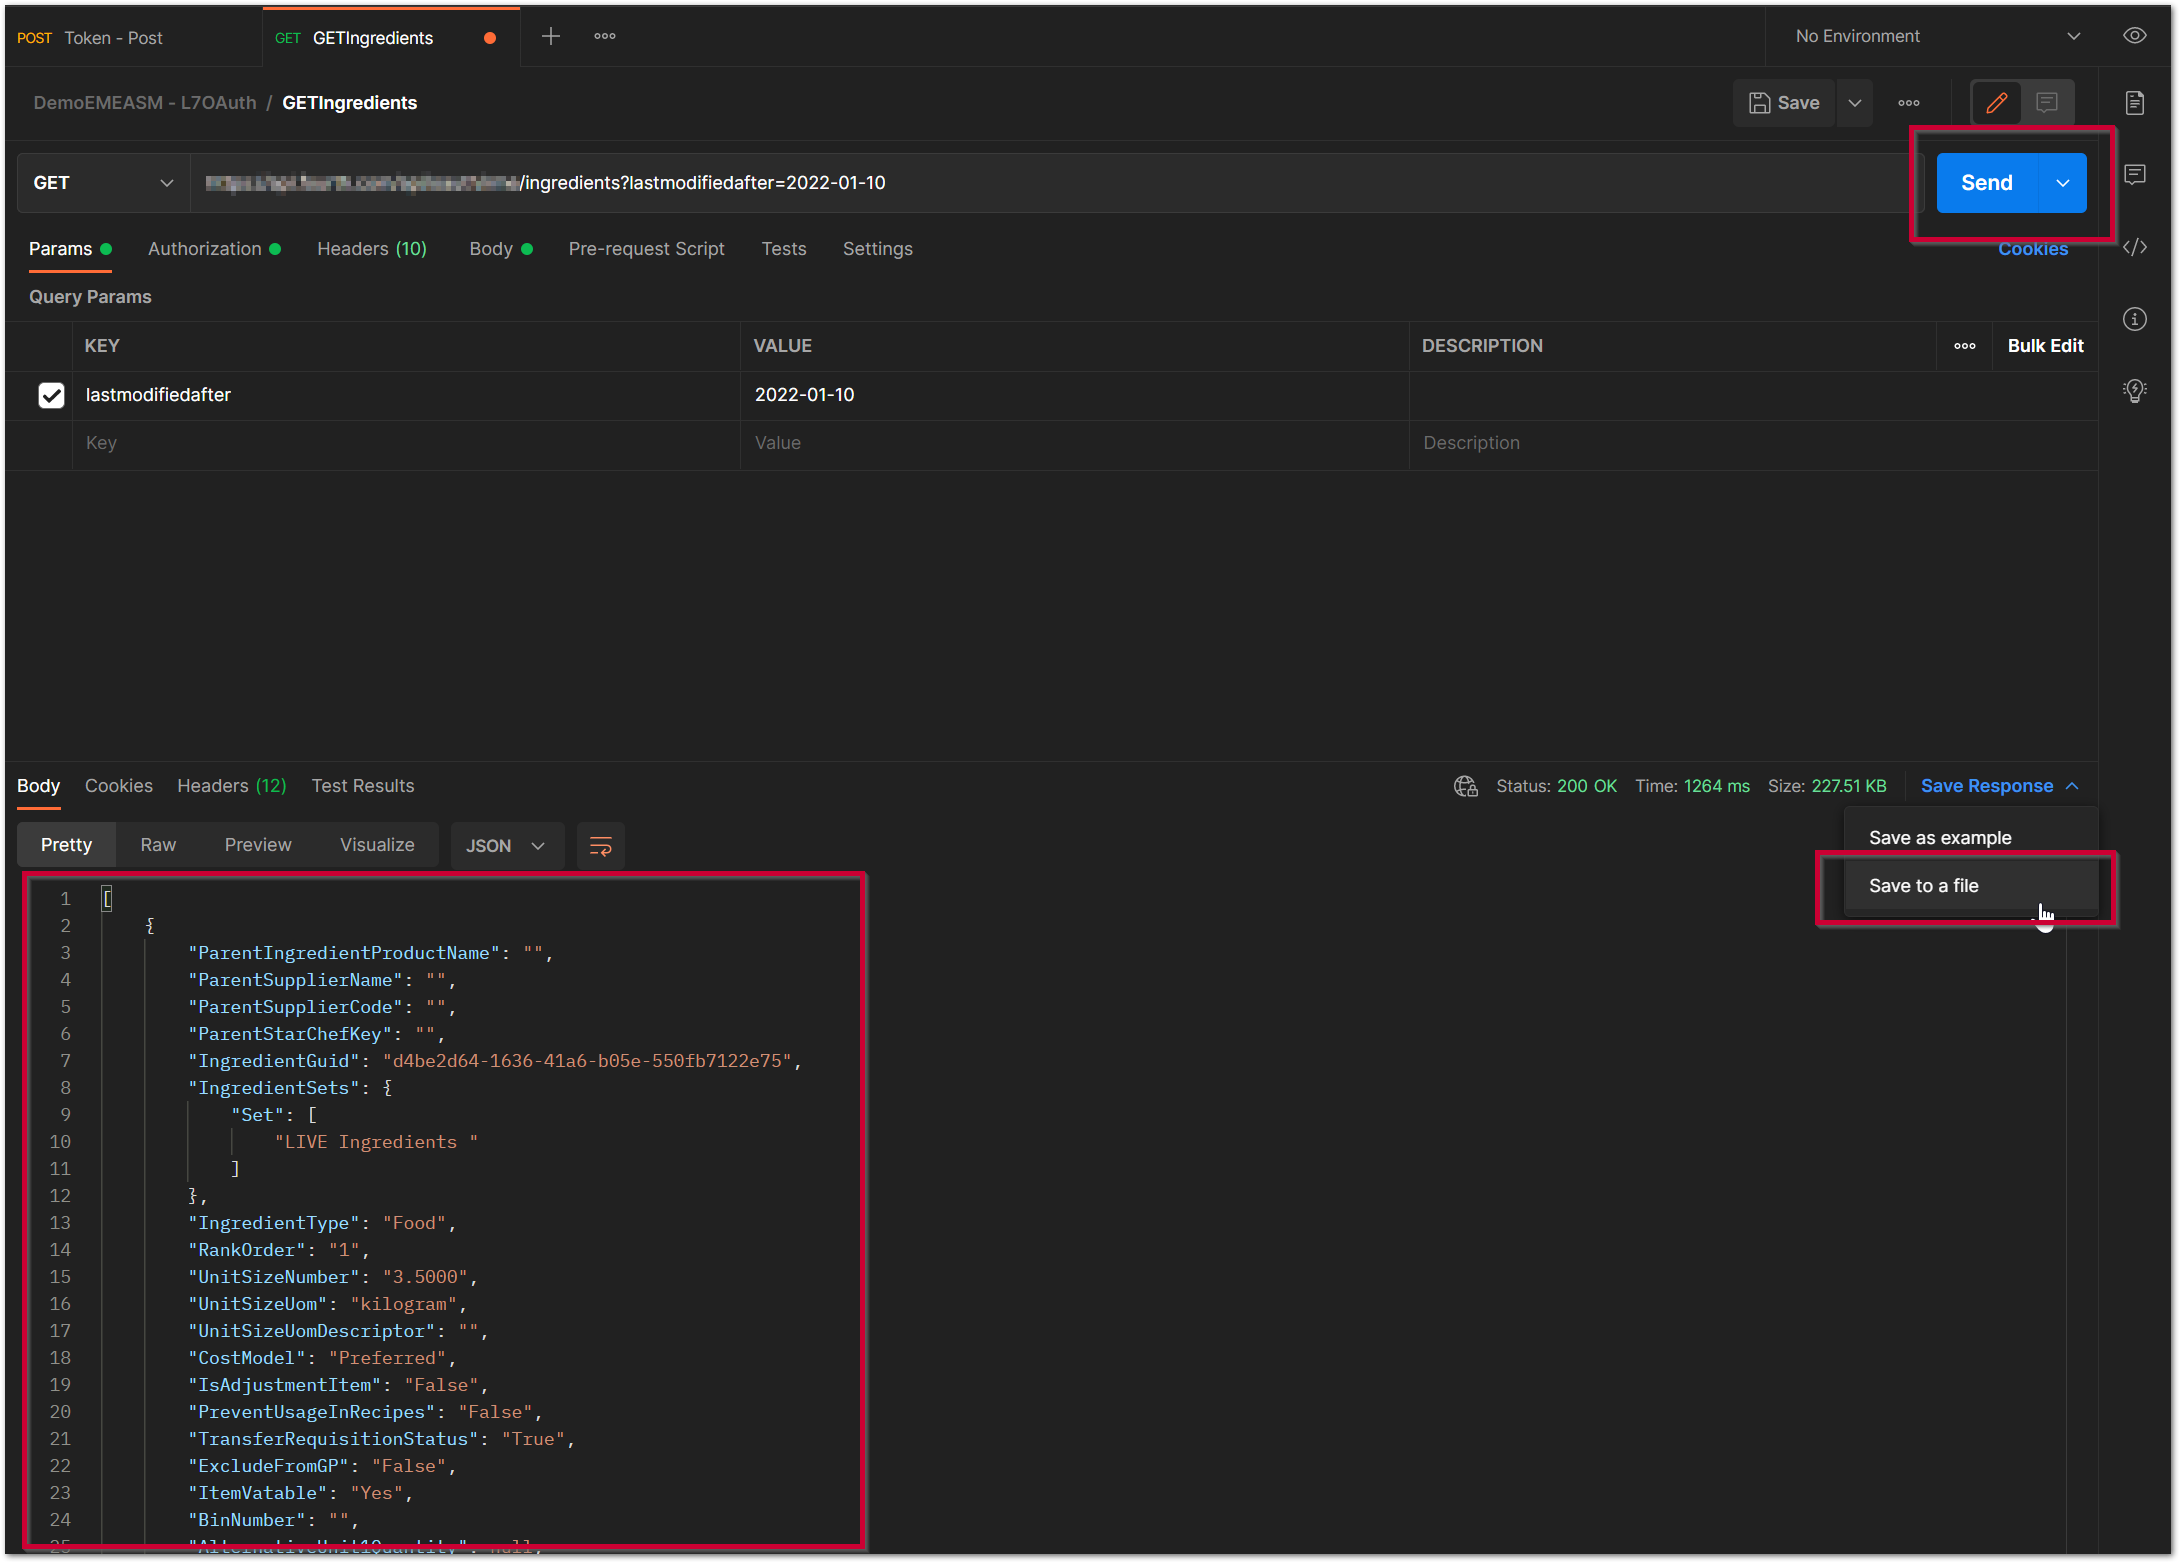 Fig.10 - Request & results
Comments
Please sign in to leave a comment.