
What’s Changing?
Enhancements are being made to the following pages within the Tronc module:
- Tronc Global Settings
- Tronc Location Setup
- Tronc Fund Setup
- Employee Tronc Rate
- Fund Allocation
- Tronc Allocation
- Tronc Period History
- Tronc Past Week List
Release date: 25th February 2021.
Reason for the Change
To align the look and functionality of these pages with the rest of the Workforce Management solution, improving the overall user experience.
Customers Affected
All Tronc module users.
Release Notes
Tronc Global Settings Page
- To view the Tronc Global Settings page, go to Tronc > Administration > Global Settings
The page that currently displays is shown below in Fig.1.
The selected options within the Global Settings are shown at the end of the row.
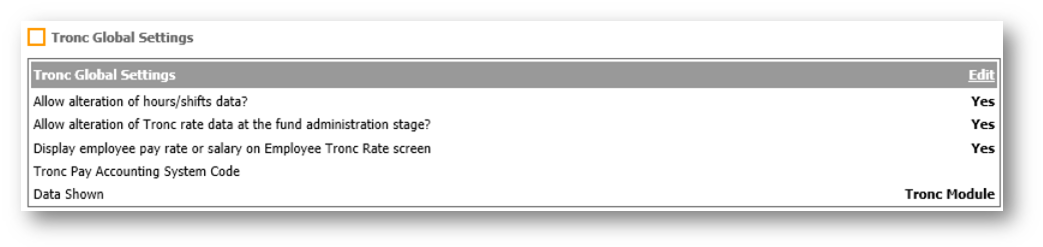
Fig.1 - Existing Tronc Global Settings Page
In the new page, the selected options are displayed closer to the settings – see Fig.2.
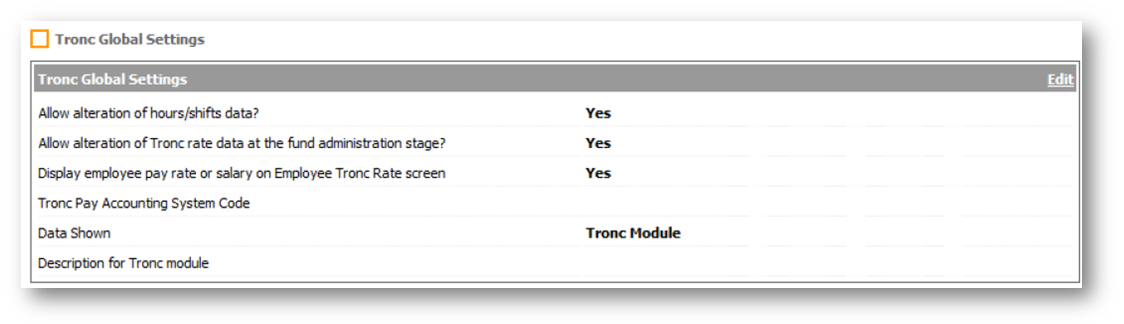 Fig.2 - New Tronc Global Settings Page
Tronc Location Setup Page
- To view the Location Setup page, go to Tronc > Administration> Location Settings
Currently, when moving from the initial setup page to the fund setup page, the button is displayed as Next, as highlighted in Fig.3.
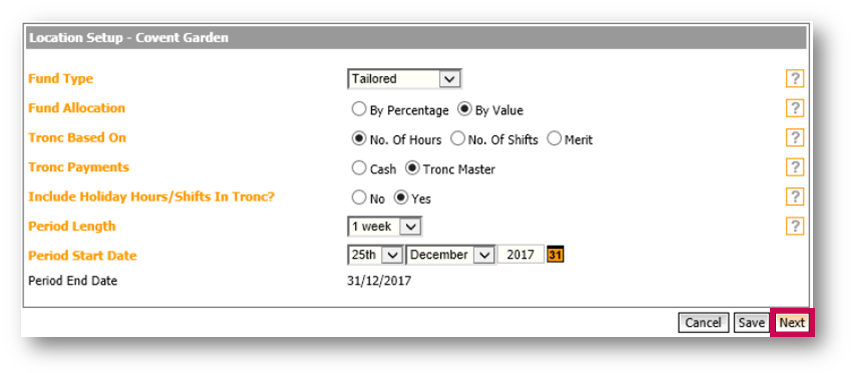 Fig.3 - Existing Tronc location setup page
In the new page, this has been amended to display as Setup Funds – see Fig.4.
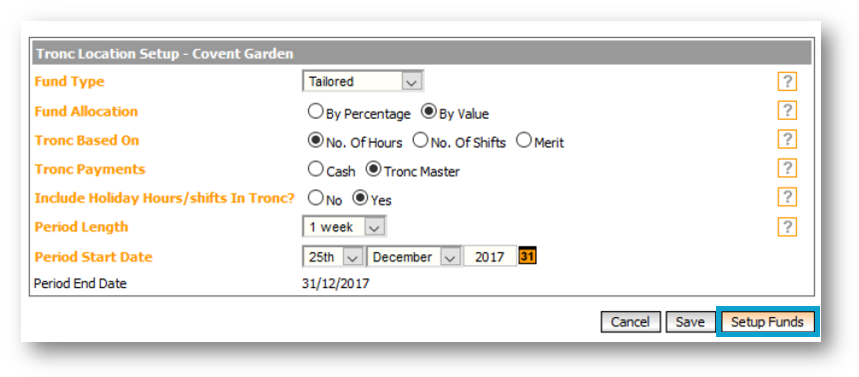 Fig.4 - New Tronc location setup page
Tronc Fund Setup Page
- To go to the Tronc Fund Setup Page, go to Tronc > Location Settings > Fund Setup
The existing page displays the different funds under the header of 'Name', and to add a new fund, the link is simply called Add.
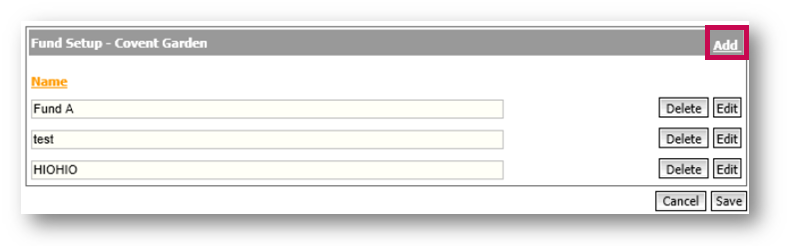 Fig.5 - Existing Tronc Fund Setup Page
In the new page, the funds are displayed more clearly, with the link to add a new fund renamed to Add Fund.
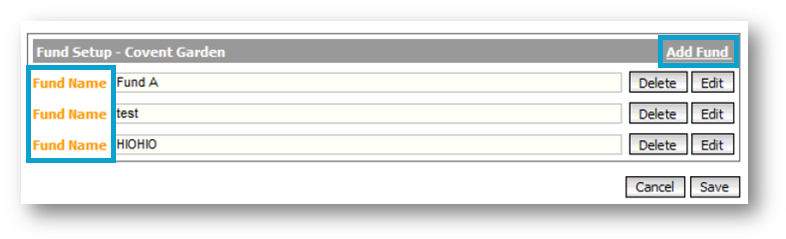 Fig.6 - New Tronc Fund Setup Page
Employee Tronc Rate Page
- To go to the Employee Tronc Rate page, go to Tronc > Employees > Employee Rate
The existing page has an icon against the employee’s name to signify that the employee record is a multiple employment - see Fig.7.
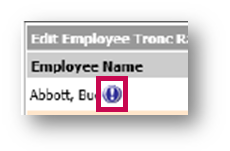
Fig.7 - Existing Multiple Employment Icon
In the new page, this icon has been changed to the standard multiple employment icon that is displayed throughout Workforce Management and has been added to an additional column against the employee’s name - see Fig.8.
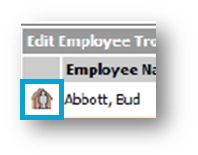
Fig.8 - New Multiple Employment Icon
Tronc Fund Allocation Page
- To view the Fund Allocation Page, go to Tronc > Fund Administration > Week List > select Location
The existing fund allocation page displays all of the tronc funds and their totals. The link to return to the previous page displays as Cancel Location Setup.
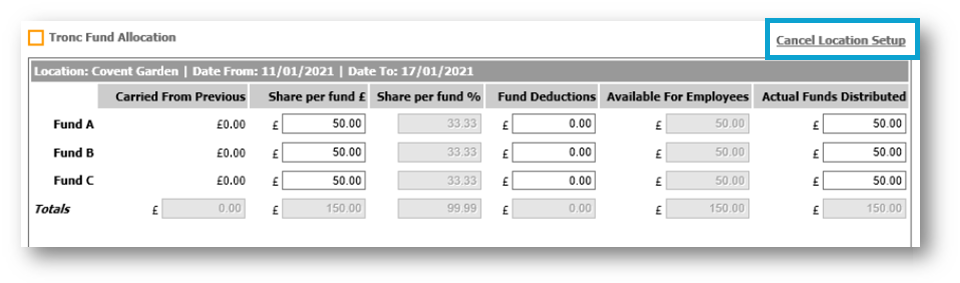 Fig.9 - Existing Tronc Fund allocation page
In the new page, the way in which the funds are displayed has changed to be more structured, and the link to return to the previous page has been renamed Return to Current Tronc Week List.
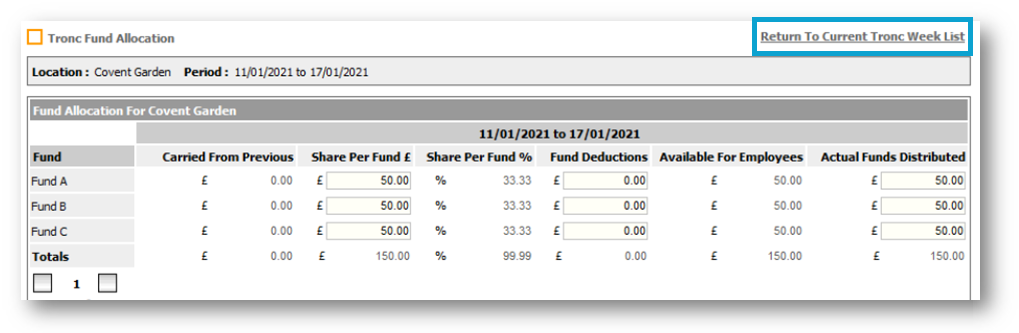
Fig.10 - New Tronc Fund allocation page
Tronc Period Allocation Page
- To view the Tronc Period Allocation Fund, go to Tronc > Fund Administration > Week List > select Location > Next > select Fund
The existing page shows the breakdown of the tronc allocation - see Fig.11.
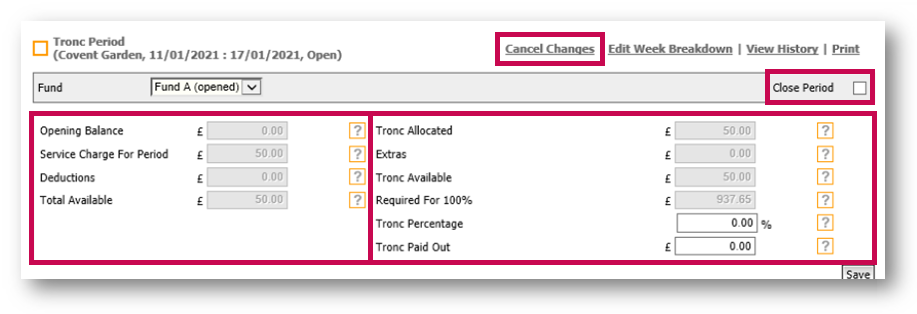 Fig.11 - Existing Tronc Period Allocation page
In the new page, the allocation breakdown is displayed in three columns, rather than the previous two and includes a new field to show the 'Closing Balance'. The Location, Period dates and Fund are displayed in their own section along the top of the page and the Cancel Changes link has been renamed Return to Current Tronc Week List.
Also, the Close Period tick box has been moved from the top of the page to underneath the allocation breakdown section, above the Save button - See Fig.12.
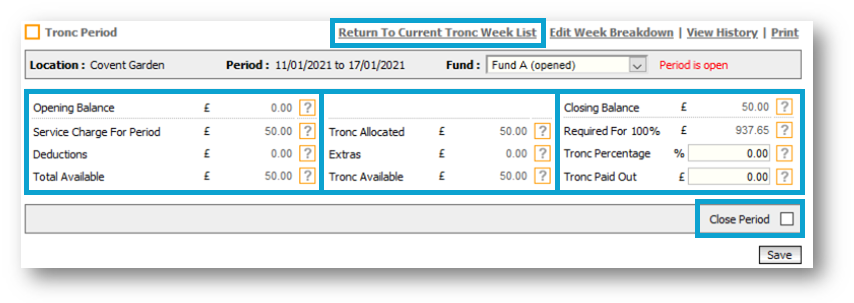 Fig.12 - New Tronc Period Allocation Page
Tronc Period History Page
- To view the Tronc Period History, go to Tronc > Fund Administration > Week List > select Location > Next > select Fund > View History
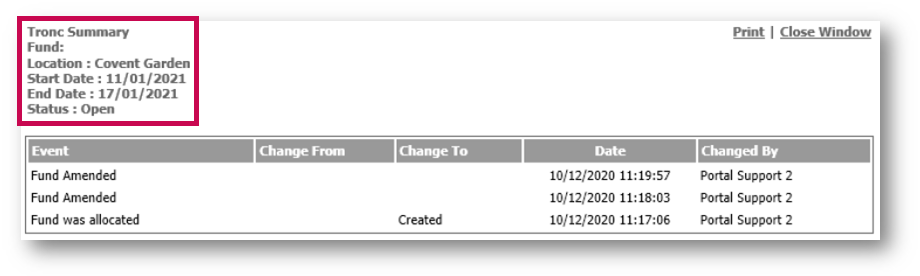
Fig.13 - Existing Tronc Period History Page
The new page has been updated so that the Location, Period Dates and Status now display within their own section.
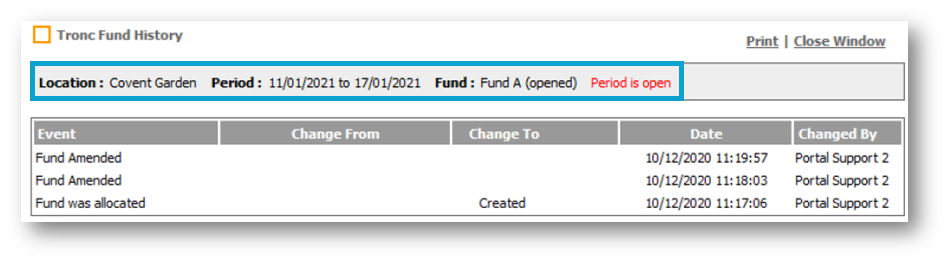
Fig.14 - New Tronc Period History Page
Past Tronc Week list Page
- To view the Past Week List page, go to Tronc > Fund Administration > select Location > View Past Tronc Details list > select Fund
The existing fund selection page allows the user to select the tronc fund, which will then display the details
 Fig.15 - Existing Past Tronc Week List Page
The new page displays the Location and Fund Period along the top of the page.
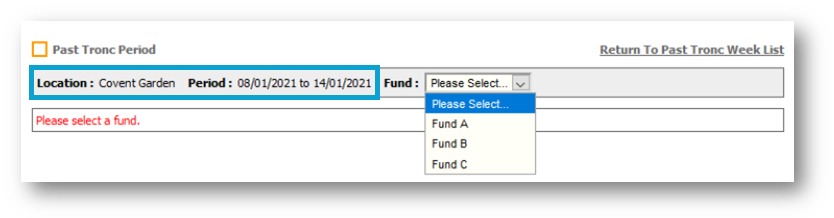 Fig.16 - New Past Tronc Week List Page
Comments
Please sign in to leave a comment.