
Overview
Templates are used to save time and as an effective stock control tool. They can be used to give users a predefined list of items to order from specific suppliers; transfer between sites; transfer to or from accounts; to requisition from a main store site; or input stock counts. Using templates will allow stock controllers to control what items are used and will save users time by providing a predefined list of items instead of having to search through potentially thousands of items to find a few.
This document explains how to create, update, remove and search for templates. It also explains the various types of templates that may be created.
Creating a Template
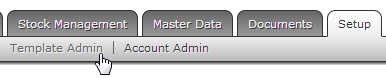
Fig 1 - Template Admin Link
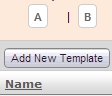
Fig 2 - Add New Template Button
- Click the ‘Setup’ Tab > Template Admin as in Fig 1 above.
- Click the grey ‘Add New Template’ button as in Fig 2 above.
Template Fields
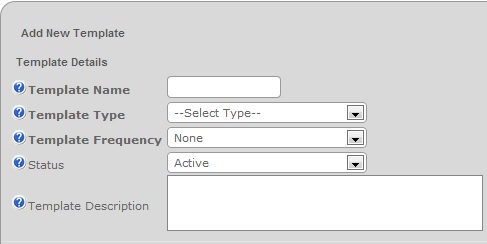
Fig 3 - Add New Template Fields
- Fig 3 shows the default fields available when creating a new template.
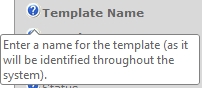
Fig 4 - Tooltip
- The fields will vary depending on options selected namely ‘Template Type’ & ‘Template Frequency’. Fields shown in bold are mandatory.
 ] icon a tooltip shows the function of each field as in Fig 4.
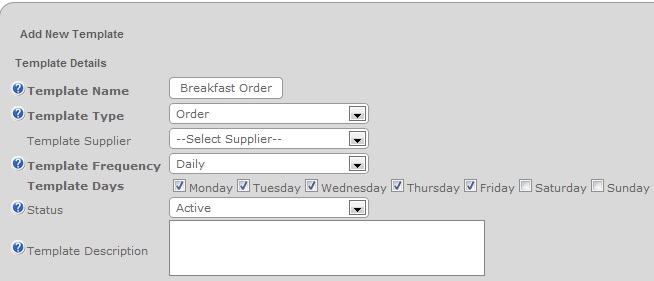
Fig 5 - Completed Order Template
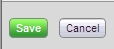
Fig 6 - Green Save Button
- Fill in the fields and click the green ‘Save’ button. (The fields are explained in below).
- In Fig 5 an Order Template is being created to be used Monday – Friday only. No supplier is being selected to ensure that a combination of suppliers’ products is added to the template.
|
Adding Items to a Template
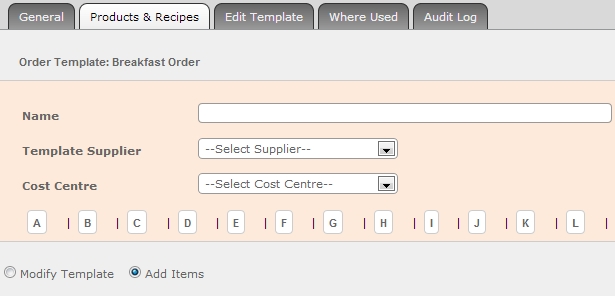
Fig 7 - Product & Recipes Tab
- Once the template is saved the navigates to the ‘Products & Recipes’ tab; at this point the template is created and it is optional to enter the products/recipes to be assigned to the template.
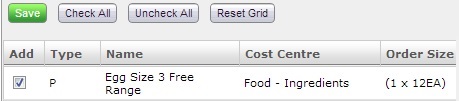
Fig 8 - Add an Item to the Template
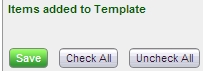
Fig 9 - Item(s) Added Confirmation
- Search for the item(s) that should be added to the template.
- Click the Add Check Box > Click the green ‘Save’ button. The system confirms the additions as in Fig 9.

Fig 10 - Add an Item with Quantities to the Template
- It is possible to add predefined quantities on some or all items added to a template.
- Fig 10 shows an example of this. Users will see the quantities when they go to place an order using the template via the ‘Purchasing’ tab. The quantity will be different depending on the day the user places an order using the template.
Adding a Template to Site(s)
- The final step is to add the template to the relevant site(s).
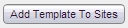
Fig 11 - Add Template to Sites Button
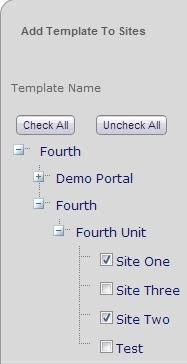
Fig 12 - Add Template to Sites Wizard
- Click the ‘Where Used’ tab shown in Fig 7 above and click the grey ‘Add Template To Sites Button’.
- The system will show the Add Templates to Site wizard as in Fig 12.
- Expand the organisation hierarchy and select the relevant site(s). Alternatively, click the grey ‘Check All’ button to assign the template to all the sites within the organisation.
- Click the green ‘Next’ button.
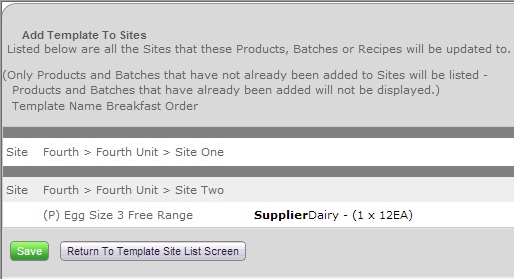
Fig 13 - Add Template to Sites Confirmation
- The system then displays a confirmation screen where it shows the:
- The sites selected in Fig 12 that the template will be added to.
- Any item(s) that are not yet assigned to site.
- Click the green ‘Save’ button to add the template and any missing items to the site(s)

Fig 14 - Template Added to Sites Confirmation
- The system finally displays confirmation that the template and any missing product(s) were added successfully.
Updating a Template
- After creating a template it is possible to edit them. This includes adding and removing the items associated with the template and updating the general details of the template itself. This section explains how to make these changes to ensure that these changes are reflected correctly at site level.
Updating General Template Information
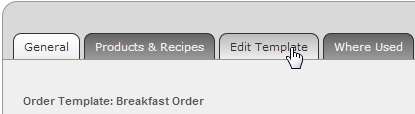
Fig 15 - Edit Template Tab
- Click the ‘Setup’ Tab > Template Admin as in Fig 1 above.
- Search for the template that is to be amended.
- Click on the ‘Edit Template’ tab.
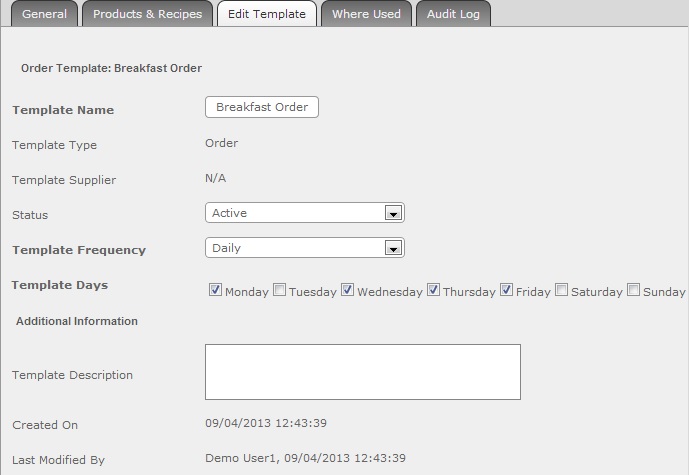
Fig 16 - Edit Template Screen

Fig 17 - Green Save Button
- Make the necessary amendments to the template and click the green ‘Save’ button.
- The example in Fig 16, the template days were amended to exclude Tuesdays.
- Click the green ‘Save’ button shown in Fig 17.
Note: Saved changes made on this tab are applied immediately to all sites where the template is assigned.
Updating Items on a Template
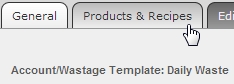
Fig 18 - Products & Recipes Tab
- Click the ‘Setup’ Tab > Template Admin as in Fig 1 above.
- Search for the template that is to be amended.
- Click on the ‘Product & Recipes’ tab.
- To add an item to the template, follow the instructions in the section Adding Items to a Template.
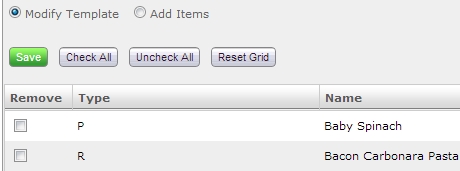
Fig 19 - Modify Template Option
- To modify or remove the items on a template select the ‘Modify Template’ radio button as in Fig 19.
- To remove an item, click the ‘Remove’ checkbox beside the product in question and click the green ‘Save’ button.
- If predefined quantities are used, they may also be updated here; click the green ‘Save’ button.
Fig 20 - Update Template to Sites Button
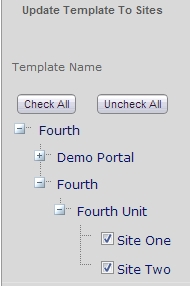
Fig 21 - Update Template to Sites Wizard

Fig 22 - Green Next Button
- Click the ‘Where Used’ tab > then the grey Update Template to Sites’ button.
- Expand the organisation hierarchy and select the relevant site(s). Alternatively, click the grey ‘Check All’ button to update the template to all sites that it is assigned to.
- Click the green ‘Next’ button.
- The system will display a confirmation message similar to that in Fig 13.
- Click the green ‘Save’ button.

Fig 23 - Template Updated Confirmation
- The system will display a confirmation message that the template was updated successfully to the sites selected in Fig 21. It will also confirm any product additions.
Other Template Type Examples
- In the section Creating a Template the template created was a ‘Order’ template. This section shows examples of the other template types: Account/Wastage, Transfer, Requisition and Stock Count. The template type dictates where on the system the template will be displayed i.e. a stock count template will only be available on the stock count input page and will not be displayed when conducting a site transfer.
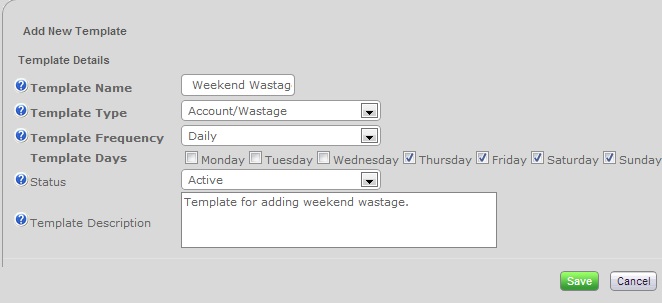
Fig 24 - Account/Wastage Example
- Fill in the fields as in Fig 24 and click the green ‘Save’ button.
Note: To make the template available all days of the week, select ‘None’ from the ‘Template Frequency’ drop-down box.
- Follow the instructions in the sections Adding Items to a Template & Adding a Template to Site(s) to add items to the template and assign them to sites.
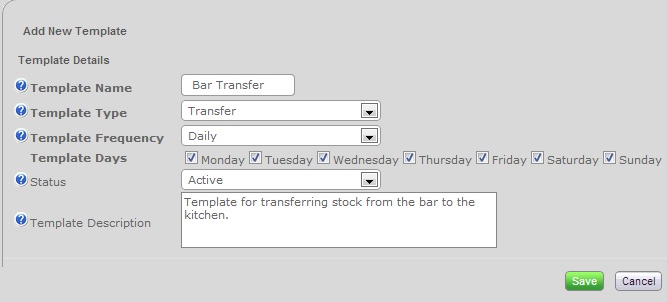
Fig 25 - Transfer Example
- Fill in the fields as in Fig 25 and click the green ‘Save’ button.
- Follow the instructions in the sections Adding Items to a Template & Adding a Template to Site(s) to add items to the template and assign them to sites.

Fig 26 - Requisition Example
- Fill in the fields as in Fig 26 and click the green ‘Save’ button.
- Follow the instructions in the sections Adding Items to a Template & Adding a Template to Site(s) to add items to the template and assign them to sites.
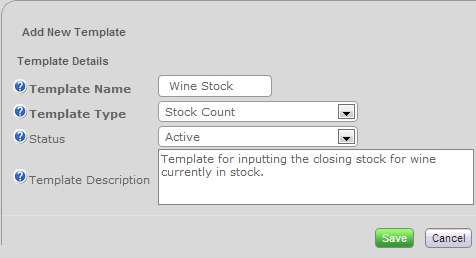
Fig 27 - Stock Count Example
- Fill in the fields as in Fig 27 and click the green ‘Save’ button.
- Follow the instructions in the sections Adding Items to a Template & Adding a Template to Site(s) to add items to the template and assign them to sites.
Comments
Please sign in to leave a comment.