
Overview
This article will cover the Organisational Hierarchy functionality available within the Inventory product. Mentioned below are Access Levels and the creation and maintenance of Entities, Units, and Sites.
User Access
- To see the Organisational Hierarchy (tree view), the user must switch on the menu access permission in the Core roles
- To do this, go to Sys Configuration > All Options > Roles > Core Role (choose relevant role) > Role Functionalities
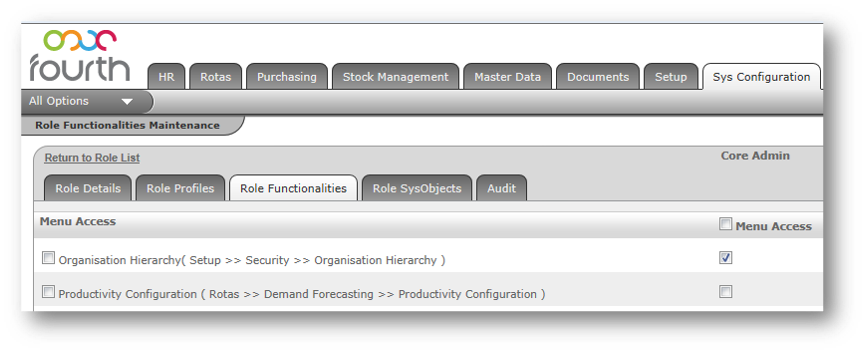 Fig.1 - Roles Functionality maintenance page
- Chose the relevant user profiles that will require this tree view. Ensure their Core role has the above permission switched on
Please note: It is advised that only administrators have access as the functionality is currently full access or no access.
Creating Hierarchy Items
- To locate the tree view of the organisation, navigate to Setup > All Options > Organisational Hierarchy
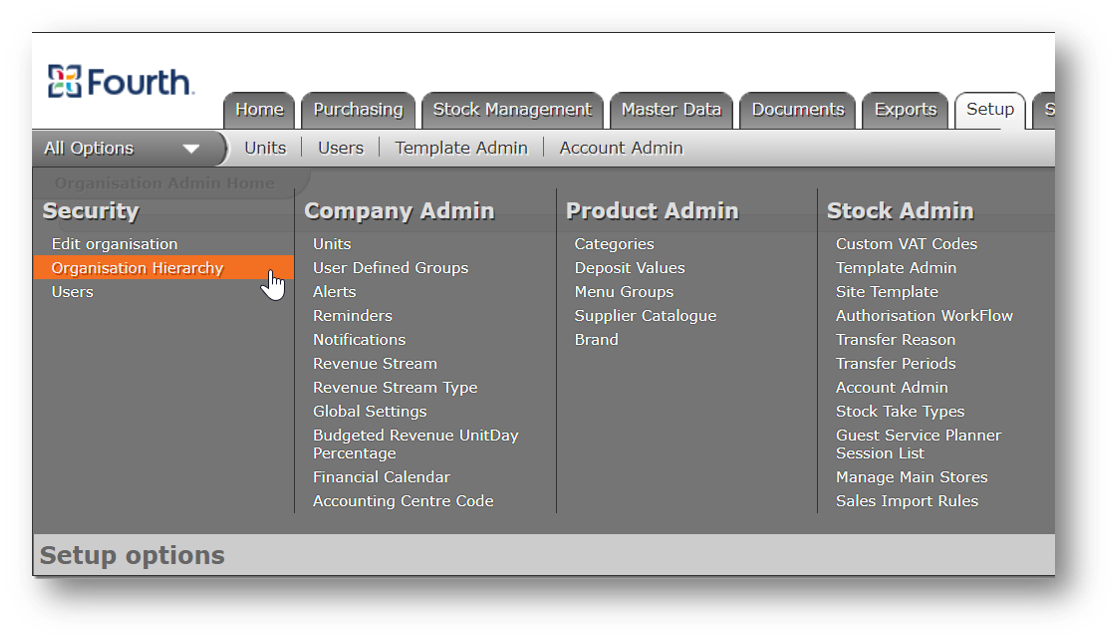
Fig.2 - Organisation Hierarchy link
- Expand the Organisation Hierarchy - use the + icon
The tree view of the organisation will be displayed. In Fig.3 below, the tree view shows the organisation 'DemoEMEASM' and a list of Entities, Units and Sites beneath it.

Fig.3 - Organisation Hierarchy tree
- Entities can be recognised by the folder symbol on the left-hand side of the name. They can be moved to live beneath any other Entities but not under Units or Sites
- Units can be recognised by the house symbol on the left-hand side of the name. They can be moved to live beneath any other Entity but not under Units or Sites
- Sites can be recognised by the map location symbol on the left-hand side of the name. They cannot be moved to any other Unit and must stay in the one it was originally created under
Entities
Entities are used to group Units. There is no limit to the number of Entities required in the organisation. Entities can live beneath Entities but never beneath Units or beneath Sites
- To create a new Entity either select on the organisation or on an existing Entity that the new Entity should live beneath
- Once the hyperlink appears, select Create new entity
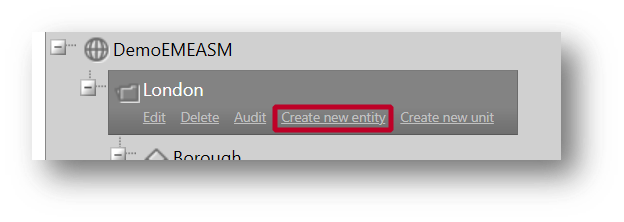
Fig.4 - Create new entity link
- A pop-up box will appear, complete the name of the new Entity and then select Save
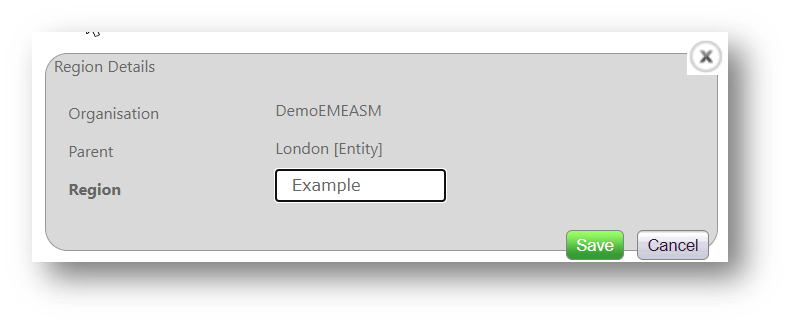
Fig.5 - Mandatory fields for creating an Entity
- The new Entity will now appear on the tree
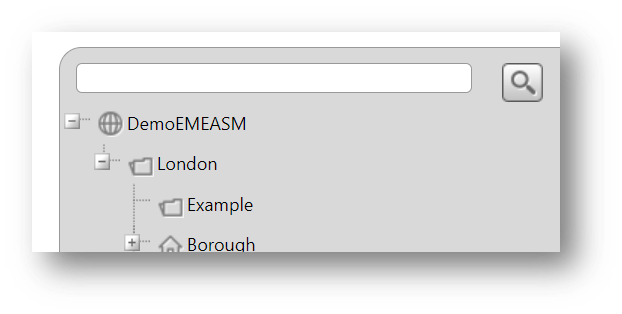
Fig.6 - Newly created Entity
Units
- Units represent the physical locations within the organisation. There is no limit to the number of Units in use within the organisation. Units can live beneath Entities but never beneath other Units or beneath Sites
- To create a new Unit either select on the organisation or on an existing Entity that the new Unit should live beneath
- Select the Create new unit link once it appears
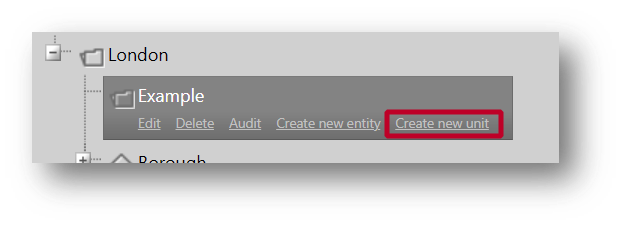
Fig.7 - Create new unit link
- Within the Unit details, Complete the Unit name - this would usually be the locations name
- Complete the Account System Code (PS) if relevant - this is the code in the accounts package to identify the location and should be consistent across both Purchase to Pay and Workforce Management Solutions
- Complete the Unit Code Prefix - this is the Unit code or location ID. It can be anything but ideally will have the location name in it as part of the code. This is used in various reports.

Fig.8 - Mandatory fields for creating a new Unit
- The new Unit will now appear on the tree
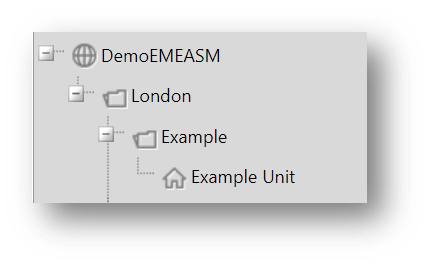
Fig.9 - Newly created Unit
- The Unit Details must still be populated on the Unit List page
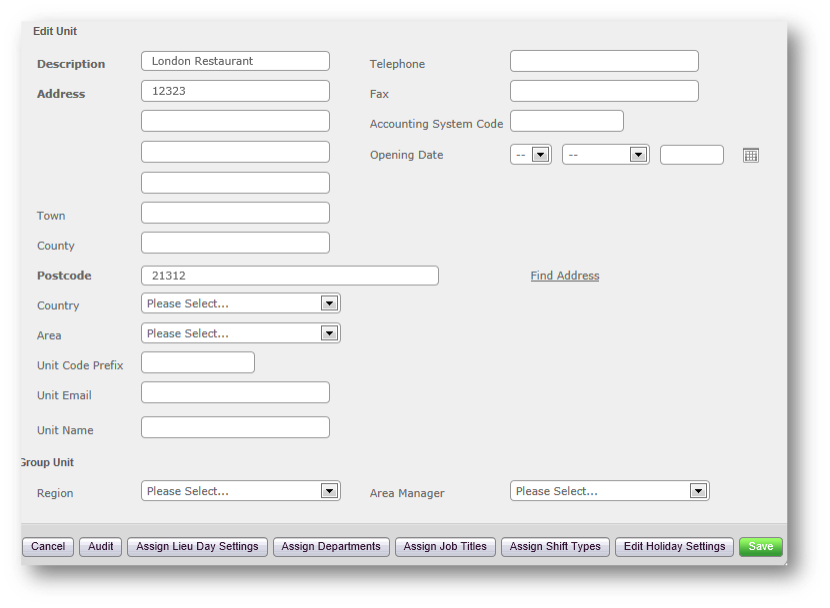
Fig.10 - Edit Unit details
- The Unit list is found in Setup> All Options > Units and contains the list of active Units. Here is where the Unit details should be updated
Please note: If a Unit is created here and not on the tree, then the Unit will live on the tree but won’t live beneath any Entity. It is advised that Units are only edited on the Unit List for this reason.
Sites
Sites are stock locations within a Unit. Every Unit should have at least one Site. There is no limit to the number of Sites there can be in a Unit.
Please note: Sites can only live beneath the Unit they were created under.
- To create a new Site, select the Unit the Site will belong to
- The link to Create a new site will appear, select it
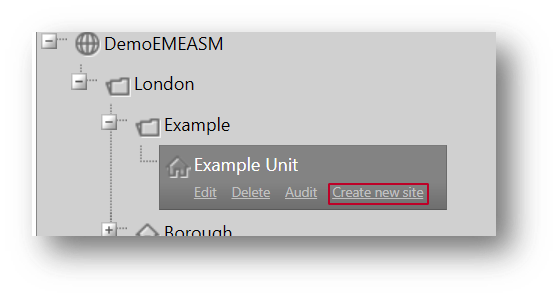
Fig.11 - Create a new site link
As shown in Fig.12, complete the:
- Site Name - This would usually be the locations name plus the stock location type if splitting food and beverage in the Unit. E.g. Test Bar, Test Food, Test Consumables etc.
- Site Code - This is the code or location ID. This code is used to match incoming POS sales so must match the ID being sent by the POS provider. There is an exception to this rule, when Sales Splitting is in use. Find out more here Inventory Restaurants: Setting up Sales Split Rules
- Main Phone
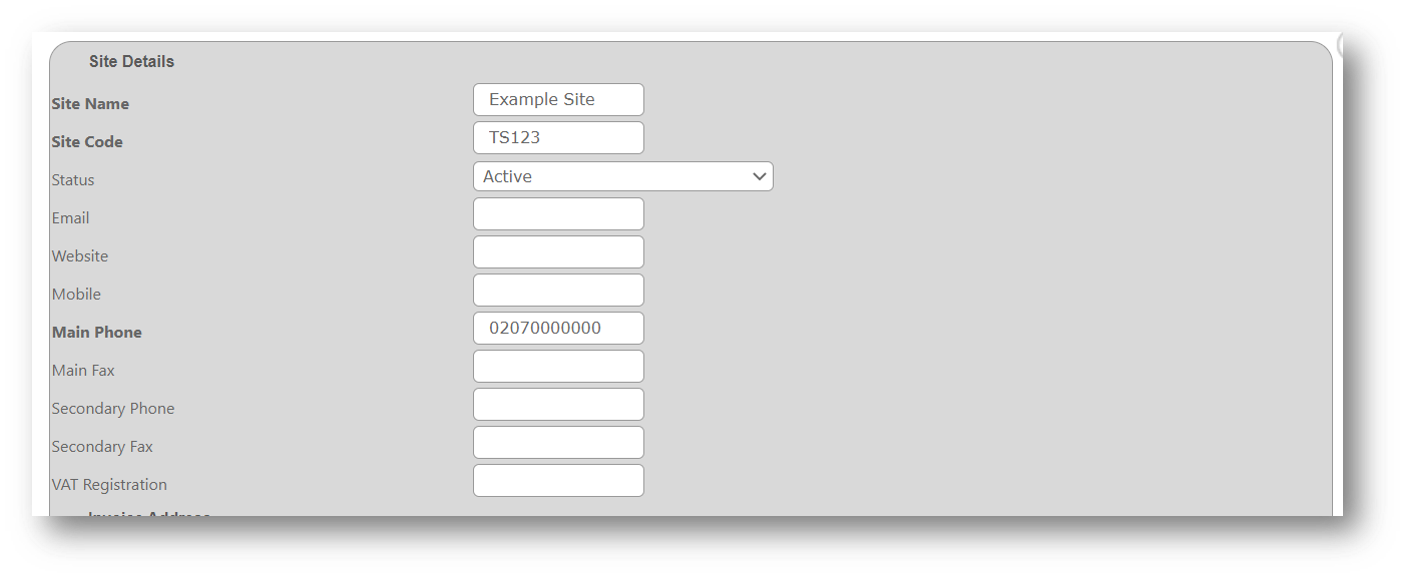
Fig 12 - Create a new site field
As shown in Fig.13, complete the:
- Invoice Address - This is the address seen by the supplier on the purchase order to send paper invoices to
- Delivery Address - This is the address seen by the supplier on the purchase order to send the physical delivery to
- Delivery Times and Delivery Notes can be completed and will appear on any email purchase orders to suppliers

Fig 13 - Create a new site field
- Confirm the First Stock Period start date
- Complete the Default Stock Period Length. It’s normal for all Sites within the same Unit to be on the same stock period length
- Select Save
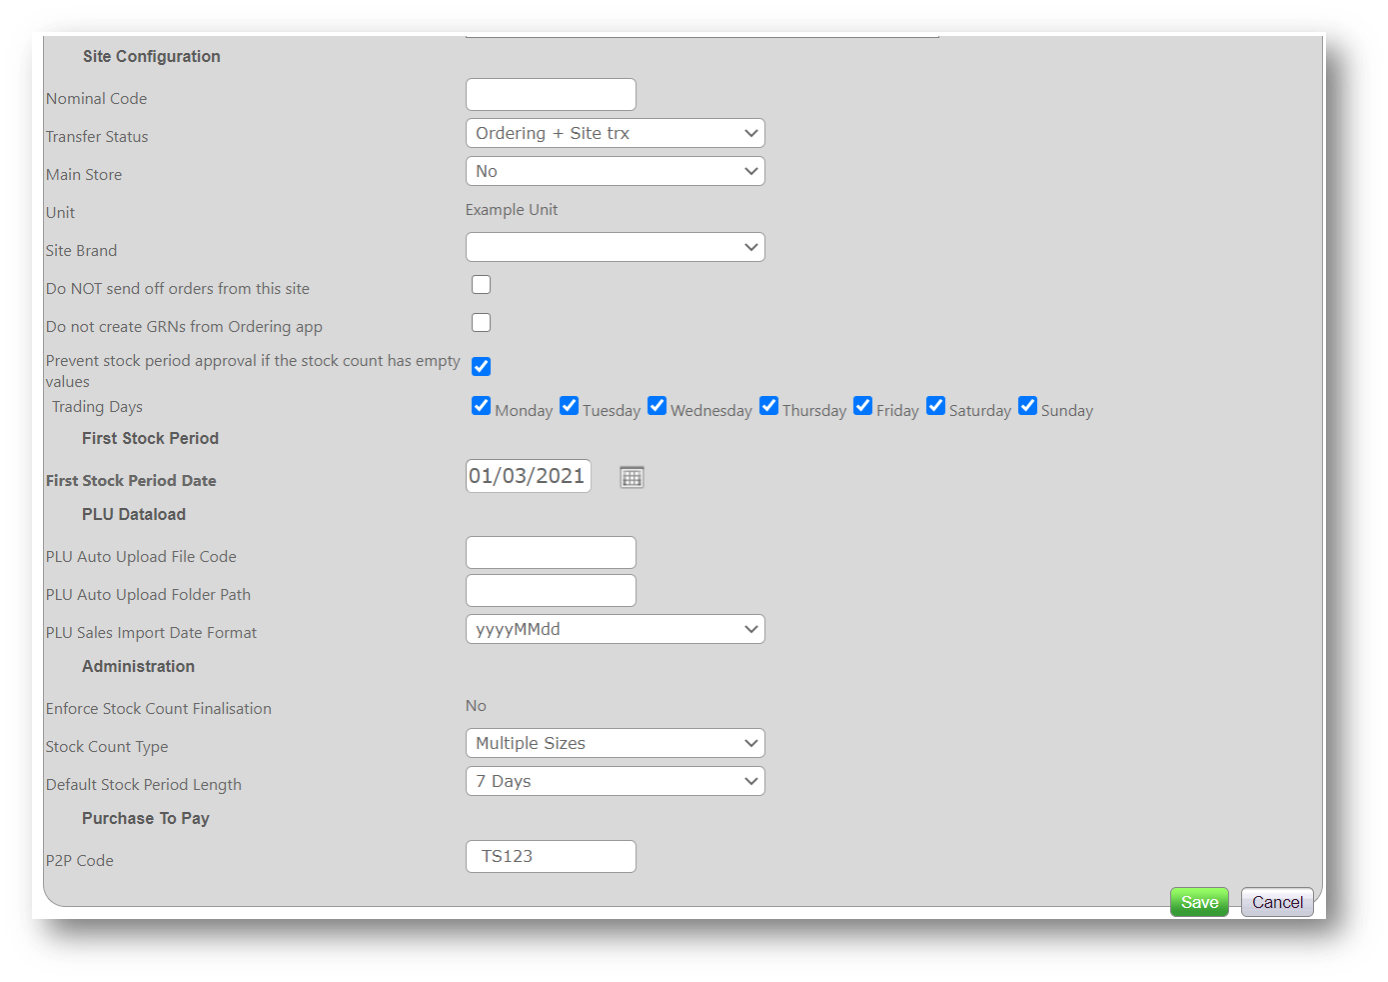
Fig.14 - Other stock related fields
- The new Site will now appear on the tree
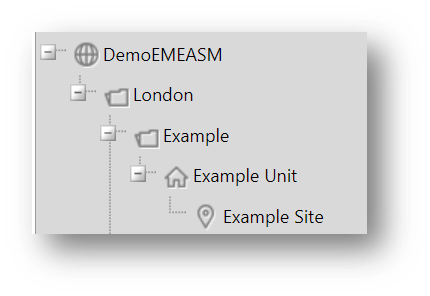
Fig 15 - Newly Created Site
Moving Units and Entities
There may be a requirement to move Entities or Units around. This can be done using drag and drop on the tree. Only move Entities or Units if there is a requirement to do so.
- Before moving a Unit or Entity, ensure the location of the new entity or the place on the tree is known
- Expand the boxes to find where the Unit or Entity must be moved to
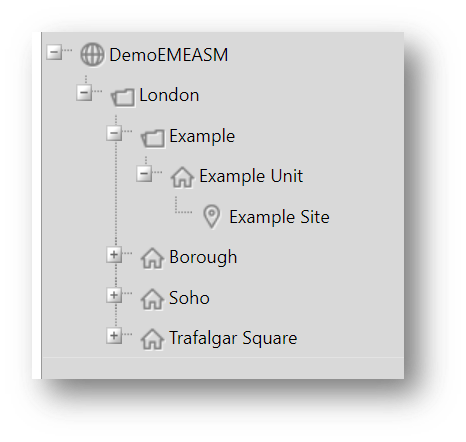
Fig.16 - Organisation Hierarchy tree
- Locate the Unit or Entity that is to be moved

Fig.17 - Unit that will Be moved
- Left Click on the Unit or Entity that is going to be moved and keeping your finger the mouse or pad drag the Unit or Entity to the location on the tree that it should go to
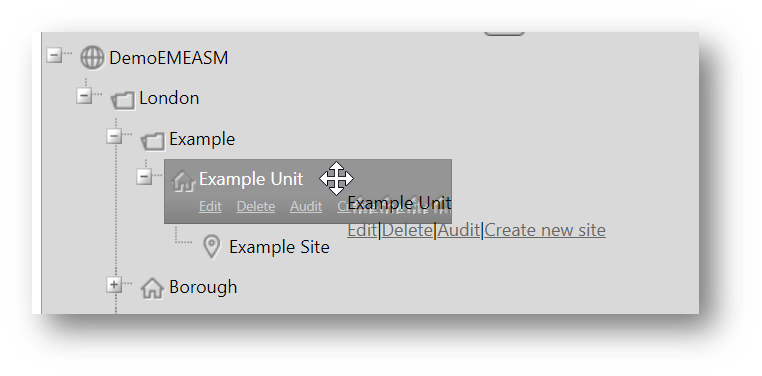
Fig.18 - Dragging the Unit
- When the Unit or Entity is hovering over the location is should be moved to, give it a second or so as the tree will expand and the Unit or Entity can be placed where it belongs

Fig.19 - Hierarchy after Unit move
- Select Save if happy with the move. It’s advised to save after each change if making lots of movement
- It’s advised to note which movements were made in case they require reversal
Fig 20 - Save Button
- A pop-up will appear to confirm changes made, select OK
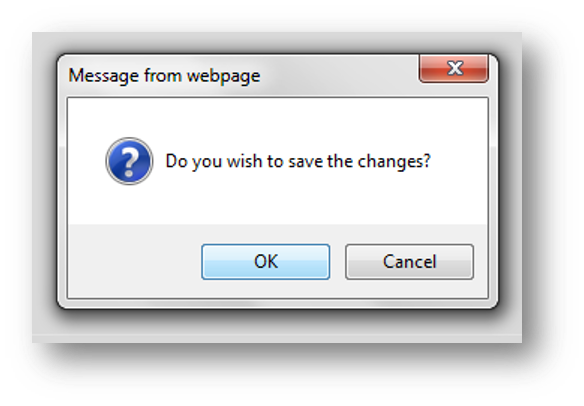
Fig.21 - Save Changes prompt
- The Unit or Entity will now appear on the tree in its new location
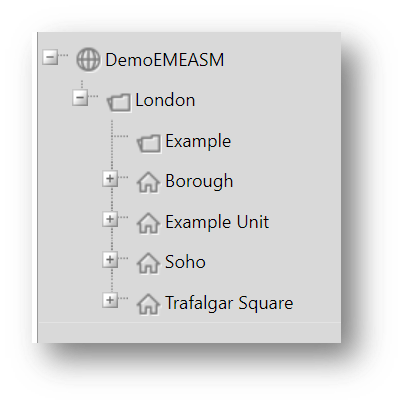
Fig.22 - Unit & Site After Move
Editing and Deleting
- Currently there are no user permissions on editing and deleting, so if a user has access to the Organisation Hierarchy it means full access
- Below are the specifics of each area that can be edited or deleted and any restrictions:
- All areas in the Site can be edited. Any changes will prompt an alert of “are you sure you want to do this”
- All fields in the Unit can be edited
- All fields in the Entity can be edited
- A Site can be deleted as long as there are no suppliers, active products, batches or menu items assigned to it
- A Unit can be deleted only if there are no active Sites below it and if there are no current or former employees allocated to it. Employee records must be moved first
- An Entity can be deleted if there are no Units or other Entities beneath it
Comments
Please sign in to leave a comment.