
Overview
It is essential that all users of the system have their own unique user profile to ensure the correct access levels are applied to each user and to safeguard auditing information throughout the system.
Users are assigned particular locations, security and cost centre access when created and each user can be associated with multiple profiles at different access levels if required.
This article describes the best practice method for creating a new user on the system.
Before Creating a New User
Creating a new user is a process that can only be completed by an individual with a higher level of access than the user that they are creating.
Please Note: All roles and profiles which are required to create the user must be set up before a new user can be created.
Roles and profiles will be configured as part of the system set up by a Fourth Solution Consultant as per each organisations specific requirement.
Before creating a new user, it is advised to search the system first to ensure that this user does not already exist on the system.
To do so:
- Select the Setup tab
- Select Users
- Use the search filters to confirm that the user does not already exist within the system
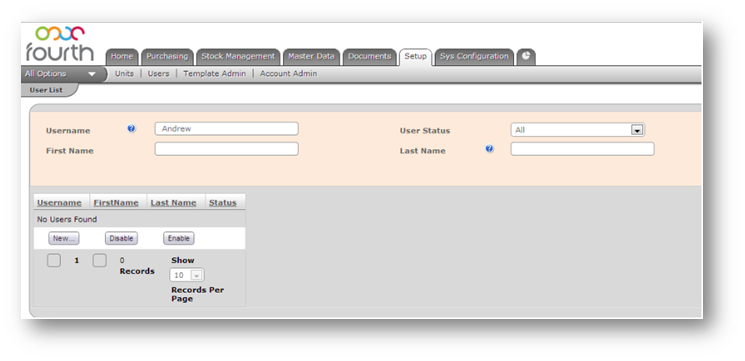
Fig.1 - User List
- Once confirmed that the user does not already exist, select New to create a new user
Creating a User
User Details
Mandatory fields must first be completed before a user can be created.
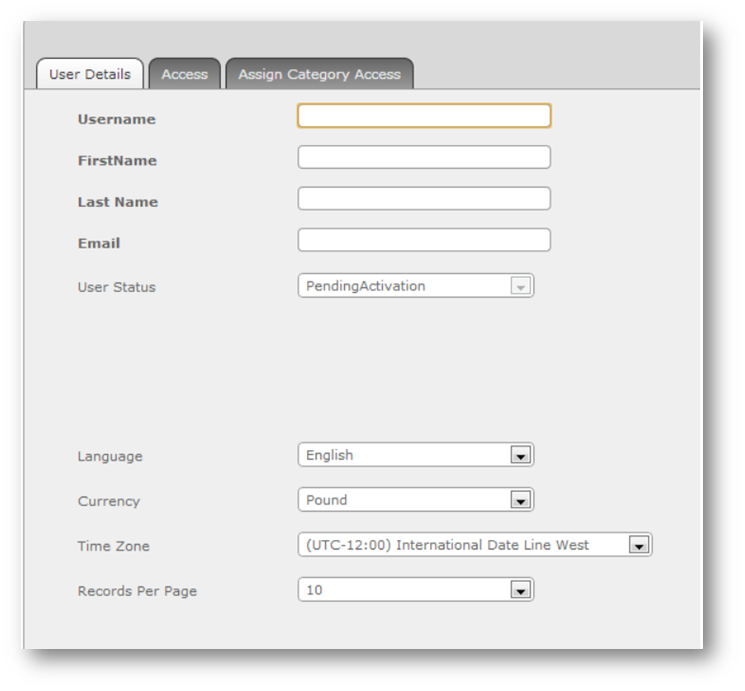
Fig.2 - User Details Page
- Creating a Username is mandatory. It is advised that all users created follow a standardised username convention
Please Note: Each username must conform to an email address format
- Enter the user's First Name and Last Name
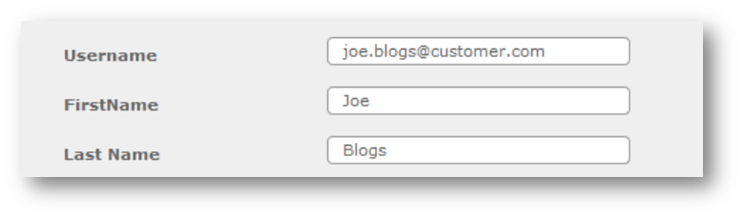
Fig.3 - Primary User Detail Fields
- A valid email address must be entered in the Email field, as this will be used to activate the user once fully configured
Please Note: The email address entered is also used by the system when a user has forgotten their password. If a password reset is requested, the system will generate an e-mail to the address specified in this field to allow a user to reset their password.

Fig.4 - Email Address Field
- Select the required Language which the system is to be displayed in, along with the Currency of the system which is displayed
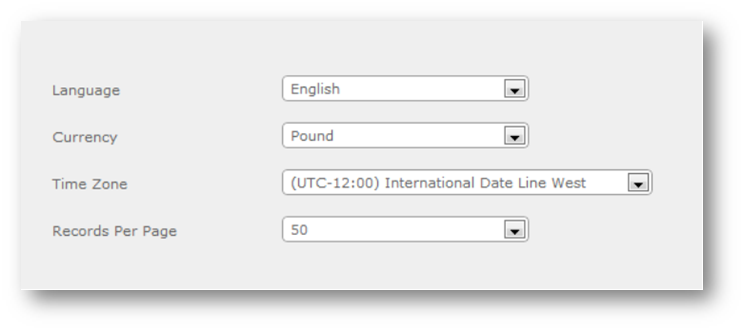
Fig.5 - Language & Currency Fields
- Enter the required Time Zone
- The Records Per Page is set to default per user, this can be changed if required. The available options are 10, 25, 50, 100
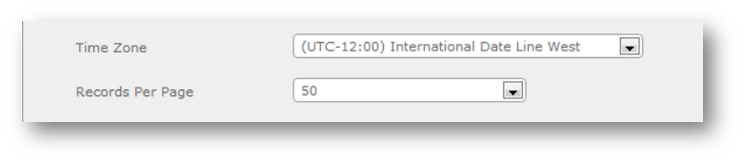
Fig.6 - Time Zone & Default Records Per Page
- Once all the details have been entered, select Save
Fig 7 - Save Button
Assigning Access Levels
The Access tab will then display, where the relevant Location and Security Level access can be configured.
Please Note: At least 1 Security Profile must first be added to a user before Location access can be configured
- To add profile(s) to a user, select Add Profile
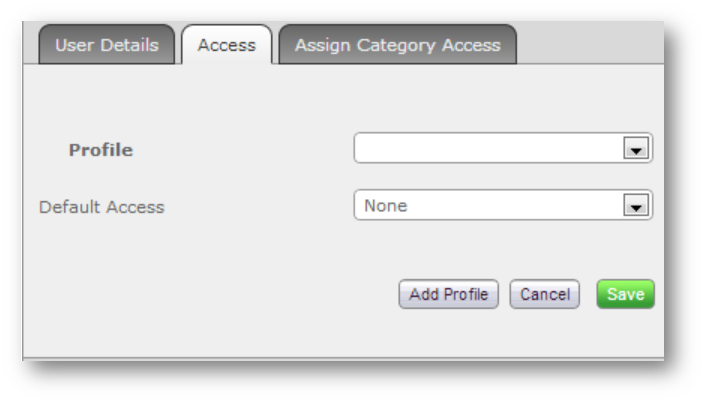
Fig.8 - User Access Tab
A list of the available profiles is then displayed.
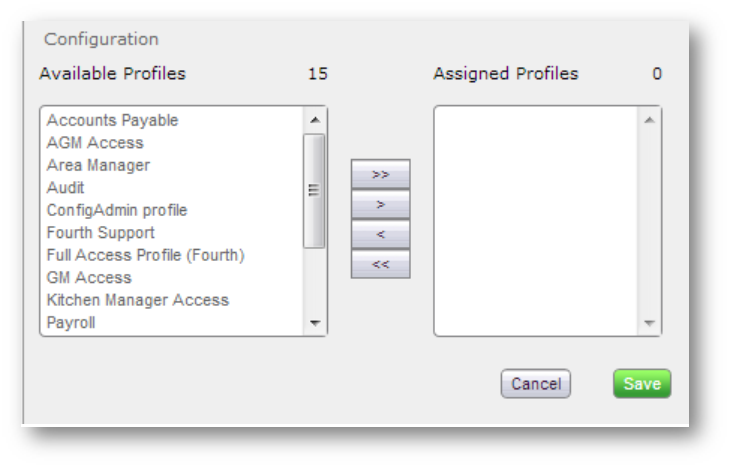
Fig.9 - Available Profiles
- Use the arrows in the centre to move the required Profiles to the Assigned Profiles area
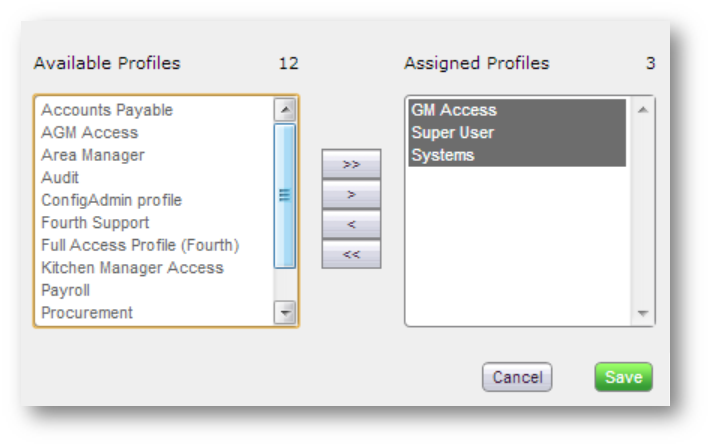
Fig.10 - Assigned Profiles
- Once all required Profiles have been assigned, select Save
The assigned Profiles will then be available from the Profile drop-down on the user creation screen.

Fig.11 - Profile Drop-down List
Once a Profile has been assigned, the relevant Location Access per profile can be configured.
- Select from the Default Access drop-down menu to configure Location Access. The available options are:
- None – No site access will be given to the user, therefore they will have no access to site stock details when selecting the relevant profile
- Bespoke – Only specific site(s) will be available to the user when logging in with the relevant profile
- All – All sites within the organisation will be available to the user when logging in with the relevant profile
When Bespoke is selected, the organisational list will be displayed.
- Select the relevant Site Access which is required to be assigned to the user by selecting the lowest entity level available to configure the appropriate site access
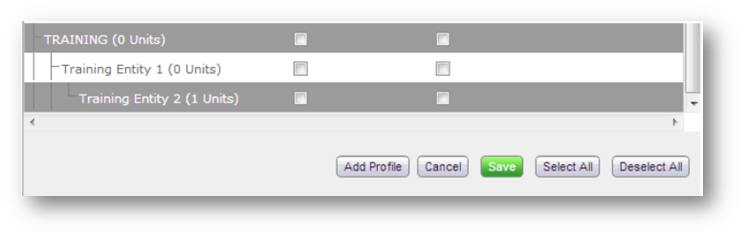
Fig.12 - Available Units
- Tick the boxes of the relevant Access required and Save
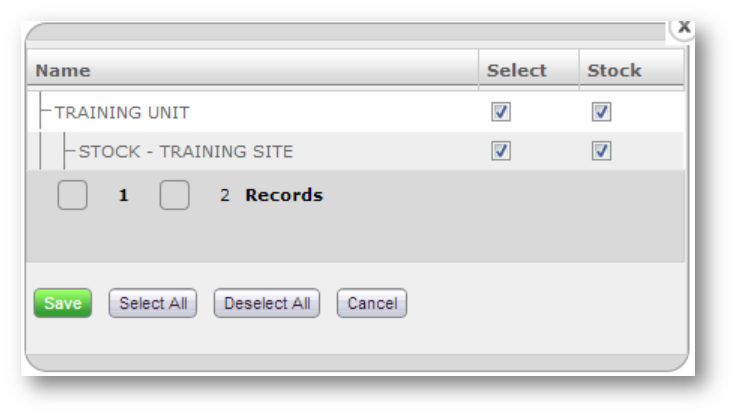
Fig.13 - Assign Unit Access Screen
- Access to Units and Sites can be assigned by selecting the relevant tick box on the main page
A summary of the access will then be displayed.
- Save the changes and close the window
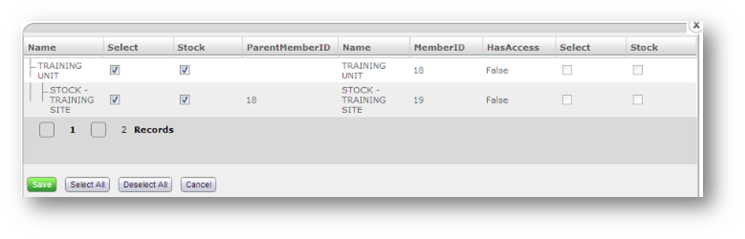
Fig.14 - Access Summary Page
Site access is displayed by a greyed-out box on the Location access which has been configured.
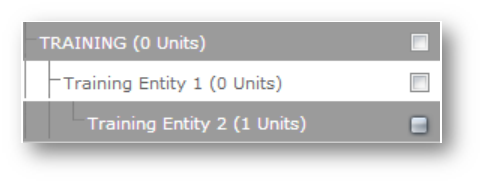
Fig.15 - Greyed Out Box on Location Access
- Save these changes on the main page
Please Note: This access is configured for the profile selected. If multiple profiles are assigned to a user, the relevant Site access must be configured per profile by selecting from the alternate profiles in the drop-down menu.
Once the Security and Site Access has been configured, the relevant Cost Centre can be assigned.
- This is assigned per profile and the changes must be saved for each profile
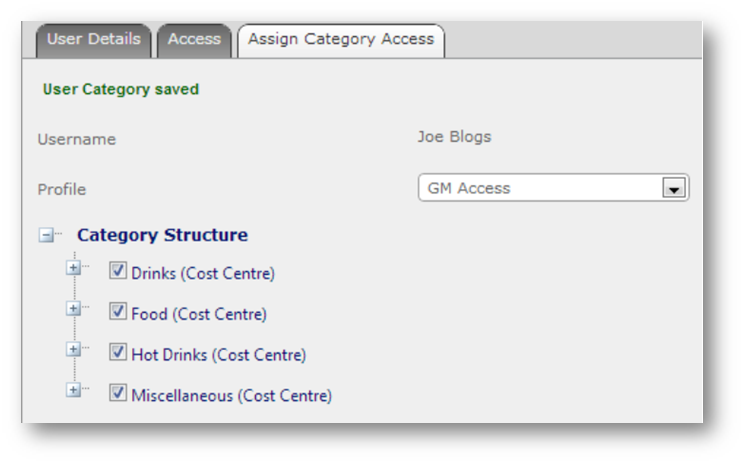
Fig.16 - Category Structure
Activating a User
Once a user has been created and the relevant Access Levels assigned, the user must be activated to allow for a password to be created.
- Select the User Details tab
- Select Activate User to generate an email to be sent to the email address in the user's details
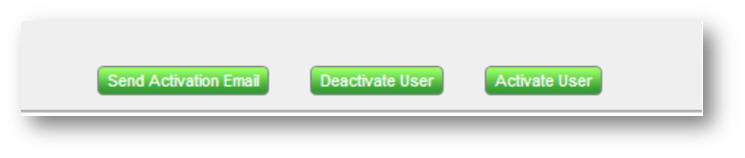
Fig.17 - Activate User Button
- An email will be generated and will look similar to that shown in Fig.18
- Select the link in the body of the email to create a new password
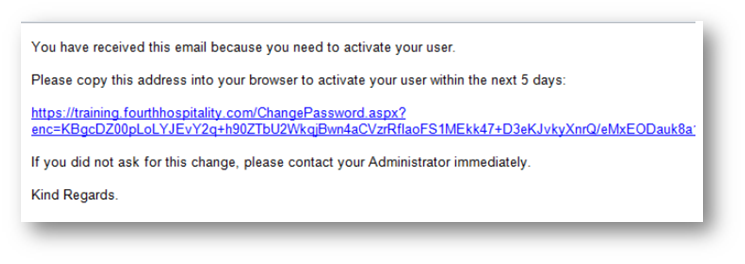
Fig.18 - Activation Email
The user needs to create and confirm a password. Once this is completed, the password will be allocated to the created user.
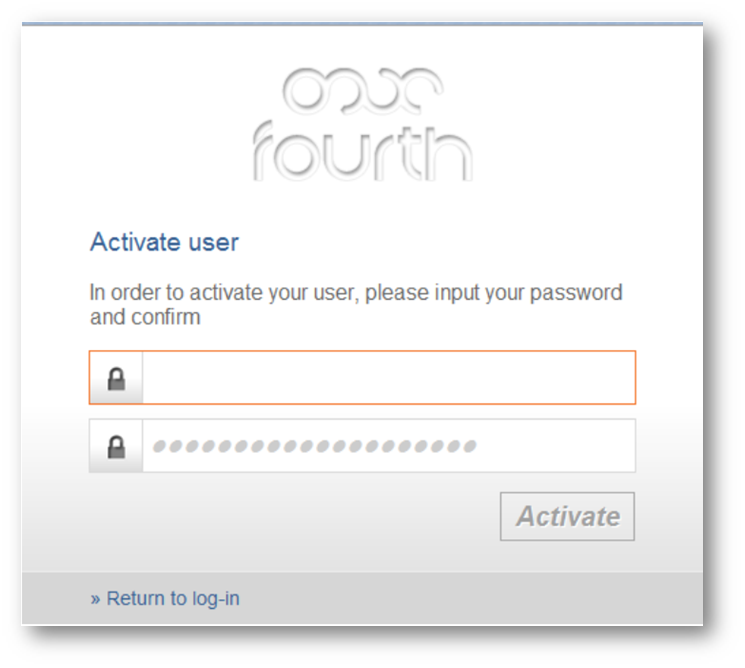
Fig.19 - Activation Page
- A system password must meet 3 out of 4 of the below criteria to be accepted:
- Lower case letter
- Upper case letter
- Symbol e.g.’?’
- Number
The Activate button will become accessible when the same password is entered in both fields, as this confirms the password details.
- Select the Activate link and the user will be active on the system
Other User Functions
- Once a user has been activated, the below actions become available
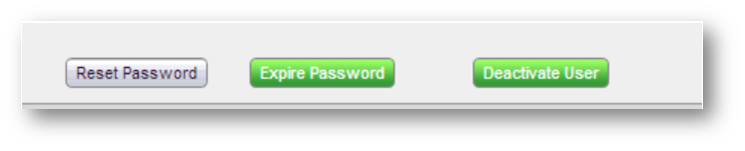
Fig.20 - Available User Options
Reset Password
-
This will generate an e-mail to the address specified in the general user details asking the user to reset their password details
-
The user must select the link in the body of the email generated to reset their password
Expire Password
-
This will prompt a user to change their password the next time they log on to the system
-
A global setting can also be configured to set a standardised time at which point the system will automatically expire all password details e.g. after 3 months from user creation
Deactivate User
-
This will disable the user and prevent them getting any further access to the system
-
It is best practice to include the de-activation of users as part of the organisation exit check list
Comments
Please sign in to leave a comment.