
Outlet List Report
The Outlet List report is used to see all the outlets that exist within Adaco.- To run this report, go to Report Centre>Property Reports>Outlet List.
- Double-click Outlet List Report or select the report and click Run Report, to open the report criteria screen, as per Fig. 01.
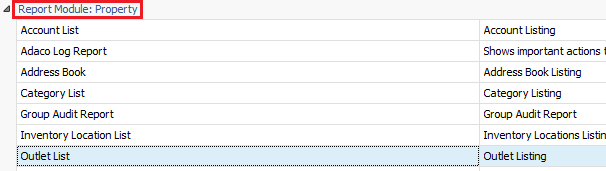
Fig. 01 - Running the Outlet List Report
Report Criteria
The report criteria becomes available after the double-clicking to open the report.
- Click Modify Criteria to sort the report in different ways, see Fig. 02.
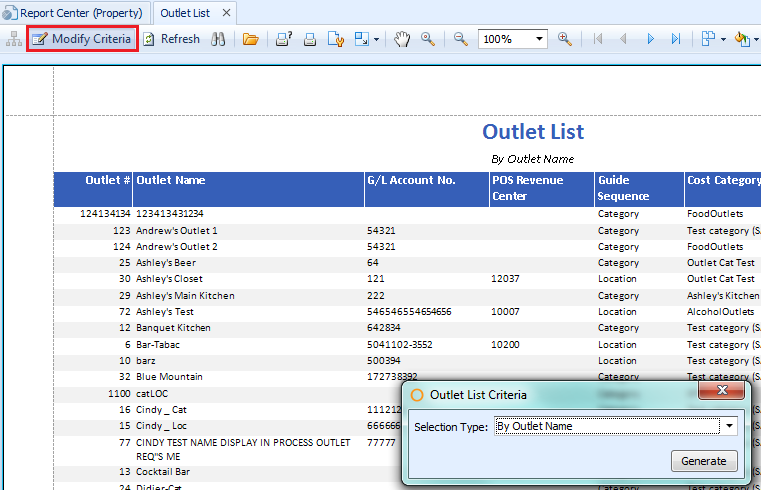
Fig. 02 - Report Criteria for the Outlet List report
| Fields | Description |
| Selection Type |
By Category/Name: generates the report in alphabetical order by the name of the category. By Category Number: generates the report in numerical order. |
Report Results
When the Outlet List report is generated, the result should look similar to Fig. 03.
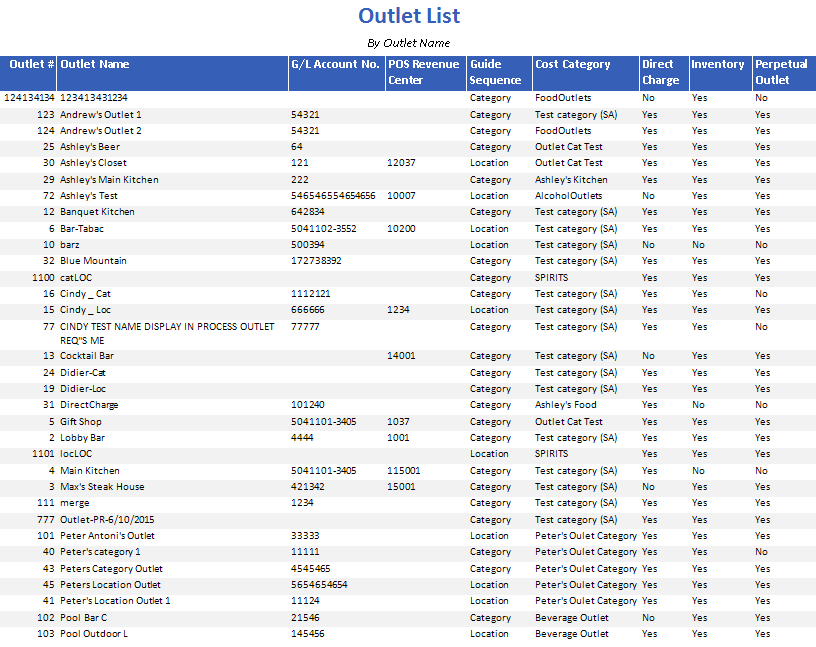
Fig. 03 - Outlet List Report results
| Fields | Description |
| Outlet # | The Adaco number of the outlet. |
| Outlet Name | The name of the outlet. |
| G/L Account No. | Displays the general ledger account number assigned to the outlet under Property>Setup>Location>Outlet. |
| POS Revenue Centre | Displays the point of sale revenue centre account number of the outlet, set up under Property>Setup>Location>Outlet. |
| Guide Sequence | Displays whether the outlet is a location or category outlet, set up under Property>Setup>Location>Outlet. |
| Cost Category | Displays which cost category the outlet has, set up under Property>Setup>Location>Outlet. |
| Direct Charge | Displays a Yes if the outlet will receive products directly or a No if the outlet will never receive products directly, set up under Property>Setup>Location>Outlet. |
| Inventory | Displays a Yes if the outlet is marked for inventory or a No if the outlet is not marked for inventory, set up under Property>Setup>Location>Outlet. |
| Perpetual Outlet | Displays a Yes if the outlet is perpetual or a No if the outlet is not, set up under Property>Setup>Location>Outlet. |
Comments
Please sign in to leave a comment.