
Overview
The User Center in Purchasing & Inventory (formerly known as Adaco) is used for creating new users and maintaining/updating existing ones. This article provides instructions for how to do this.
Creating a New User
- Go to Property > User Center
- Select New
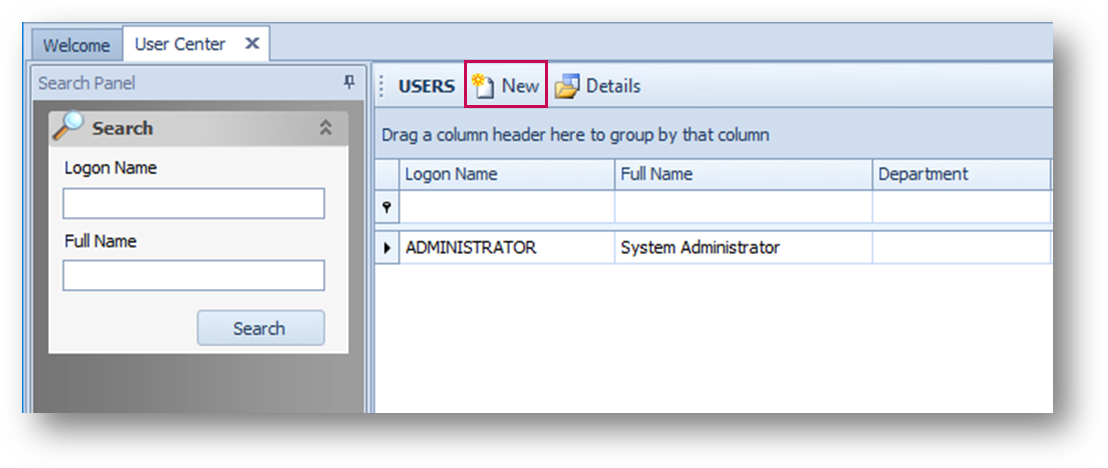
Fig.1 – New Button
The ‘Add User’ screen will display, as shown in Fig.2.
Further information on the fields within this screen is detailed below.
Fig.2 - Add User Screen
Please Note: Fields marked with * are compulsory.
| Field | Description |
| Add Type |
|
| Authentication Provider | Default is 'Builtin Database', but this can be configured by Fourth to be the company's Active Directory |
| User Name |
|
| Full Name | Free type field to enter the user's full name |
| Title | Free type field to enter the user's Job Title (for reference only) |
| Department | Free type field to enter the user's Department (for reference only) |
| Email Address | Free type field to enter the user's primary email address - this typically includes the business domain and will be used for all notifications and approval emails if applicable |
| SSO Email Address | If Fourth's Single Sign On (SSO) is configured, then this will be the relevant SSO login email. This is usually a personal email address when integrated with Workforce Management solutions, e.g. Payroll, Scheduling, Benefits Please Note: If this field is left blank, SSO will refer to the standard Email Address field above |
| Phone Number | Free type field to enter the user's phone number (for reference only) |
| Fax Number | Free type field to enter user's Fax number (for reference only) |
| User Outlets | Drop-down menu to select which Outlets the user has access to Please Note: Users will only be able to order and/or transfer to Outlets are flagged here, but can Outlet requisition from any Outlet |
| Primary Property | Will default to the property which the user is being created in, or the property that the user is being imported from. If importing, then the primary property can be changed to the new property |
| Default Segment | Will pre-populate Product Search screens with this value in the Segment criteria |
| Needs Allowed Route | Checking this will open the Allowed Routes field. If this is not ticked, the user will have access to all routes (depending on overall access) |
| Allowed Routes | Drop-down menu to select which Approval Routes the user has access to. Please Note: Routes will vary depending on if the route is a Requisition, Recipe, Project, Quotation or Invoice route |
| Receive Rejection Notification | If checked, the user will receive a notification for all rejections within the selected property If unchecked, the user will only receive notifications sent to them |
| Reviewer Approver Final Approver |
If checked, the user has the ability to review, approve or final approve when assigned to an approval route
|
| Approval Limit | Maximum limit for the individual user to be permitted to approve requisitions Please Note: The Approval Limit does not apply for Recipe, Project, Quotation or Invoice routing |
| Has Fourth Account | Identifies if the user has been sync'd with the Fourth Account Service for SSO login capabilities |
| User Groups | Assign User Group(s) defined access to a user to manage security rights across the solution |
| User Approval Groups | Assign users to the Approval Groups to be utilized within approval processes in place of, or in addition to, individual user approvals |
Assigning a User to a User Approval Group
The linked article describes the process of creating an approval group - Purchasing & Inventory - Creating an Approval Route
- To assign a User to a group, select the User Approval Group tab and then use the Select tick box to select the required User Approval Group
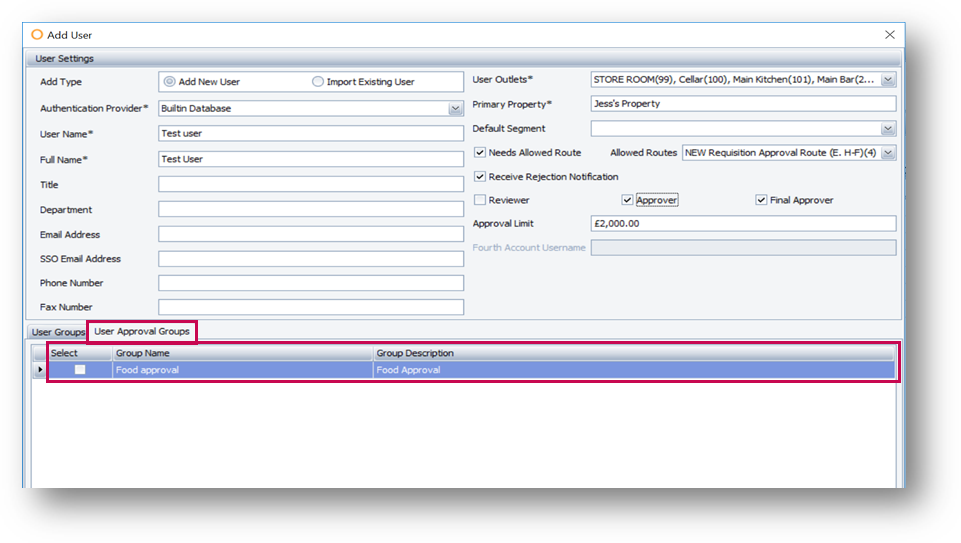
Fig.3 – Assigning a User to a User Approval Group
User Center Advanced Options
- To access Advanced Options against a user, right-click on a user in the User Center
Further information on the Advanced Options is detailed in the table below.
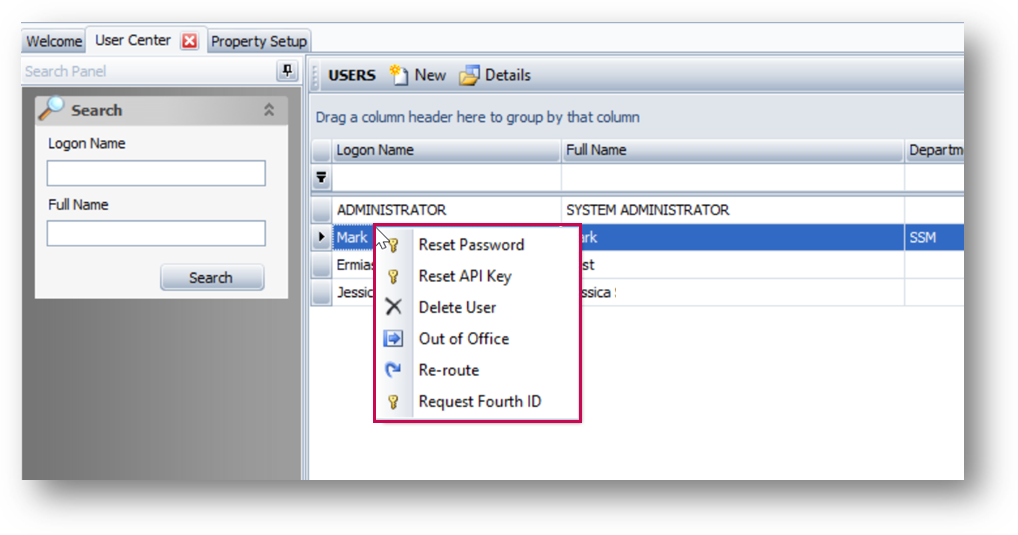
Fig.4 - User Center Advanced Options
| Field | Description |
| Reset Password | This option will remove the existing password for the selected user and generate a new one which will be emailed to them via the email address in their profile, or be displayed in a pop-up window if an email address has not been configured. Please Note: This function will not work if an Active Directory is in place |
| Reset API Key | Resets API key for all users within the portal. Please Note: It is recommended that this option is to be used with caution as it may prevent integration of external systems |
| Delete User | Removes the selected user from the Property, but keeps them within the database for historical reporting and potential re-import. Please Note: A deleted user may still exist in other properties within the portal |
| Out of Office | Opens a pop-up screen to configure Out of Office functionality for the selected user. Allows an alternative user to be selected to replace the required user in all relevant approval routes between the selected dates. Please see Purchasing & Inventory - Out of Office Functionality for more detail |
| Re-Route | Opens a pop-up window which allows any existing requisitions pending with the selected user's approval to be forwarded to a new user, as long as the new user has the relevant approval level and approval amount |
|
Request Fourth ID or Un-link Fourth Account |
Requests a Fourth account ID for use with Fourth's Single Sign On or Unlinks the Fourth Account from the Adaco user |
Comments
Please sign in to leave a comment.