
Overview
Contracts can be maintained at either Property Level or at "CP" level depending upon how the site is configured. Contracts can either be used to group products together OR can be created as vendor specific. Both examples will be reviewed below.
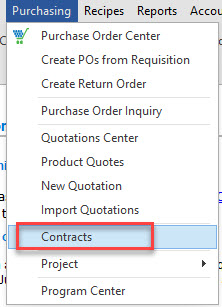
From the Purchasing drop down menu select Contracts as seen in Fig.1
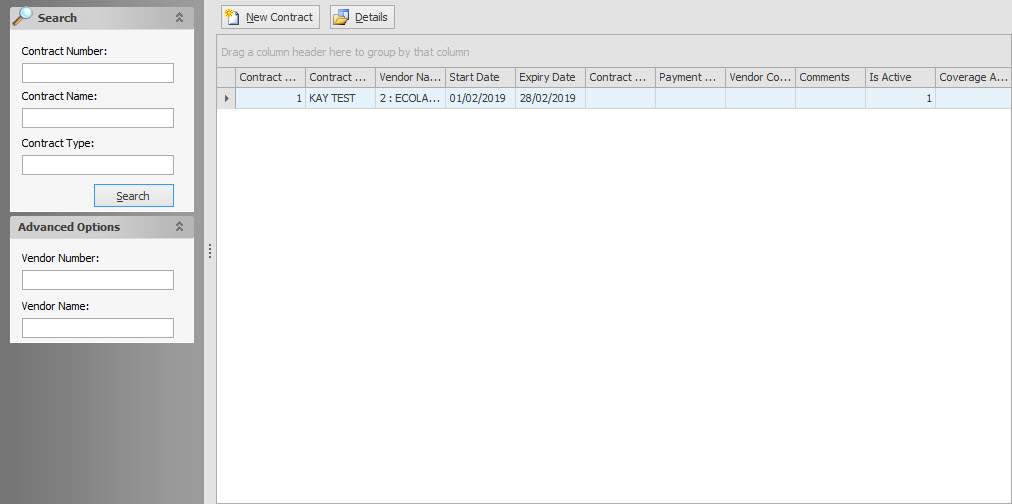
Once you have opened Contracts section you will then see Search criteria on the left, as well as Advanced Options, and any existing Contracts in the main display window as seen in Fig. 2
Select New Contract to create a Contract as seen in Fig. 3

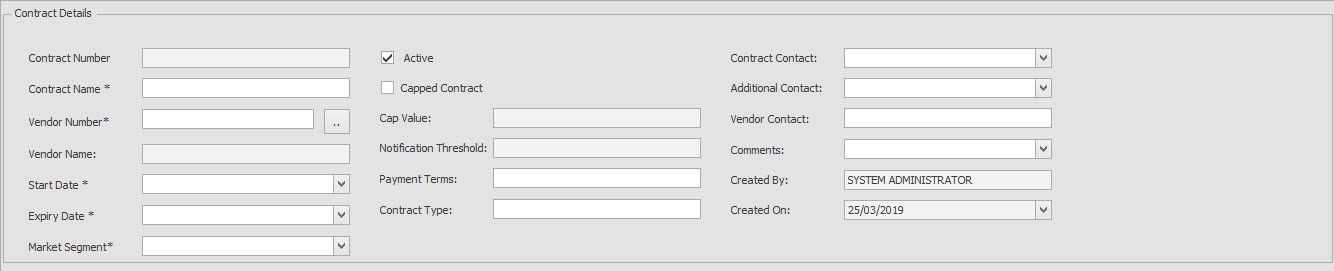
Fig. 4 shows the Contract Details which are then explained individually
Once you have completed the Contract Details section you will then proceed to add products to the Contract as seen in Fig. 5
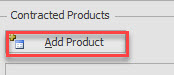
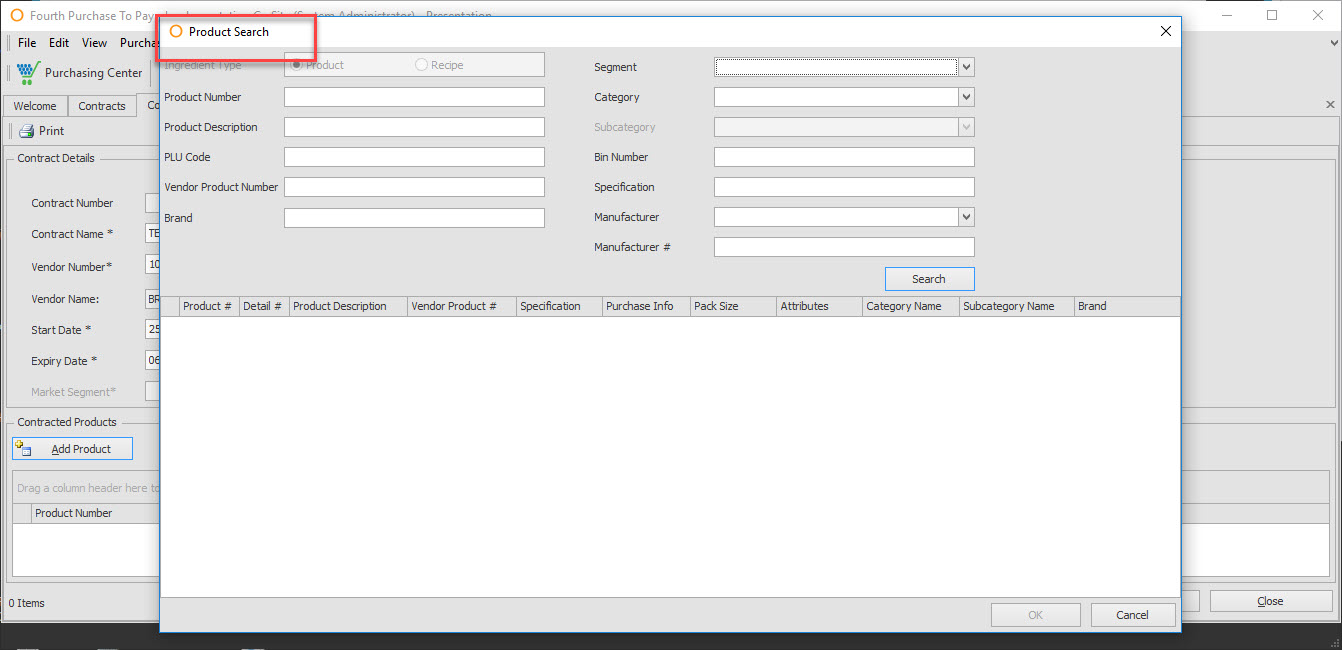
When select Add Product the Search window will open as seen in Fig. 6
Select applicable products as needed and add to Contract. Once added they will be visible on the Contract screen as seen in Fig. 7

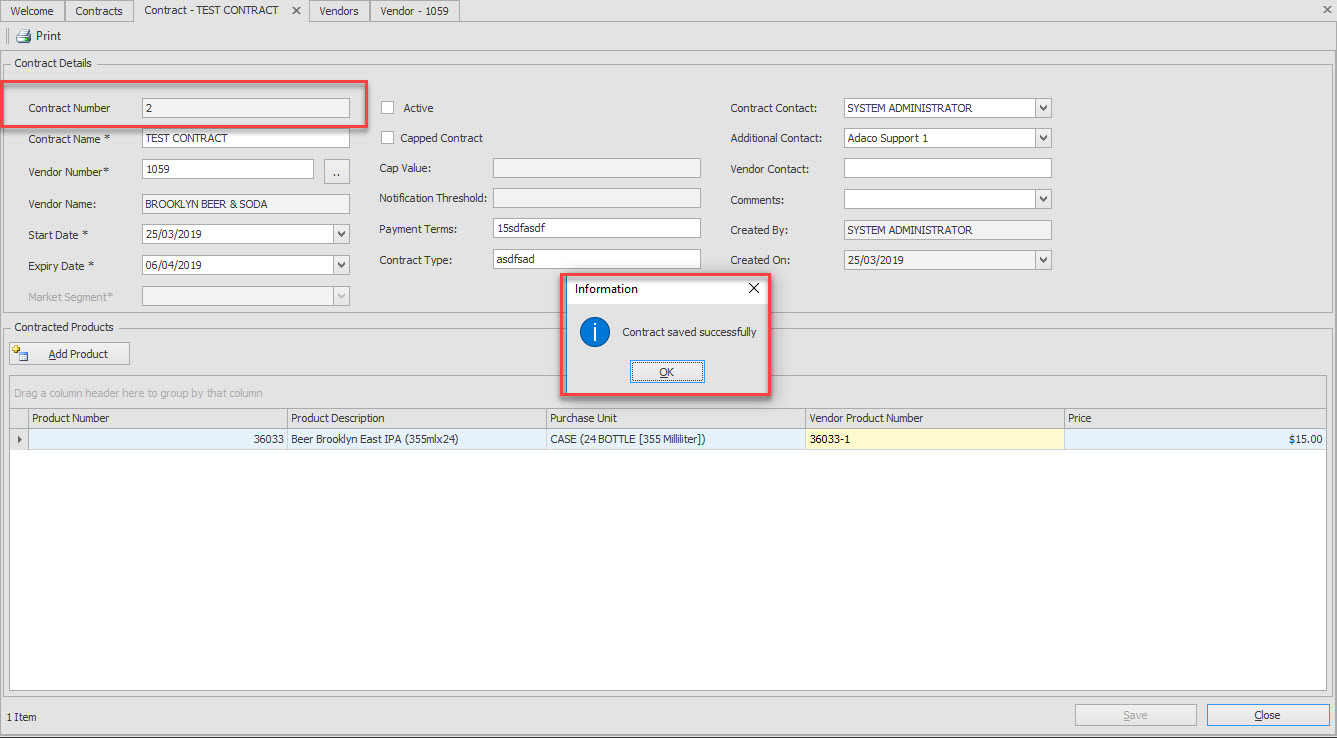
The fields for Product Number, Product Description, Purchase Unit, Vendor Product Number will all auto populate off the product master record in system. Then you will enter the Price, which is the contracted price of the product(s).
When you save the record the Contract Number will then be created as seen in Fig. 8
Contracts can be maintained at either Property Level or at "CP" level depending upon how the site is configured. Contracts can either be used to group products together OR can be created as vendor specific. Both examples will be reviewed below.
From the Purchasing drop down menu select Contracts as seen in Fig.1
Once you have opened Contracts section you will then see Search criteria on the left, as well as Advanced Options, and any existing Contracts in the main display window as seen in Fig. 2
Select New Contract to create a Contract as seen in Fig. 3
Fig. 4 shows the Contract Details which are then explained individually
| Contract Number | Autogenerated by system upon saving record |
| Contract Name | Required field for unique name for Contract |
| Vendor Number | Required field to link contract to a Vendor |
| Vendor Name | Auto populates when vendor number is entered/selected |
| Start Date | Required field indicating start date of Contract |
| Expiry Date | Required field indicating end date of Contract |
| Market Segment | Required field to indicate market segment of vendor only if market segments had previously been established for vendor |
| Active | Select when ready to make Contract active in application |
| Capped Contract | Select if contract will have a cap |
| Cap Value | When capped contract is selected you then enter a total currency value in this field |
| Notification Threshold | Only when capped contract is selected can you then enter a percentage threshold |
| Payment Terms | This is a free text field |
| Contract Type | This is a free text field |
| Contract Contact | Select a user from the drop down list |
| Additional Contact | Can select additional user from drop down list |
| Vendor Contact | This is a free text field |
| Comments | This is a free text field |
| Created By | System will auto populate user's name who creates Contract |
| Created On | System will auto populate date user created Contract |
Once you have completed the Contract Details section you will then proceed to add products to the Contract as seen in Fig. 5
When select Add Product the Search window will open as seen in Fig. 6
Select applicable products as needed and add to Contract. Once added they will be visible on the Contract screen as seen in Fig. 7
The fields for Product Number, Product Description, Purchase Unit, Vendor Product Number will all auto populate off the product master record in system. Then you will enter the Price, which is the contracted price of the product(s).
When you save the record the Contract Number will then be created as seen in Fig. 8
Comments
Please sign in to leave a comment.