Overview
In order for employees to clock in using HS WebClock, it must first be launched through a web browser or the mobile app. This article provides the steps to complete this process.
Please note: Appropriate permissions will be needed to launch and disable the WebClock for your location. Please reach out to your organization's administrator if you need assistance updating your permission set if needed.
Launching HS WebClock
Web Browser
- From a browser on the device you are using for clocking in and out, navigate to www.hotschedules.com/hs/webclock
- Enter your Username and Password. This will be the same login information used when logging into HotSchedules
- Select Start
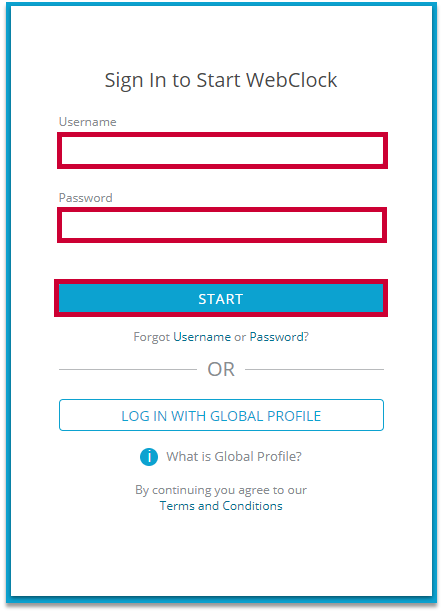
Fig.1 - WebClock login screen
- Select the appropriate location from the drop-down menu
- Select Start
Please note: This step will only apply to users who have access to more than one location using WebClock. If you do not have access to more than one location, proceed to the next step.
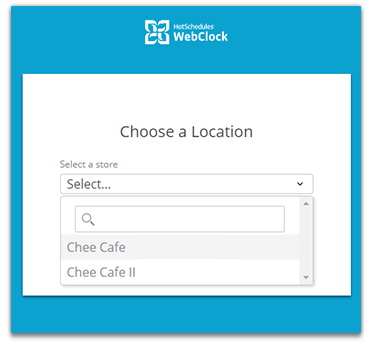
Fig.2 - Select location
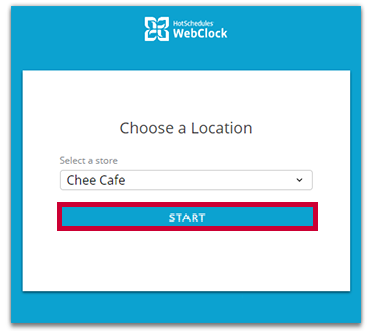
Fig.3 - Select Start
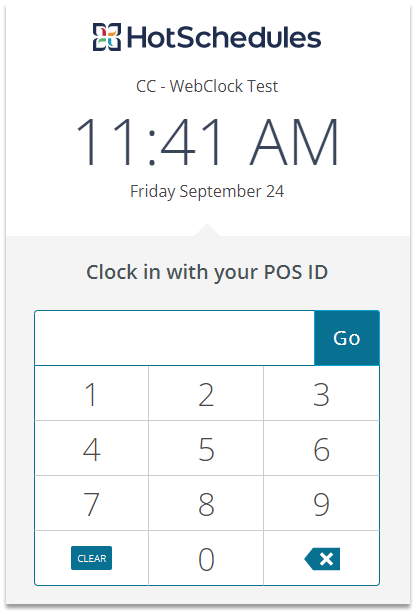
- After successfully launching the WebClock, depending on your location's configuration, you will see an option to clock in with a POS ID or an option to clock in using login credentials
|
Fig.4 - Clock in with POS ID |
Fig.5 - Clock in with credentials |
Alternatively, if you are logged in to your HotSchedules account, you can launch the WebClock from the navigation tab.
- When viewing the navigation menu, select WebClock

Fig.6 - Launch from navigation
Mobile App
Additionally, you are able to launch WebClock from the mobile app. See the steps below:
- From the menu, select Launch WebClock
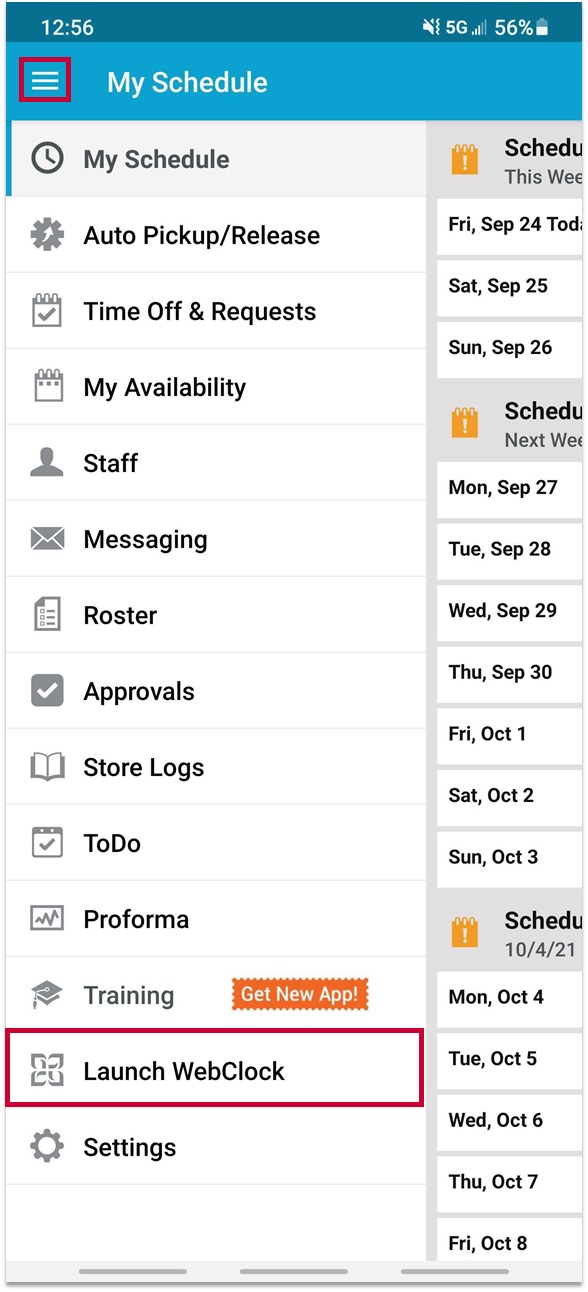
Fig.7 - Launch from app
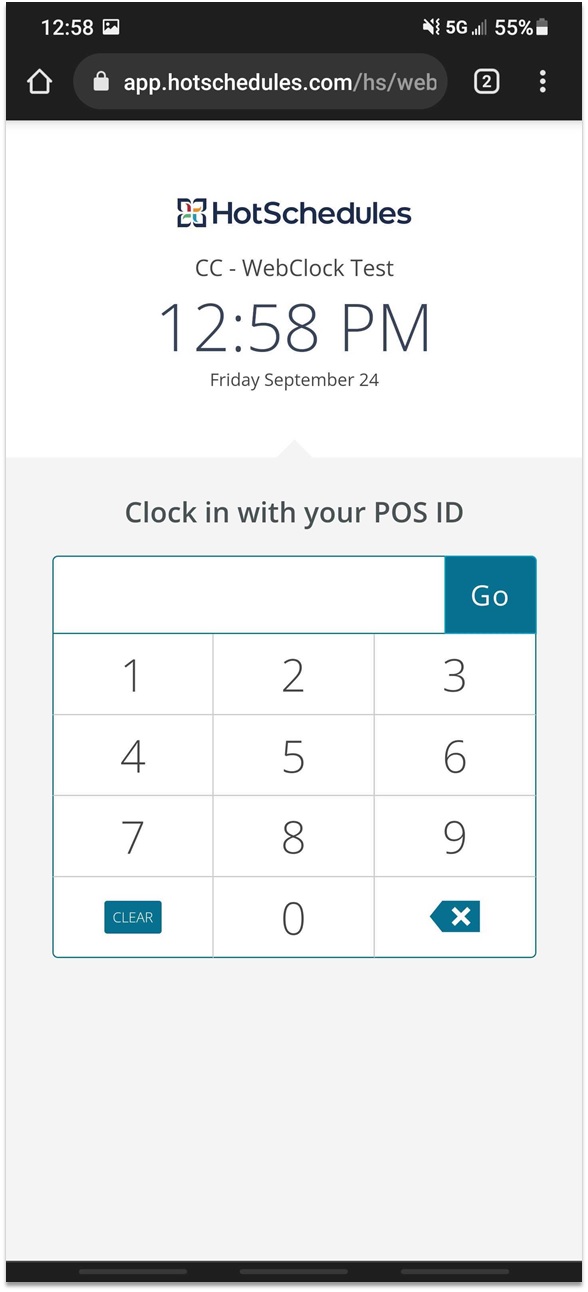
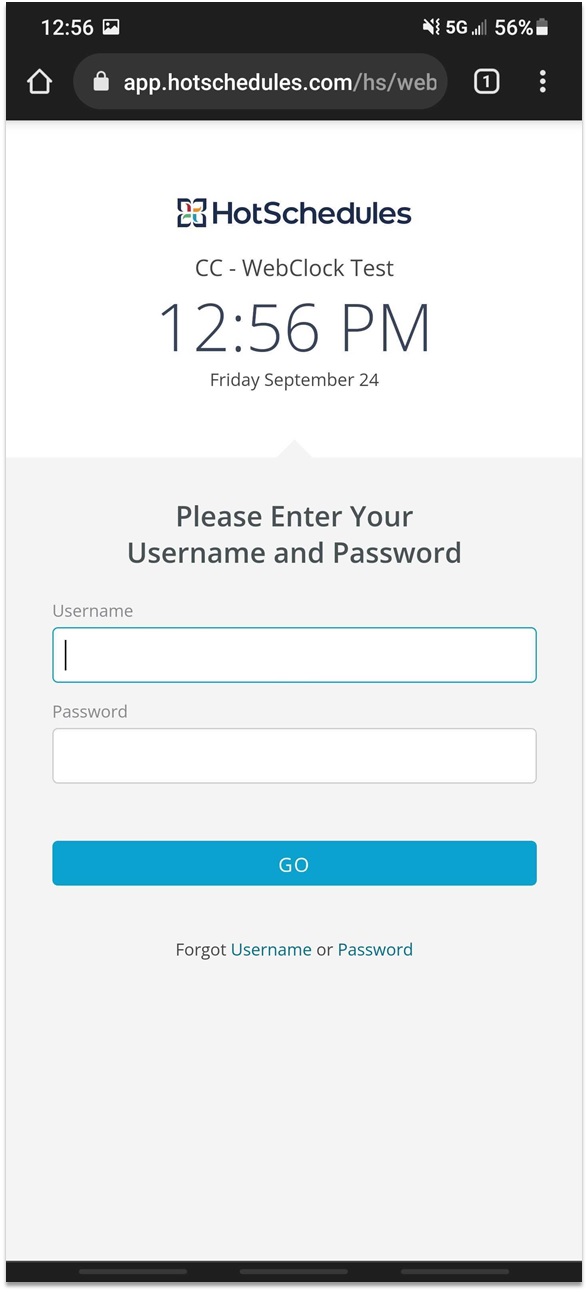
- This action will launch WebClock on the browser on your mobile device, depending on your location's configuration, you will see an option to clock in with a POS ID or an option to clock in using login credentials
|
Fig.8 - Clock in with POS ID |
Fig.9 - Clock in with credentials |
Turning Off HS WebClock
Web Browser
Once WebClock is launched, staff can use that device to clock in and out for their shifts. It will remain active until a manager with WebClock permissions turns off WebClock on this device.
Please note: Only one active WebClock is supported per device.
- From the WebClock, enter your POS ID or login credentials. This will depend on your location's configuration
|
Fig.10 - Clock in with POS ID |
Fig.11 - Clock in with credentials |
- Once in the WebClock, select the menu in the top right-hand side
- Select Turn Off WebClock
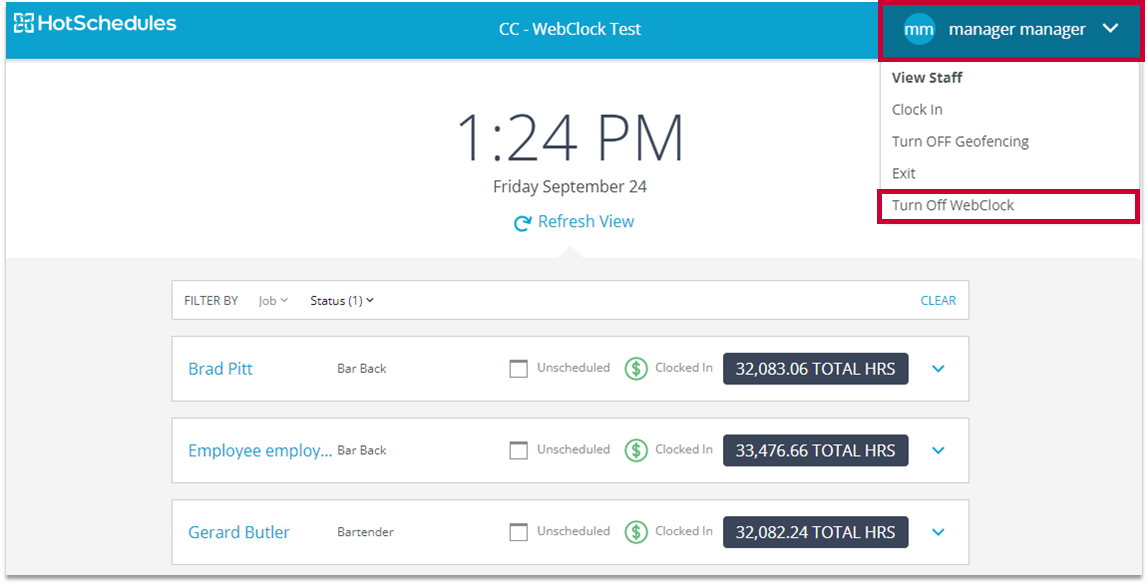
Fig.12 - Turn off from browser
- A prompt will display confirming that employees will not be able to clock in, select Confirm to proceed
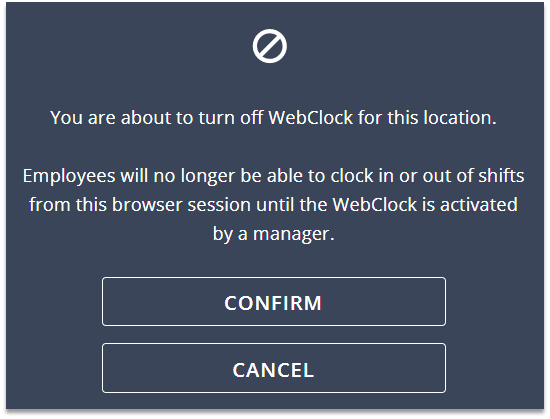
Fig.13 - Confirmation prompt
Mobile App
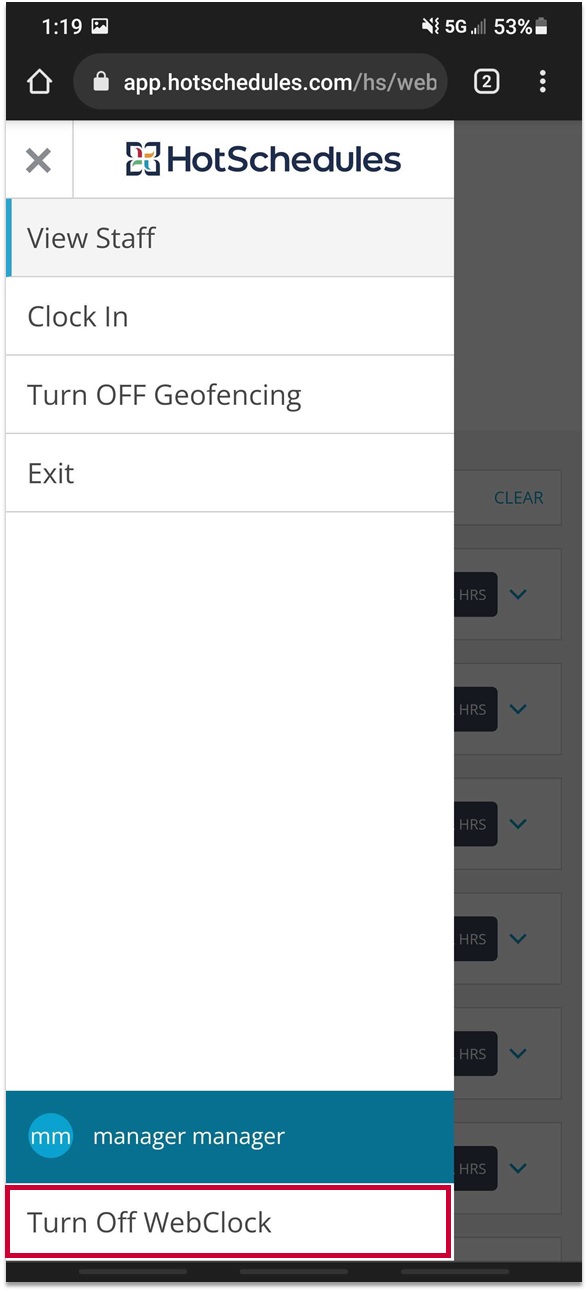
- Once in the WebClock, select the menu
- Select Turn Off WebClock
|
Fig.14 - Menu |
Fig.15 - Turn off from app |
- A prompt will display confirming that employees will not be able to clock in, select Confirm to proceed

Fig.16 - Confirmation prompt



Comments
Please sign in to leave a comment.