
Overview
This article describes the process of managing users within TrustID for users with the Manage Users permission.
Managing users is only available to users with Manage Users permission.
Access to the ‘Manage Users’ section is only possible via the TrustID website and not the app.
The ‘Manage Users’ section of the portal should only be used to edit a user’s visibility and privileges, but not to create users.
-
All generic TrustID users should be created using Single-Sign on (to do so, go to the TrustID app by selecting All Applications > TrustID from the Fourth app)
A user’s account will be set up with access to either one default Location – Fourth-Fourth for example where Fourth represents both the Organisation and the Location - or with a ‘Branch’ access to represent each of the Location(s) depending on the required visibility.
Editing Users
-
Login to the TrustID application by going to secure.fourth.com using a web browser
Please Note: If the Company has a branded Fourth app, use the URL provided by Fourth.
-
Select All Applications > TrustID
Please Note: The mobile app cannot be used to manage users in TrustID

Fig.1 – TrustID App
-
Go to the Manage Users tab
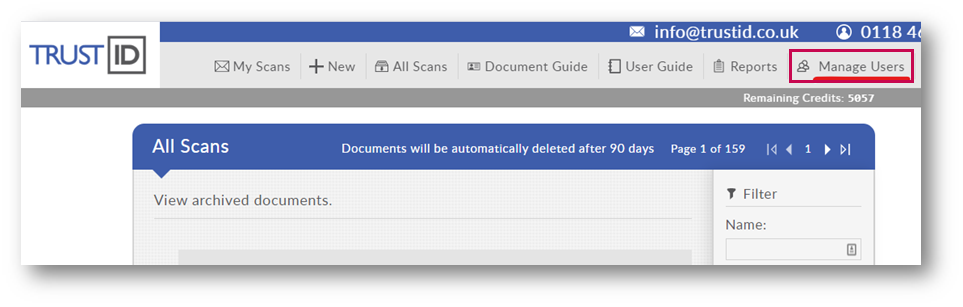 Fig.2 – Manage Users Tab
-
Select the pencil icon next to the user to edit
 Fig.3 – Pencil Icon
The account details are set up using information from the Single-Sign on, and with the default settings for all users, see Fig.4 for more details. More information on the fields highlighted in the screenshot is detailed below.
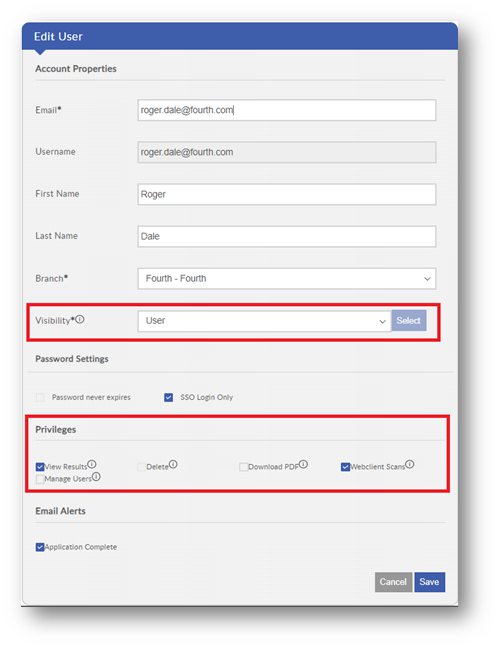
Fig.4 – Visibility and Privileges Fields
Visibility - Change the visibility that the user has by using the drop-down and selecting the appropriate level:
-
User - The user will only be able to see the results of checks they have performed themselves
-
Specific User - The user will only be able to see the results of checks they have performed themselves, and the checks of other specified users (chose Select to define the other users)
-
Organisation - The user will be able to see the results of checks they have performed themselves, as well as the results of the checks performed by other members of the Organisation that their Location belongs to
-
Branch - This is not available
-
Specific Branch - This is not available
-
Specific Organisation - This is not available
-
Global - This is only available to Fourth admins
Privileges - Change the Privileges that the user has by selecting the appropriate boxes. These privileges will apply for all Locations if the user has access to more than one Location:
-
View Results - Gives users the access to view results of all checks they have visibility of
-
Delete - Users with this privilege are able to delete any check that they have visibility of
-
Download PDF - Users will be able to download a PDF report of any check they have visibility of
-
Webclient Scans - This should always be ticked
-
Manage Users - Users are able to add/edit/deactivate user accounts, but only for those accounts to which they have system visibility (e.g. branch – they can manage users from their own Location only)
Please Note: This user will only be able to allocate permissions that they themselves have.
-
Select Save
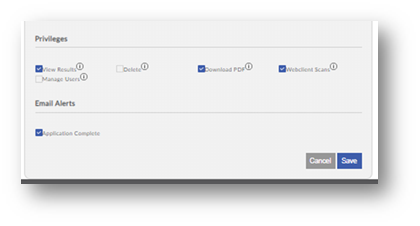
Fig.5 – Privileges Settings
Comments
Please sign in to leave a comment.