Overview
This guide is designed to support users loading non-calculated metric values to the Rota module, via an FTP folder. This article details the requirements needed for the file, and how to upload the files via Filezilla.
Completing the Upload File
- The metric file name must begin with the name Metrics (with an uppercase M) and end in .csv
- Anything can be entered between ‘Metrics’ and ‘.csv’, e.g. Metricsfourthhotel.csv
Metric Code
This must be unique and not match another metric in the portal, otherwise the data might be loaded to the wrong metric.
Location Code
Must match the Location accounting system code.
Transaction Type ID:
1 = Budget
2 = Forecast
3 = Actual
Transaction Date
Must be in the following format or the data load will fail: Date-Month-Year, e.g. 17-Jun-15.
Value
Must be a numeric value and can contain decimal places, positives, negatives and ‘0’. Cannot contain £%$

Fig.1 – Example Metric Sample csv File
Preparing the Metric File to be Loaded via FTP
Once the metric file has been completed, it is recommended to save and open the file in Notepad in a .csv format in order to check that it matches the sample file, and to ensure that the date format is correct.
The upload file cannot contain more than 20,000 rows at once. If the document contains over 20,000 rows, the file will need to be split.
Once the file has been dropped into the FTP folder, it will disappear and will take approximately 15 minutes per file for the data to appear in the portal. Please always wait 15 minutes before loading additional files.
Accessing and Uploading the File via an FTP Folder
Credentials will be sent for an FTP folder depending on what was requested, and it will either be an SFTP or an FTP folder.
a. FTP address: ftp.fourth.com
b. SFTP address: sftp.fourth.com
c. Username: Enter credentials sent by the data team
d. Password: Sent separately
- Download Filezilla free
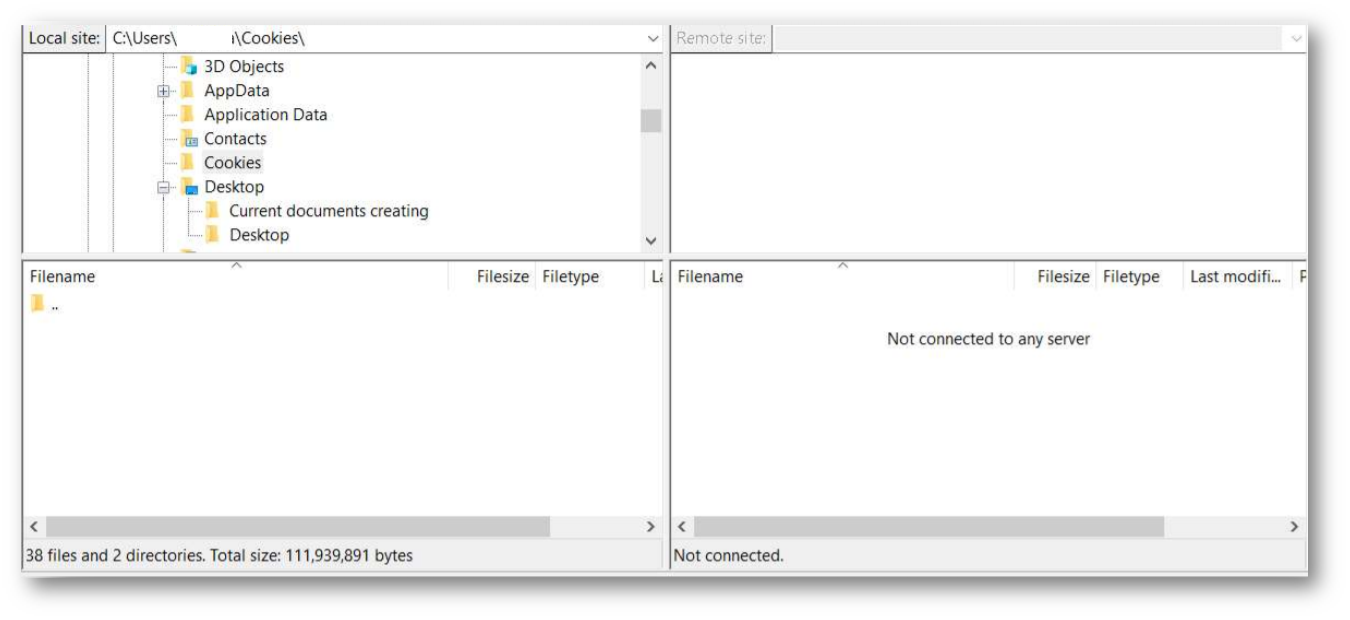
- Enter the address and credentials

Fig.2 - FileZilla Page
The file will display on the right hand side.

Fig.3 - Files Display
- Double-click on the Metrics file (alternatively titled import live)
- Search for the required file (please ensure it is a .csv file beginning with Metrics and drag it across to the right
- The file will disappear, please wait 15 minutes between dropping files
- Check the WFM Portal to view the data

Comments
The CSV upload includes location, can you upload metrics per division? Eg we have 1 location on Fourth but multiple divisions for separate restaurants etc and would want to upload the appropriate budget, forecast and actual revenue by division rather than overall revenue for the location?
Hi Gordon, I hope you are well.
The way you would achieve this is by creating a metric per division - so rather than a single metric uploaded per division, you would create as an example, separate metrics for kitchen, restaurant, bar etc and you would then assign the metric just to the specific division.
Many thanks,
Billy
Thanks Billy
I understand what you are saying but if I wanted to upload Actual revenue per division so that it showed on the section at the top of the rota, I wouldn't be able to use metrics per division?
Or would I have to create an Actual Revenue - Restaurant 1, Actual Revenue - Restaurant 2..... and assign these to the rota display? (If that is possible?)
Please sign in to leave a comment.