Overview
Lieu Hours can be created and assigned to Locations, Job Titles and Overtime Settings in order to ensure accuracy of Payroll and Rota.
This article describes the process of configuring Lieu Hours in the Rota, along with assigning the Lieu Hours to Locations and Job Titles in HR & Payroll.
Enabling Lieu Hours
The Lieu Hours functionality needs to be switched on by Fourth’s Development Team. This can be requested by the company’s Relationship/Project Manager.
Once this functionality is enabled on the Portal, it can then be configured.
- In HR, select Locations in the Company Admin drop-down menu

Fig.1 – Locations in the Company Admin Drop-Down
- Select the required Location and select Lieu Day Settings

Fig.2 – Lieu Day Settings
- Edit the Lieu Location Settings
- A Lieu Expiry Rule can be set in place to set the number of Weeks/Months until the Lieu Hours expire by selecting the Expiry Rule drop-down menu
- If any expired Lieu Days are to be automatically paid once the Rota has been submitted to Payroll, select Auto-Pay Expired Lieu on Rota Submission
- To enable a column in the Rota to show the Lieu balance for each employee, select Display Available Lieu Time on Rota Daily Content Page
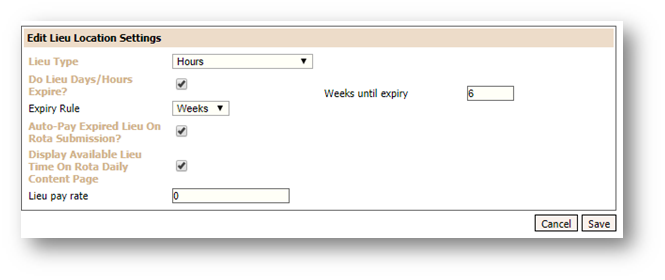
Fig.3 – Edit Lieu Location Settings
Setting up Contracts
To automate Lieu Hours, a contract can be set up with Lieu configured within it.
The contract is assigned to the employee on their ‘Employment Details’ page.
- Create a Contract by selecting Contracts in the Company Admin drop-down menu
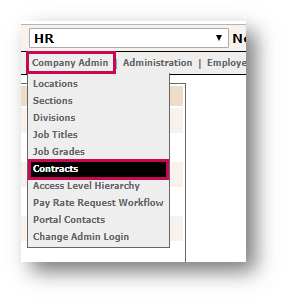
Fig.4 – Contracts in the Company Admin Drop-Down
- Select Create Contract
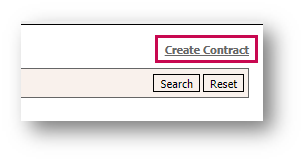
Fig.5 – Create Contract
- Enter the Contract Description, Contract Code, change the Status to Active and select the Company
- Save
- Go back into the Contract and select Overtime Settings
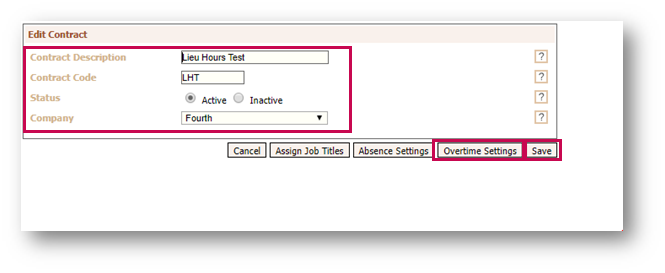
Fig.6 – Edit Contract
- Select Create Overtime
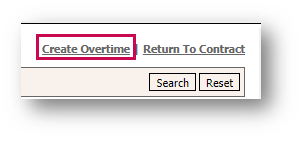
Fig.7 – Create Overtime
Populate the following fields:
- Description - Create a Description of the Overtime or Lieu setting
- Start Band - Choose the Start Band, either the employee’s FTE (Full Time Equivalent) or their Contracted Hours. Enter in a default Start Band in case there are no contracted hours if this is chosen
- Overtime Payment - Choose Overtime Payment of Pay Rate*Factor
- Negative Lieu - Tick this if Negative Lieu Hours are allowed, e.g. the employee can take back more Lieu Hours than they have accrued at that time
-
Overtime Bands – Lieu Hours can be created using an Overtime Band. The Default Start band will be the Start Hours figure and an End Hours band can be entered
- Select Create Lieu Hours
- Multiple Bands can be created to combine Lieu Hours with Overtime Payments if required.
- Select Save
- Assign this Overtime to the required Job Titles
Please Note: If required, multiple Overtime Settings can be created within a Contract and assigned to different Job Titles.
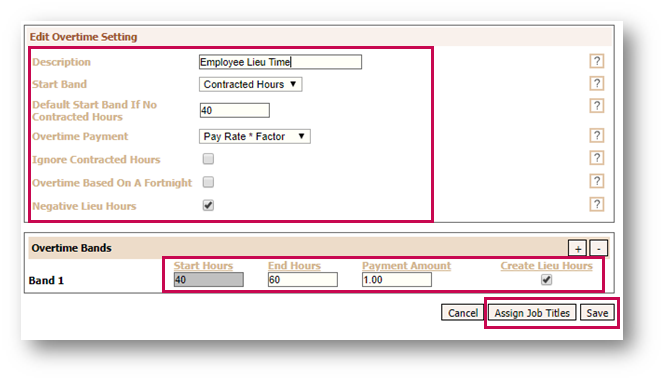
Fig.8 – Edit Overtime Setting
Once the contract has been created with the Lieu settings, it can then be assigned to an employee in the ‘Employment Details’ page.
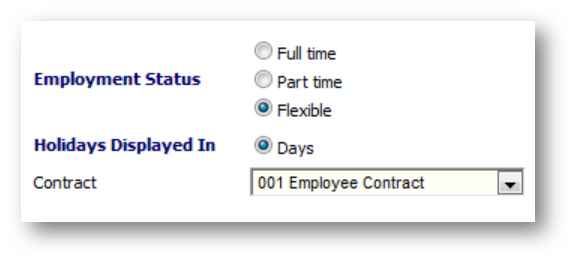
Fig.9 – Holidays Displayed In
Lieu Hours Permissions and Settings
HR Permissions
There are two permissions on the HR Template relating to Lieu Hours:
- The Lieu Day Description permission allows the user to create the reasons for accruing the Lieu Hours
- The Lieu Hours permission gives the user access to the Lieu Hours screen within the employee’s HR record
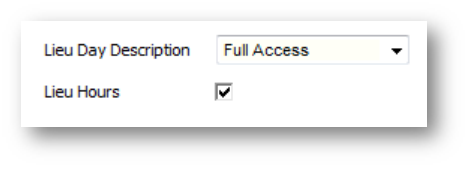
Fig.10 – HR Permissions
Rota Settings
In the Rota module, the Global Setting for Overtime needs to be switched on.
There are also two additional Permissions that allow the Lieu Hours to be Authorised or Omitted on the ‘Additional Payments’ screen when the Rota is submitted to Payroll.

Fig.11 – Rota Settings
There is the ability for accrued Lieu Hours to be seen on the main page of the Rota to replace the FTE or Contracted Hours column next to the Total Hours.
- To do so, go to Rota > Administration > Edit Rota Settings
- Set the column to Display Lieu Time Accrued
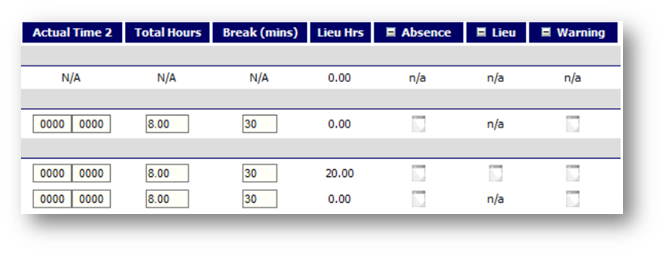
Fig.12 – Display Lieu Time Accrued
Lieu Hours accrued, taken and paid can be shown on the Analysis page.
To set this up to display and/or be factored into the Wage Costs:
- Go to Rotas > Administration > Wage Function Setting

Fig.13 – Wage Function Setting
Employees who work over their Full Time Equivalent (FTE) number of days in a week will have a lieu day created automatically for each day, after the Rota has been submitted.
As it’s not possible to identify which day(s) are lieu days, the system will work from the final working day backwards. Therefore the example shown in Fig.14 is an employee who works 3 days a week but worked 5 days. The 4th and 5th days have been used respectively to assign the earned date of the lieu days.

Fig.14 - Auto-generated Lieu Days

Comments
Don't have the option for display lieu accrued
Please sign in to leave a comment.