Overview
The Fourth Counting app allows stock counts to be carried out on the move, using a mobile device (phone or tablet). Staff can count what’s in front of them rather than what’s on a sheet, helping to ensure accuracy. The app does not require an internet connection for the input of data – useful if stock is stored in an area with no WiFi/network access.
Please Note: This app is for the Inventory solution only.
The Counting app can be accessed via the main Fourth app on a mobile device or through a web browser on a desktop/laptop computer. Data from the Counting app can be fed into Fourth’s Inventory product.
This article contains screenshots taken on a phone but the general look, feel, and functionality remains the same regardless of whether using a mobile device or web browser.
Also see - Counting app Video
Application Launch and Selecting Location
To open the Counting app:
- Log into the Fourth app on a mobile device or go to https://secure.fourth.com (or https://secure.na1.fourth.com/ for the US Fourth Platform) in a web browser
- Select Counting from the list of connected apps

Fig.1 – Selecting the Counting app
Depending on the user’s Location access (single or multiple Locations), the application will either:
- Open directly into a single Location
- Present a choice of Location to be selected
To choose a Location:
- Make a selection from the Location drop-down and then select CONFIRM

Fig.2 – Selecting a Location
The data load for the Location will then commence.
Location Data Load
When the Counting application is launched on a device for the first time within a stock period for a Location, it will perform a full download of stock item and count data (if existing). This download of data is required to make offline counting possible.
A download screen will display – see Fig.3.
Fig.3 – Item and count download screen
Please note: It may take a little bit of time for all of the Location’s data to be downloaded and stored on the device.
Creating and Managing Areas
On accessing the Counting app for the very first time there will be no Areas set against the Location.
- To get started, select New Area
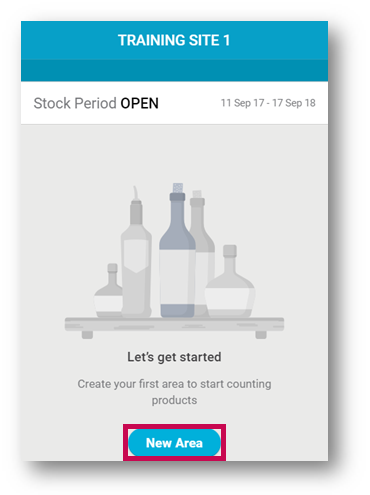
Fig.4 – Selecting New Area upon accessing the app for the first time
A prompt to input a name for the Area will display.
- Input a name for the Area (Bar, Kitchen, Cellar, etc) and select the tick icon
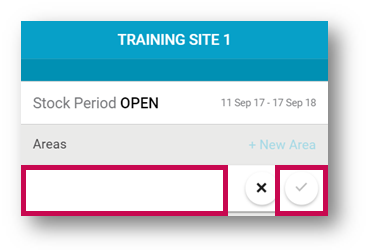
Fig.5 – Adding a new Area to a Location
As many Areas as required can be created to reflect the layout of the Location. Fig.6 shows an example of multiple Areas in a single Location.
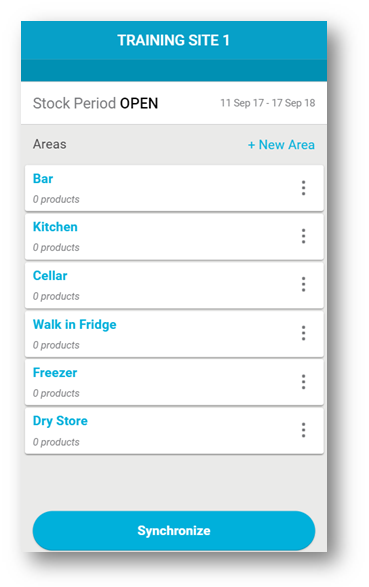
Fig.6 – Multiple Areas setup against a Location
- To edit or delete an Area, use the
 icon and then select either Edit area or Delete area
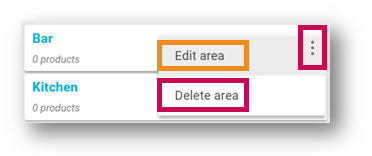
Fig.7 – Options to edit or delete an Area
Adding Items to Area
- To start adding items to an Area, select the required Area to begin with
If there are no items contained within the selected Area, a prompt to start ‘filling’ the Area will display – see Fig.8.
- Select Add Product
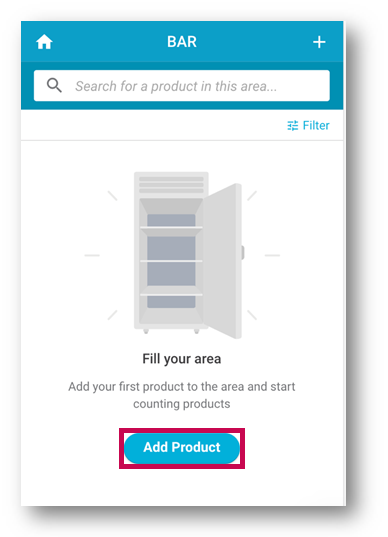
Fig.8 – A new Area that needs products adding to it
A list of available products at the Location will be displayed in alphabetical order.
- To start adding products to the Area simply input a Quantity against each desired one
- If needing to input multiple quantities, select the calculator icon
A new screen 'Add Multiple Quantities' will appear. - Here, values can be added, using a plus sign (+) after each value
- To see the sum, select Update Quantity or select the carriage return key
When the count is submitted, the individual values are summed and the sum is submitted.Decimal values with more than three digits will persist in the sidebar but in the main quantity field, they will be summed and rounded to three decimal places.
- If needing to input multiple quantities, select the calculator icon
Fig.9 – Adding products to an Area
The counted products will be added to the Area automatically. By adding products to a new Area, the first stock count is carried out.
Searching for items
On both the ‘Area’ and ‘Add Products to Area’ screens it is possible to search for products.
- Use the search bar at the top of the screen
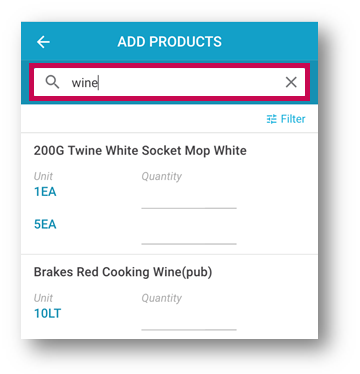
Fig.10 – Using the search bar on the Add Products screen
The search is triggered automatically on character input.
Filtering Items
On both the Area and Add Products to Area screens it is also possible to filter the products by category.
- Select the Filter button
The filter pane will slide out.
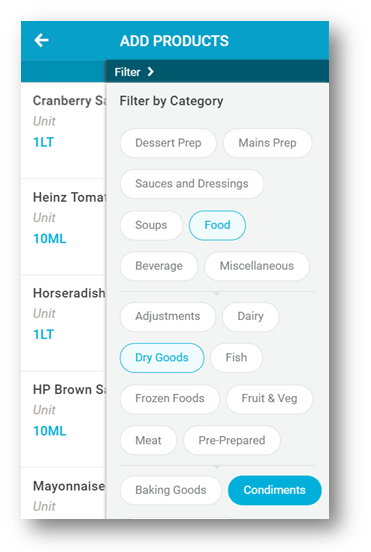
Fig.11 – Filtering products
The filters available will be restricted based on the products available in the list. On selecting a top level category filter it is possible to drill down to filter on the sub-category, and so on.
Counting
- To apply counts, simply input the actual Quantities in the sequence that they appear in the stock locations
The sequence in which the counts are input will be remembered by the app so for the next count against an Area the items will be displayed in the same order.
Submit and Update Areas
When all products have been counted, the data can be updated to the system.
- Scroll down beneath the list of Areas and select Send Count and Synchronise Areas
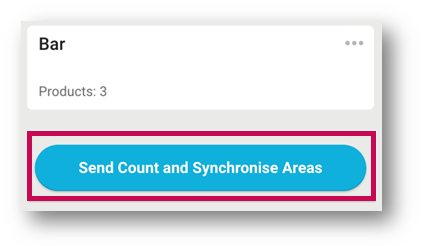
Fig.12 – The Submit and Update Areas button
Please note: In cases where there have been no local changes, this button will display as Check for Updates
The following will then happen:
- Areas created will be uploaded to the system
- Areas deleted will be removed from the system
- Products changes will be applied, including addition of new Products
- Counts against Areas that have been changed will be updated in the system
- Full count data across all Areas will be downloaded from the system
Please note: This is the only action in the application which requires access to internet. Before selecting the action, please ensure the device being used is online.
Fourth’s Inventory product does not support the concept of Areas. Upon synchronising counts from the app, the counts across Areas will be aggregated against the stock item in Inventory.
The concept of “last writer wins” for updates to an Area applies. This means that if multiple users are updating counts for an Area, it is the last synchronising user’s counts that will apply.
A notification will appear at the bottom of the screen following a successful submission.
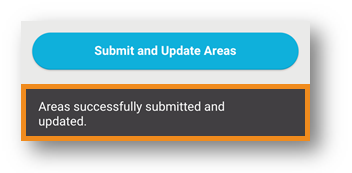
Fig.13 – Notification of successful submission
If attempting to submit when the device being used is not online, a notification will also display.
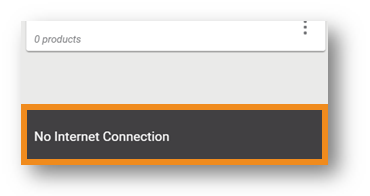
Fig.14 – No Internet Connection notification
In the event of synchronisation failing with the system, though the device is online, the notification will display as per Fig.15.
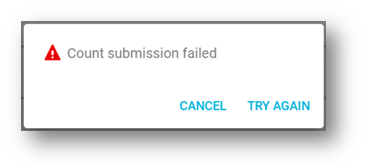
Fig.15 – Notification of failed submission
Period to Period
On approval of the stock period within Inventory the stock period in the app will roll forward. Products that were counted in Areas in the last period will be preserved in the sequence input.
Period Status
The period status is reflected within the Counting app.
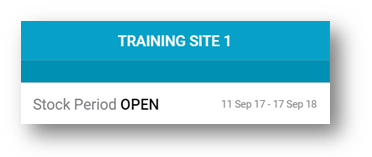
Fig.16 – Stock Period showing as OPEN
When the period is closed it will not be possible to input and synchronise any count data. Access to Areas will be disabled.
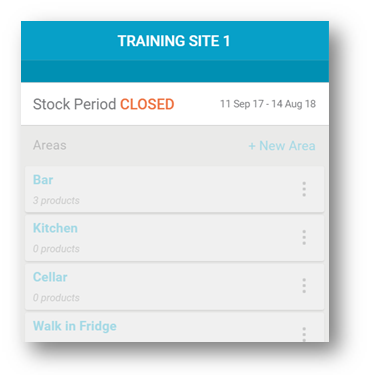
Fig.17 –Stock Period showing as CLOSED

Comments
Please sign in to leave a comment.