Overview
Within the My Schedule app, a manager can review and assign employees to open shifts, review the unavailability of employees, confirm or decline shift changes, and approve shift give or shift drop requests.
Within the Scheduling module, a manager can review the unavailability of employees, publish Rotas, create open shifts, and confirm employees for open shifts.
This article describes how the My Schedule app and Scheduling are used from a manager's perspective.
Accessing My Schedule and Scheduling
- To confirm or decline employee shift requests and employees working open shifts to the current or a future schedule, select My Schedule from the menu of the Fourth app (from the All Applications screen)

Fig.1 – My Schedule button
- To view unavailability, publish a Rota or create an open shift, select HR & Payroll from the menu of the Fourth app (from the All Applications screen)

Fig.2 – HR & Payroll button
- Select Labour Productivity from the module drop-down

Fig.3 – Labour Productivity in Module drop-down
Reviewing Unavailability in Scheduling
The My Schedule app has functionality for employees to set certain shifts or create shift patterns as unavailable.
This puts a placeholder that will display the start and end time of the unavailability within a grey box on the schedule in Scheduling. To view the reason for this unavailability, hover over the grey box.

Fig.4 – Unavailability in Scheduling
The shift can still be scheduled if required, but a warning will pop-up to advise of this unavailability.

Fig.5 – Unavailability Pop-Up
The unavailability will also be displayed in any published Rotas.
- To review employee unavailability within Scheduling, select the relevant Location from the Location drop-down menu
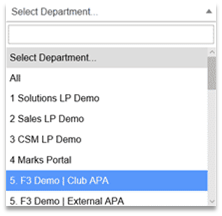
Fig.6 – Location selection
- Select Schedule and review all areas
Reviewing Unavailability in My Schedule
- To review employee unavailability within the My Schedule app, select Team Requests from the Menu
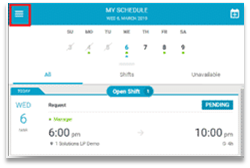
Fig.7 – Menu Button
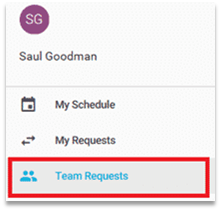
Fig.8 – Team Requests in the Menu
- Navigate to the Unavailable section
Employees who have added unavailability are visible here.
- Select the required Unavailability
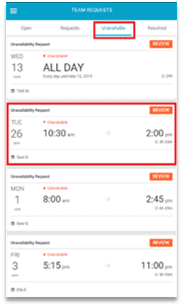
Fig.9 – Unavailable tab
- Either Review, Reject or Approve the employee’s unavailability
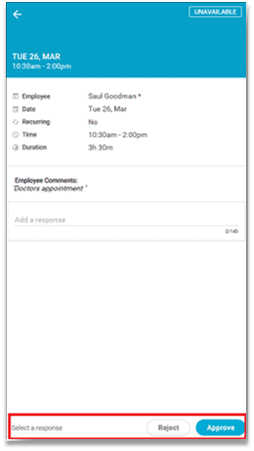
Fig.10 – Approve and Reject Buttons
After selecting Approve/Reject, the unavailability request will disappear from the section as no further actions are required. This unavailability will then be visible on the published Rota
Assigning Employees for Open Shifts in My Schedule
- To create an open shift within Labour Productivity, select the relevant Location from the Location drop-down
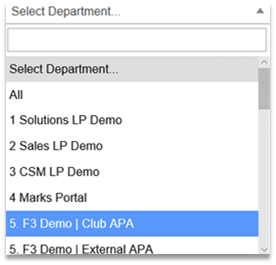
Fig.11 – Location Drop-Down
- Select Schedule and scroll down to the top of the employee list on the left-hand side of the Rota
- Ensure that the correct Week and Date are selected
- Enter a Start Time and End Time for the required date in the Open Shifts line (see Fig.12)
A pop-up box will display (see Fig.12)
- Within the pop-up box, select the applicable Job Role, Break times, and preferred Alerts types
- Add a Message if required
- Select Save or Publish
- An open shift that is Saved will not be visible on the Rota
- Select Publish to make the open shift visible to employees and to allow them to respond to the open shift request

Fig.12 – Open Shifts Line, Pop-Up Box
Assigning Employees for an Open Shift in Scheduling
- Select the Assign Shifts button and all employees who have responded will become visible within a pop-up box
If no employees have responded, a pop-up box will display this information.

Fig.13 – Assign Shifts box
Assigning Employees for Open Shifts in My Schedule
- To assign an employee for an open shift and to review all employees who have responded to the open shift in My Schedule, select Team Requests from the menu drop-down
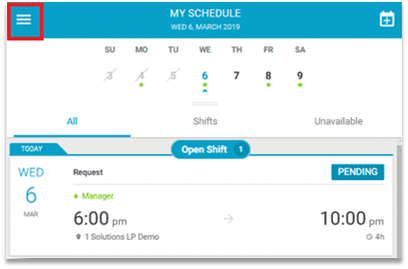
Fig.14 – Menu button
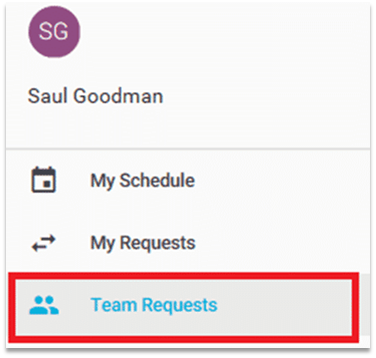
Fig.15 – Team Requests in Menu drop-down
- Go to the Open section
- Select the required Open Shift
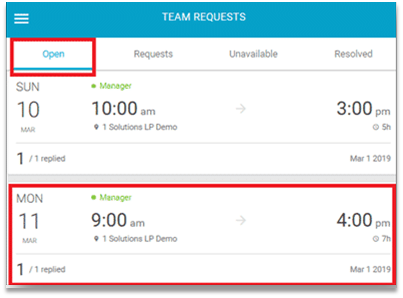
Fig.16 – Open Shifts Tab
- Select the preferred Employee from the Available list
A new screen will display with an Assign button.
Select Assign to assign the shift to the required employee and send a confirmation message to them

Fig.17 – Available Employees, Assign button
- Select Done to leave the Assign Shift page
Employees who have not been assigned to the shift will be notified accordingly.
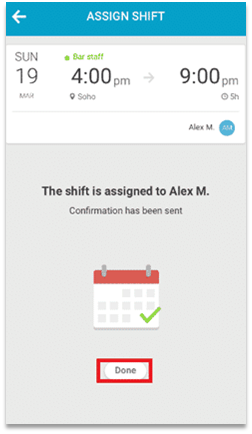
Fig.18 – Assign Shift Confirmation
Publishing a Rota in Scheduling
After a manager completes the weekly forecast and/or confirms changes on a current or future Rota, the Rota needs to be published for employees to see their scheduled shifts within My Schedule.
- To publish a Rota within Scheduling, select the relevant Location from the Location drop-down
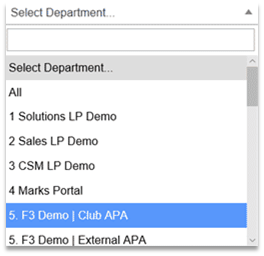
Fig.19 – Location drop-down
- Select Schedule and then the Publish button from the top-right corner

Fig.20 – Schedule + Publish buttons
The Publish button will display in red if changes were made to the schedule which have not been published yet. Once published, the button will change colour from red to grey.

Fig.21 – Grey Published button

Comments
Please sign in to leave a comment.