Overview
The following article outlines the processes that must be followed when including an additional payment on the day content page within the rota module, along with how this information is displayed in the payroll module and on an employee’s payslip.
Additional Payment Column
In order to display the required column on the day content page, a number of steps must be completed before it will be successfully displayed.
Turning on the Global Setting
The first stage is to ensure the global setting within the rota module is correctly selected. To do this, navigate to:
- Rotas > Administration > Global Settings > Edit Rota Settings
Fig.1 – Edit Global Settings
- In order to display the column on the day content page, the option Show tips on day content page should be selected
- If it is necessary to alter the name of the column, this can be done by typing in the Rename Tips option
Please note: A second column may be included by using the Show extra tips on day content page can be used
Turning on the Location Setting
Once the global setting has been switched on, it is now essential to include the tips column at a location level. To do this, navigate to:
- Rotas > Administration > Configure Locations > Edit Rota Settings
Fig.2 – Edit Rota Settings
- At the bottom of the edit rota settings page, select the tick box next to Show tips on day content page? and click the Save button
This setting means that the user has the ability to use the additional payment fields for only the desired locations.
- The Show extra tips on day content page? refers to the second column that can be displayed
Turning on the Job Title Setting
The final setting to be turned on is found within the job titles. First, navigate to:
- HR > Company Admin > Job Titles > Select Required Job Title
Fig.3 – Edit Job Title
- It is now possible to select Display Additional Payment 1, which links with the display tips on day content page seen previous in Fig..1 and Fig..2. Then click Save
- This setting allows the user to control if specific job roles should or shouldn’t be able to allow an additional payment
- Display Additional Payment 2 refers to the second additional column
Using the Additional Column
Once the settings have been turned on, the additional column will now be displayed on the day content page.
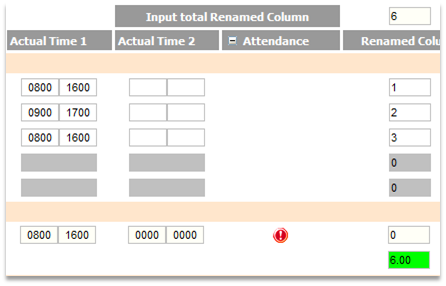
Fig.4 – Day Content View
- The additional column can now be used to add an extra payment
- When entering amounts, the box at the bottom of the column will display in red
- In order for it to display green, the Input Total at the top of the column must balance the total figure
- Only when the box displays as green can the day be closed
- Any employee that is greyed out cannot be given an additional payment
‘Addition Payment’ Payment Type
The new payment type in the rota module will link automatically to the payment type Tips in the payroll module and will show as Tips on employees’ payslips. This, however, can be altered by amending the name of the payment type. In order to do this, navigate to:
- Payroll > Administration > Payment Types > Tips
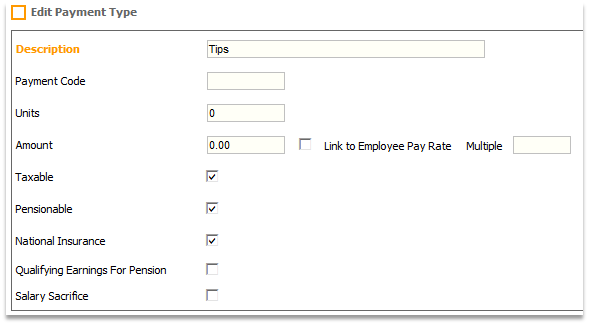
Fig.5 – Edit Payment Types
- To change the wording that will appear on an employee’s payslip, change the name in the Description field and click the Save button
Comments
Please sign in to leave a comment.