
Overview
30th September 2021 marks the end of the Coronavirus Job Retention Scheme. This article contains information detailing how to update employee's furlough records with an appropriate end date.
Identifying Furloughed Employees
Within the Payroll module, there is an export that will give information regarding all furlough records that have been created for employees.
- To view the export, go to Payroll > Reports > Exports > Furlough Status - lists all furloughs in employee order
- Select Company > Run Export
Once run, the export will list all furlough records that have been created since the furlough scheme began.
- Filter the export by column K (Furlough end date) to show only blank cells
This will give you the list of employees who have an Active Furlough record.
Updating Individual Furlough Records
- To update an individual employee's furlough record, go to HR > Employees > Employee List
- Select Employee > Furlough Status
- Remove Employee is on Furlough? flag
- Enter Furlough Effective End Date and then Complete Period
 Fig 1. Completing an Employee Furlough Period
Updating Multiple Furlough Records
Within the HR module, there is a bulk upload facility that can be used to end multiple employee furlough records quickly.
- Go to HR module > Employees > Employee List > Batch Update (COVID19 Furlough Status)
- Select Batch Upload from CSV
- Use the Upload Type drop-down and select Complete Active Furlough Period
- Then select Download CSV Template
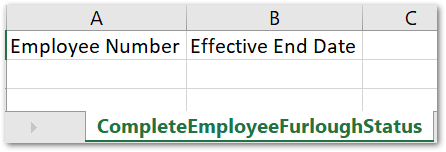
Fig 2. 'Complete Employee Furlough Status' template
Complete the template with the:
- Employee Number
- End date of employee's furlough period
- Once the template is complete, save it to a local drive
Uploading the Furlough End Dates
- Go to HR module > Employees > Employee List > Batch Update (COVID19 Furlough Status)
- Select Batch Upload from CSV
- Use the Upload Type drop-down and select Complete Active Furlough Period
- Select the Choose file button
- Find the upload file > Select Save
- Select how the upload should proceed If Validation Errors Occur
- Select Upload
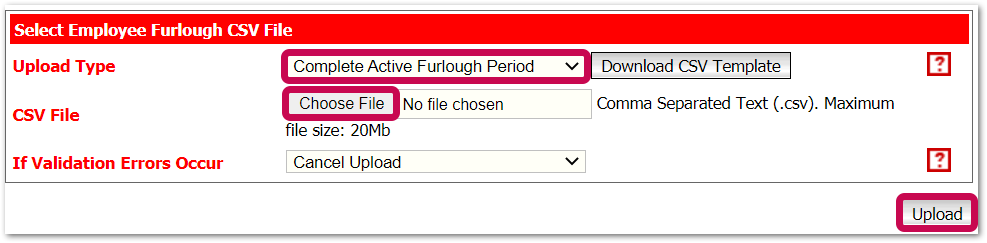 Fig 3. File upload
An Information box will appear to confirm that the file will be uploaded.
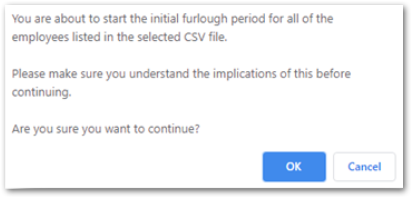
Fig 4. File Upload Information Box
- Select OK
During the upload process, a validation check will happen. If any errors are discovered in the upload file, details will appear onscreen
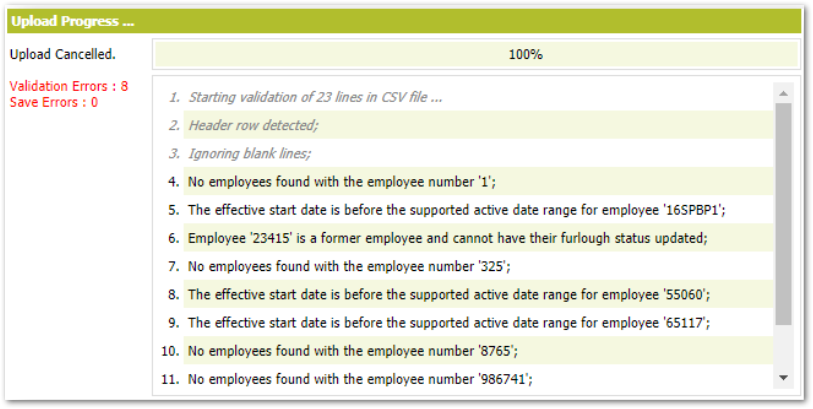 Fig.5 - Example file validation messages
If the option to Cancel Upload was selected during the upload process under If Validation Errors Occur, the upload process will be cancelled, and no information will be uploaded.
- Use the errors reported to fix the upload file and follow the upload process again
If the option to Continue with Upload was selected during the upload process under If Validation Errors Occur, the upload will continue for the valid employees only.
- Use the validation error details to create a new upload file with the invalid records corrected. Once complete, follow the upload process again.
Comments
Please sign in to leave a comment.