Overview
Portal Contacts are set up to display on the Location Portal of specific sites.
This article describes the process of setting up Portal Contacts, assigning them to Locations and editing them.
Adding Portal Contacts
-
Go to HR > Company Admin > Portal Contacts
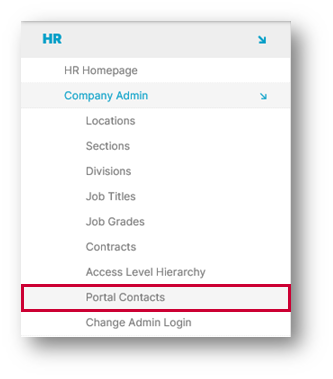
Fig.1 – Portal Contacts in the Company Admin Menu
-
Select Create A Portal Contact
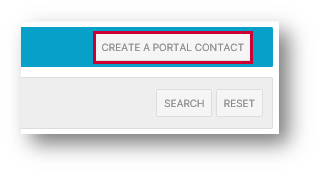
Fig.2 – Create a Portal Contact Link
-
Search for the required Employee by Location and/or Surname
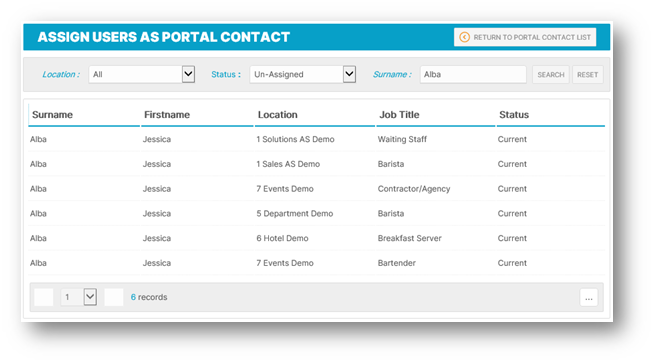
Fig.3 – Portal Contact User List
-
Select the required Employee
-
The Add Portal Contact page will display
-
Enter the First Name and Surname of the employee, a Tel. Number or Mobile Number and an Address
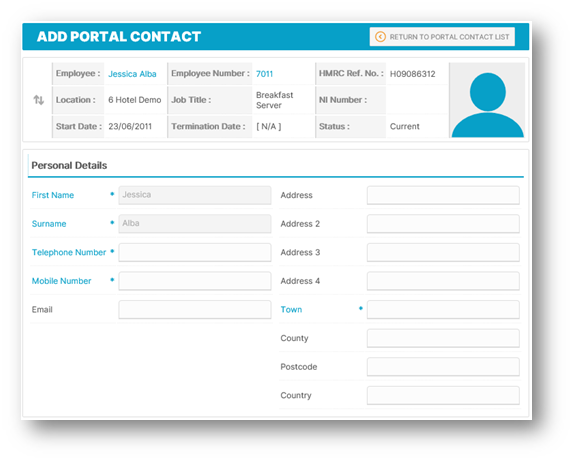
Fig.4 – Portal Contact Details
-
Set up which Locations on the Portal which this contact will appear for by selecting the required Location(s) from the Available section and moving them using the arrows in the center to Assigned
-
Save
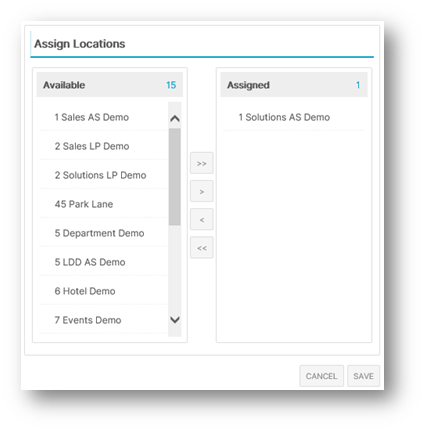
Fig.5 – Assign Locations
Once the Portal Contact is saved, they will appear on the Location's Homepage.
If there are Super Users within the company, it is a good idea to set these up as Portal Contacts.
-
To update Portal Contacts, select back into the Employee within the 'Portal Contacts' page and edit the details as required
-
To delete, select the Delete? check box next to the Employee Name and select the Delete button
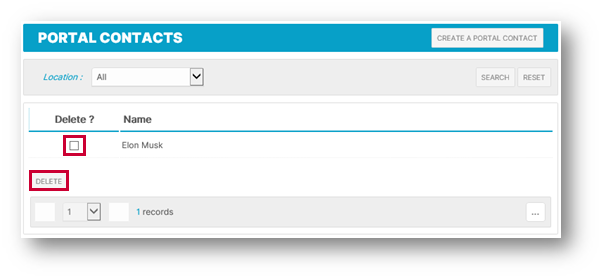
Fig.6 – Edit/Delete a Portal Contact
Comments
Please sign in to leave a comment.