
Overview
This article will cover how to create Divisions in the HR module of Workforce Management (WFM). Divisions can be used to categorise FOH, BOH, and Managers for example.
How to Create Divisions
- From the dropdown menu select the HR module
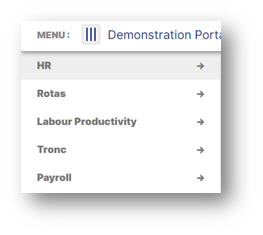
Fig.1 - Select HR Module
- From the Company Admin dropdown select Divisions
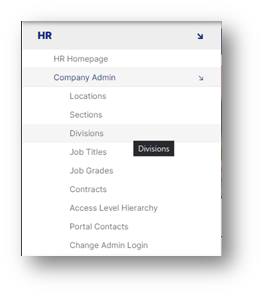
Fig.2 - Select Divisions
- If divisions already exist within the site, they will be listed here:
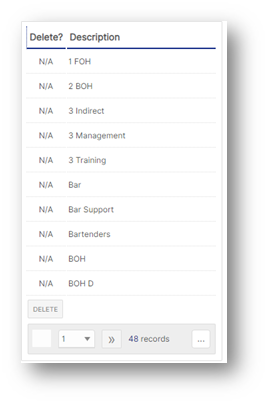
Fig.3 - Existing Divisions
- Employees that have access to more than 1 location, will be able to search to see which divisions exist at which locations, by selecting the relevant location from the dropdown (see Fig.4)
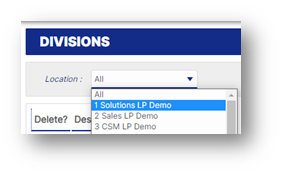
Fig.4 - Select Division
- To create a new division, select the link in the top right-hand corner (see Fig.5)
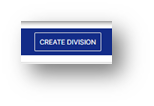
Fig.5 - Select on 'Create Division'
- The following form will appear on the screen:
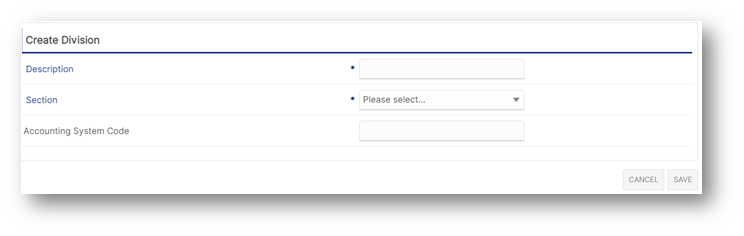
Fig.6 - Create Division
- Enter the title of the division to be created, and which section of the company it falls under (if there is more than one), if the division has a specific accounting system code then enter that in the relevant field:
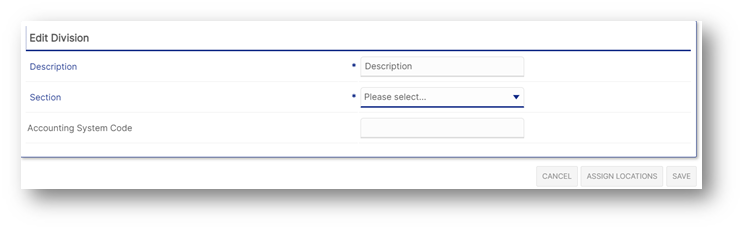
Fig.7 - Accounting Code
- Once the form is completed, select Save at the bottom right-hand side of the form
Fig.8 - Select Save
- The division then needs to be assigned to the relevant locations on the site. Select the location/s from the list
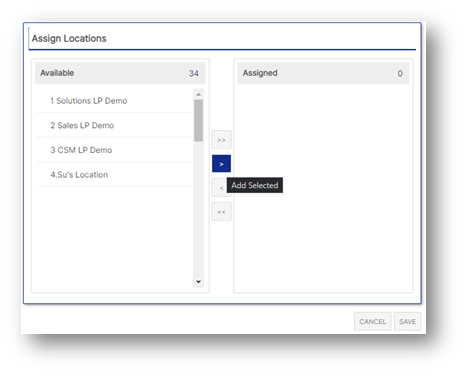
Fig.9 - Assign Division to Relevant Location
- Use the single arrow to assign only the locations selected, use the double arrow to assign to all locations
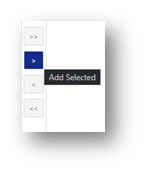
Fig.10 - Arrows to select
- When all the relevant locations are in the right hand assigned box (Fig.11), select Save (Fig.12)
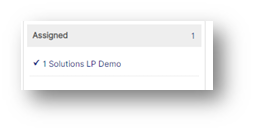
Fig.11 - Assigned

Fig.12 - Select Save
The division has now been created and will appear in the list for the locations that it has been assigned to.
Please note: Until Job titles have been assigned to this ‘new’ division it can be deleted, by ticking the box and selecting Delete (see Fig.13).
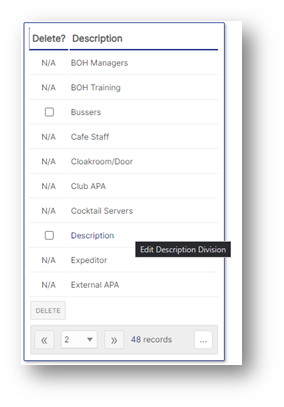
Fig.13 - Option to Delete
- To edit a division, e.g. amend the name, accounting code, or which locations it should be allocated to. Simply select the division from the list, which will open it up as below:
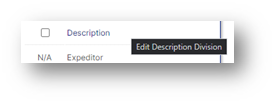
Fig.14 - To edit division
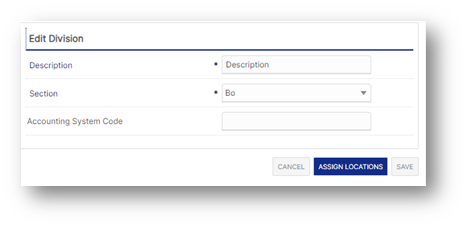
Fig.15 - Secondary window after clicking to edit
- Here you can edit the description, change the section it applies to, enter the ‘assign locations’ screen (to change the locations where necessary). When amending any of these always remember to select Save to complete

Fig.16 - Select Save
Comments
Please sign in to leave a comment.