
Overview
Once a number of Recipes have been created in the system (see Inventory | Restaurants - Recipe and Menu Engineering: Recipes), they can be used to create Menus. Menus can be used to represent the content of a restaurant menu or collated for analytical purposes only. Recipe and Menu Engineering supports the creation of two different Menu types: À La Carte and Buffet.
For a list of all Recipe and Menu Engineering articles, please visit RME - Article Contents Page.
Creating a New À La Carte Menu
- Go to the menus tab and select Create a new menu
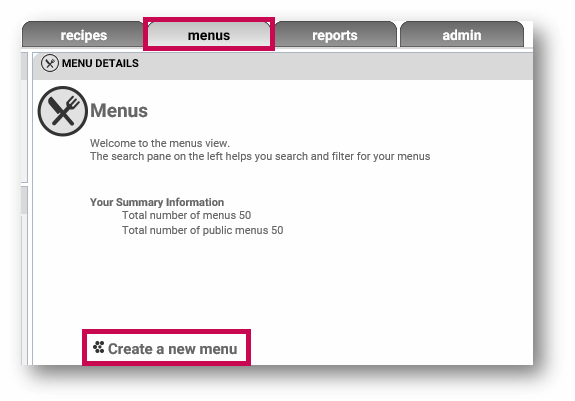
Fig.1 - The Create a new menu button on the menus tab
Please note: To allow for more space on the Menu page, the Search and Results pane normally located on the left of the screen is hidden.
- To reveal it, select Show Search - see Fig.2
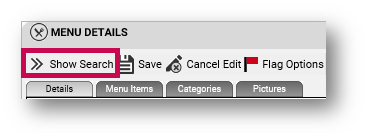
Fig.2 - Show Search button to reveal the Search and Results pane
- Enter a Menu Name and select À La Carte as the Menu Type
- Make a selection from the Include Sales Tax drop-down and enter a Description
- The Notes field can be used to include additional information if required
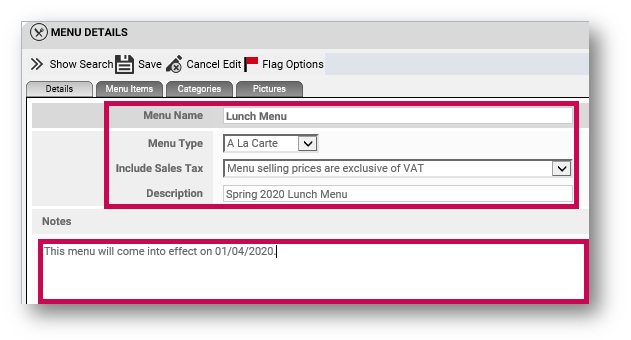
Fig.3 - Entering details for a new à la carte Menu
An à la carte Menu cannot be saved until at least one Course is added to it.
Adding Courses
- Go to the Menu Items tab and select [add new course]
- Enter a name for the Course
- Select [add/remove items]
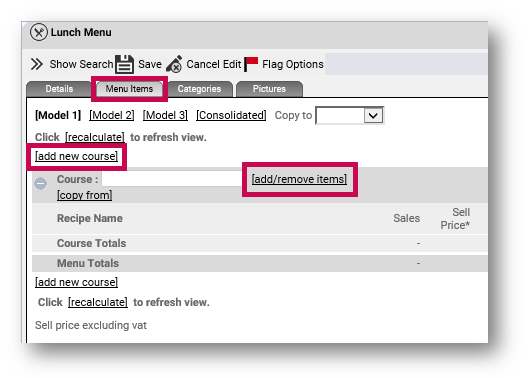
Fig.4 - Adding a Course to a Menu
A pop-up window will open.
- Use the Filter and Search drop-downs to locate the required Recipe(s)
- Select a Recipe from the Available items list to add it to the Course
- Select Save once complete
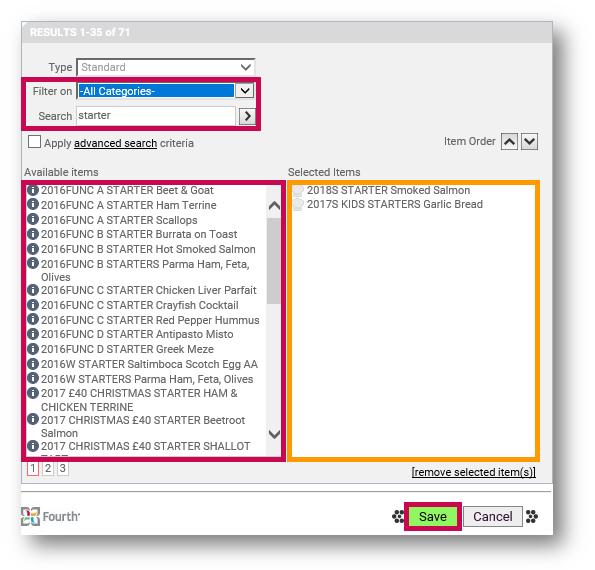
Fig.5 - Adding Recipes to a Course
With at least one Course added, the new Menu can then be saved.
- Select Save from the top of the page
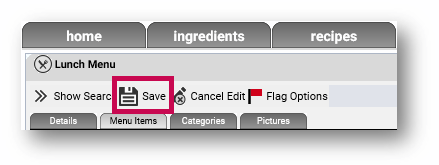
Fig.6 - Saving a Menu after adding at least one Course
A pop-up window will open.
- Choose whether to save it as a draft and add Approval notes if necessary
- Select the green Save button
Customising the Content Grid for an À La Carte Menu
An à la carte Menu that contains Courses will look similar to that shown in Fig.7. Various data is displayed in columns: Sell Price, GP%, Waste%, etc. It is possible to select certain columns to be displayed or hidden.
- Use the [select columns] button, make the required selections, and then Save
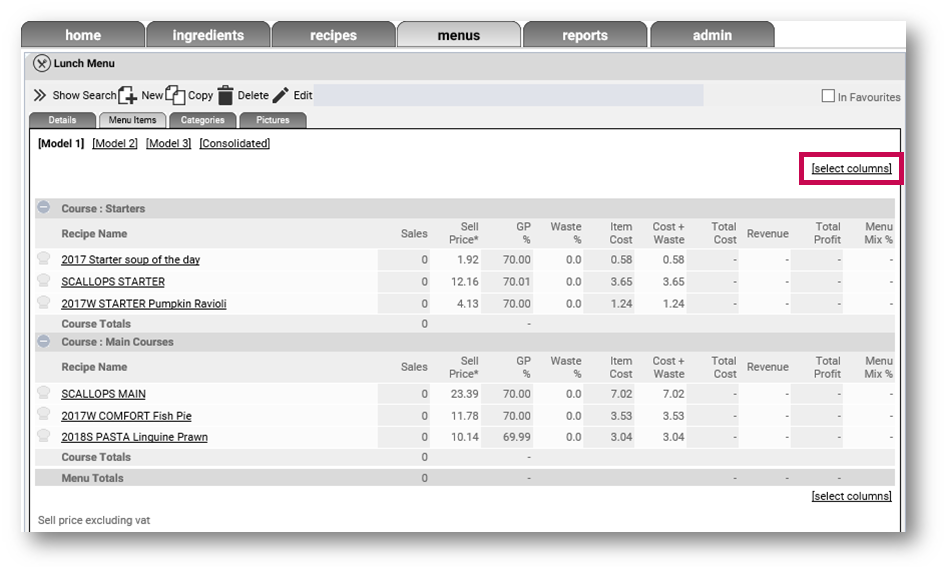
Fig.7 - A Menu with Courses added to it, and the [select columns] button
The following columns however, cannot be hidden:
- Sales
- Sell Price
- GP%
- Waste %
- Item Cost
Menu Cost Analysis for an À La Carte Menu
Once Courses and Recipes are added to an à la carte Menu, its cost and profitability can then be analysed.
Numbers can be entered into the following fields in the Menu content grid for this purpose:
- Sales - Used to specify the number of sales for each menu item. The value entered can be an estimate (for budgeting or forecasting) or actual sales
- Sell Price - Used to specify the selling price for each menu item. Depending on the selection in the Include Sales Tax drop-down on the details tab, this price will include or exclude tax
- GP % - Used to enter the Gross Profit Percent target for the Menu item. This will automatically calculate the 'Sell Price' column. Alternatively, the system will calculate the GP% using the selling price entered for that Menu item. The GP% for each menu item is calculated by dividing the figure in the 'Total Profit' column by the figure in the 'Sell Price' column multiplied by 100
- Waste % - Used to enter a wastage percentage for each Recipe/Dish

Fig.8 - Editable fields in Menu content grid
Creating a New Buffet Menu
Buffet Menus work and behave similarly to à la carte, with the main difference of course being that they do not contain any 'Courses'.
- Go to the menus tab and select Create a new menu
- Enter a Menu Name and select Buffet as the Menu Type
- Make a selection from the Include Sales Tax drop-down and enter a Description
- The Notes field can be used to include additional information if required
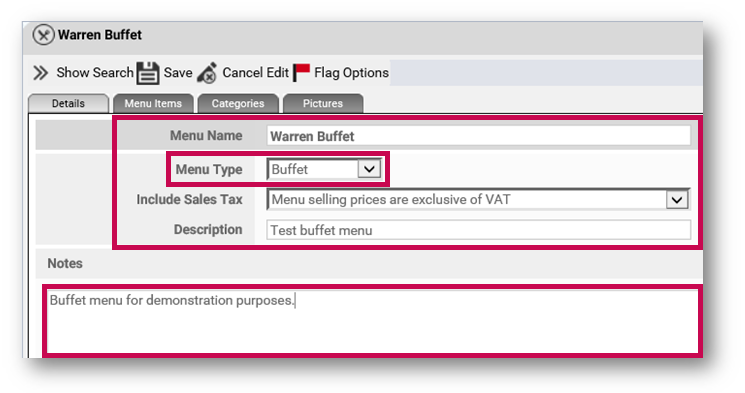
Fig.9 - Entering details for a new Buffet Menu
- Go to the Menu Items tab
- Use the [add/remove items] button
A pop-up window will appear.
- As with an à la carte menu, search for and select menu items (Recipes, Dishes, etc) to be added to the menu
- Save once all required items have been added
The selected items will then display in the Menu Items tab.
- Enter quantity (Qty) and Unit values for each item

Fig.10 - Entering Quantity and Unit values for Buffet menu items
In most cases the Unit value will default to servings. However, if a cooked weight has been entered for a recipe then it is also possible to use a different measurement unit.
Menu Cost Analysis for Buffet Menus
A Buffet menu differs to an à la carte menu in that it is a single course menu that often contains all meal parts (starters, main courses and desserts). Diners pay a single price for the entire meal and make their selection from the dishes offered.
As well as Quantity and Unit values (as mentioned previously), the following values can also be added to Buffet Menu items.
- Selling Price - the price that each diner will pay for the entire menu
- Sales Mix - the actual or forecasted amount of each menu item (dish) selected from the buffet
- Sales - this is the actual or forecasted number of diners paying for the buffet
- Waste% - this is the actual or forecasted wastage percentage for each menu item (dish)
- Use the [recalculate] button to refresh the view, which will cause other fields to auto-populate:
- 'Revenue' - calculated by multiplying the Selling Price by Sales values
- 'Profit' - calculated by subtracting the total cost of the Menu from the total revenue
- 'Menu Mix %' - calculated by dividing the Sales Mix figure for the menu item by the figure for the entire menu in the Sales field, multiplied by 100
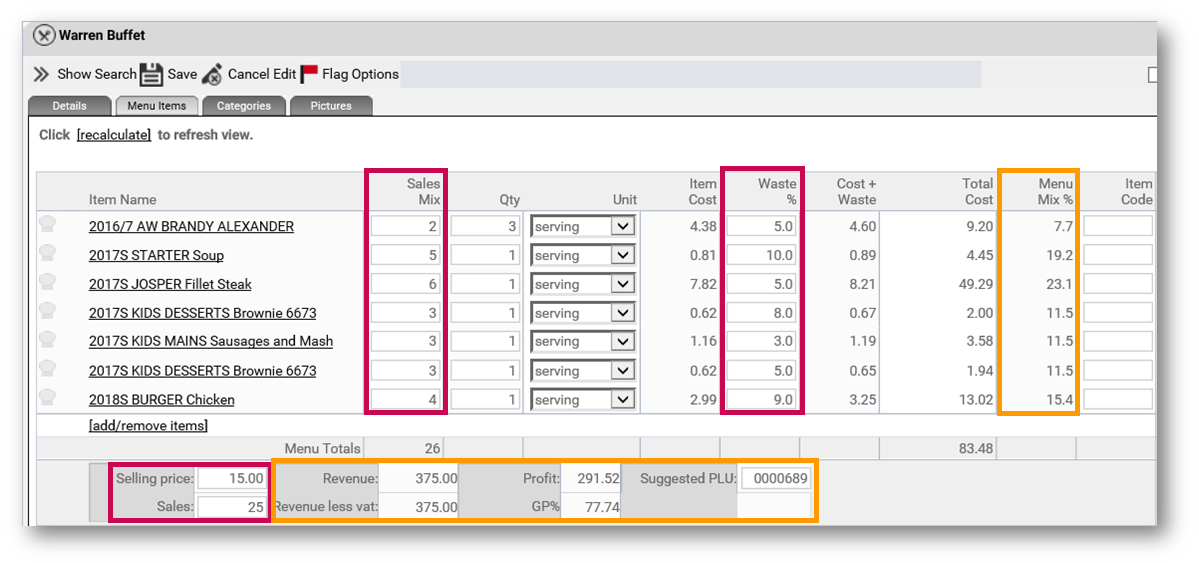
Fig.11 - Buffet Menu item editable fields, and fields that auto-populate
Adding Images to a Menu
This functionality is the same for both à la carte and Buffet Menus
- Go to the Pictures tab and select [upload image]
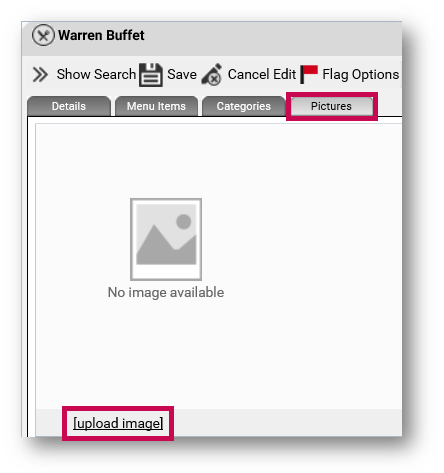
Fig.12 - Uploading an image from the Pictures tab
A pop-up window will open.
- Browse for the required image and select it
- Use the Upload button and and a description for the image
Note that a preview of the image will appear.
- Select Save
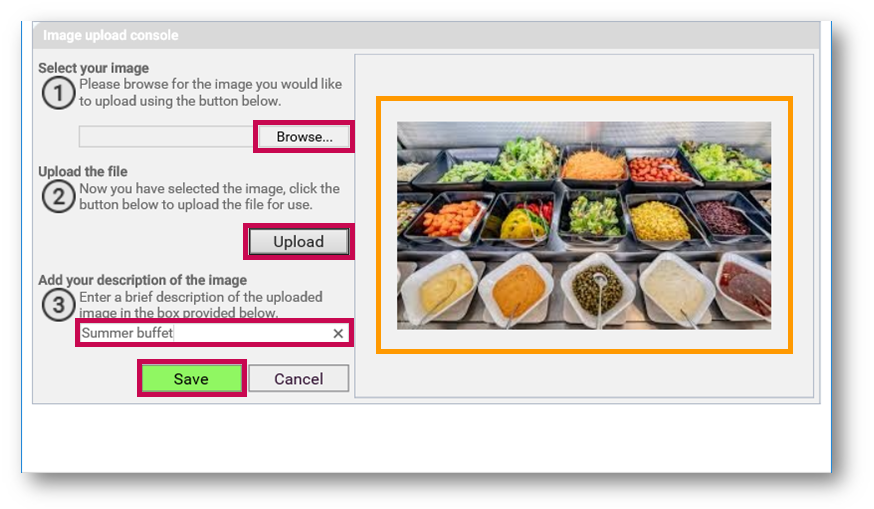
Fig.13 - Browsing for and uploading an image - with preview
The image will then display on the Pictures tab. Repeat this process to add additional images.
- Use the main Save button to ensure the image(s) are all updated against the Menu
Comments
Please sign in to leave a comment.