
Overview
This article describes the process of using the Shared Parental Leave & Pay (ShPP) functionality.
A full PDF guide on this process is attached, see for rules and regulations on Shared Parental Leave & Pay.
Processing Shared Parental Leave & Pay
-
Go to HR > Employee > Employee List
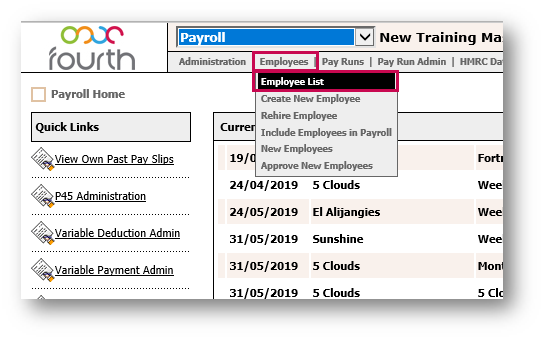
Fig.1 – Employee List in Employees Drop-Down
- Select the required Employee
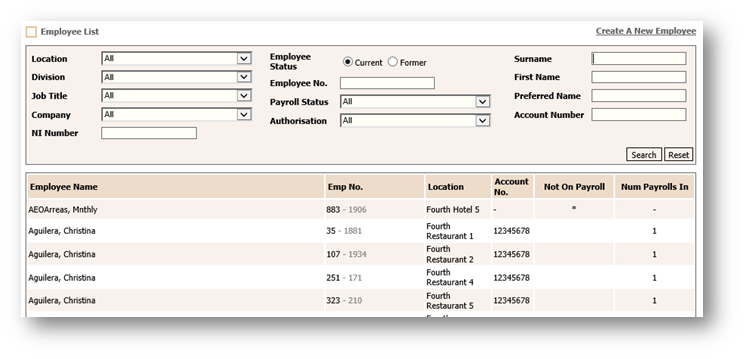
Fig.2 – Employee List
- In the Employee Payroll Info drop-down, select Shared Parental Leave
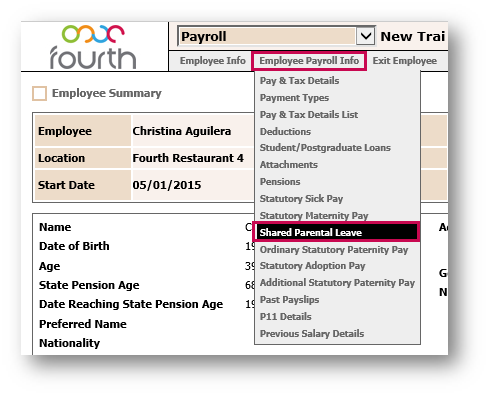
Fig.3 – Shared Parental Leave in Employee Payroll Info Drop-Down
- Select the Add New Shared Parental Leave link
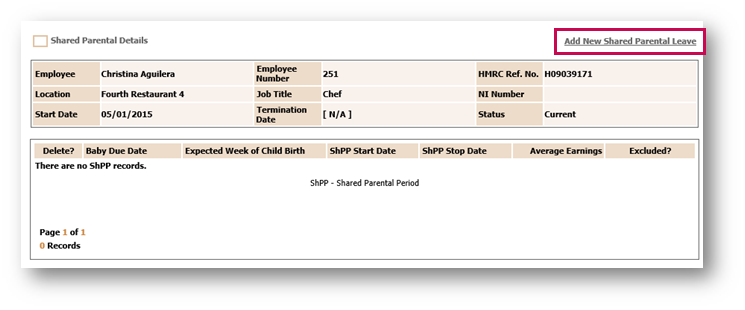
Fig.4 – Add New Shared Parental Leave
- Populate the fields required in the ‘Shared Parental Details’ screen
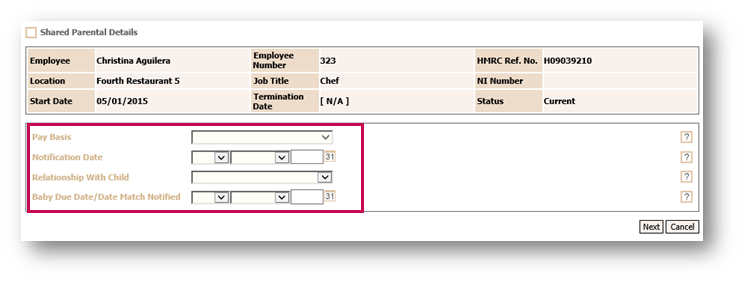
Fig.5 – Shared Parental Details
- Select the appropriate Relationship With Child from the drop-down list and select Next
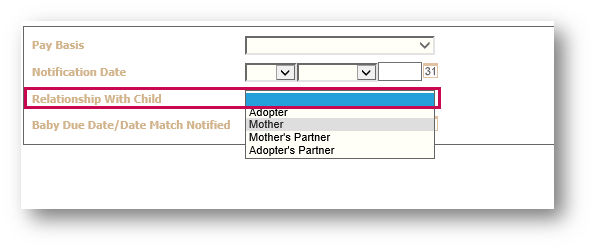
Fig.6 – Relationship with Child Drop-Down
The next screen should automatically default the Baby Due date, the Relationship with Child and the Date Notice given for SPL.
The screen is split into three sections, each of which are explained below:
Leave Details
Populate all fields within this page.
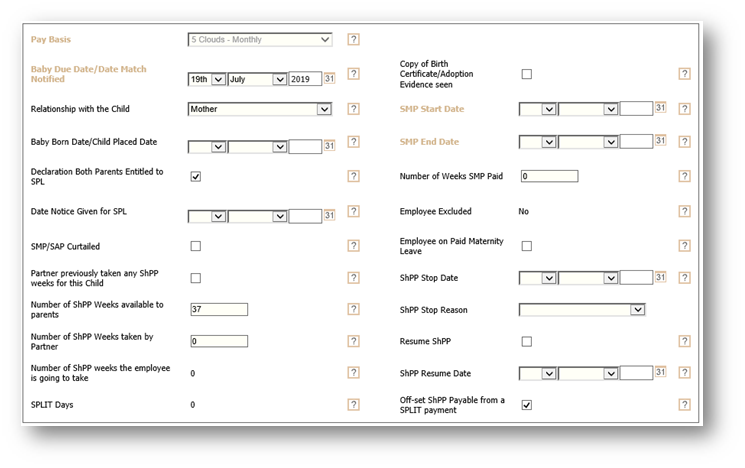
Fig.7 – Leave Details
Depending on the ‘Relationship with the Child’ selected, the appropriate details need to be filled out in the next screen for this individual.
Partner/Mother Details
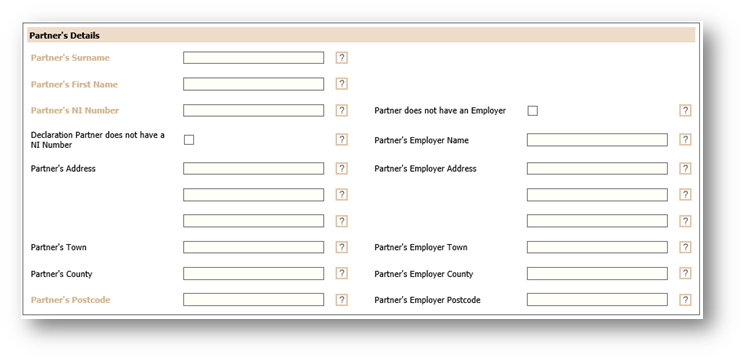
Fig.8 – Partner’s Details
The final section of the screen displays the following fields:
- Expected week of childbirth
- Qualifying week
- Relevant period of earnings
- Calculate Average earnings
- Calculated Daily Rate
- Pension earnings before SHPP started
- Select Apply
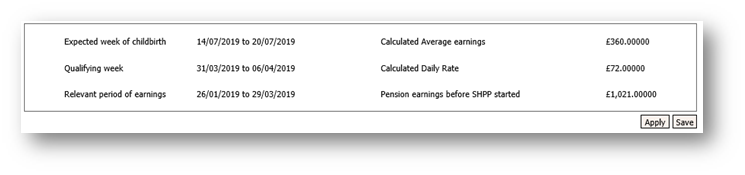
Fig.9 – ShPP Schedule Details
A pop-up box will display stating that the SHPP Schedule will now be generated.
- Select Save
The user will be returned to the Shared Parental Details Screen.
Booking Shared Parental Leave
The SHPL record has been created, enabling leave to be booked.
To do so:
-
Go to Payroll > Employee > Employee List > select Employee > Employee Payroll Info > Shared Parental Leave
-
Select the created Record
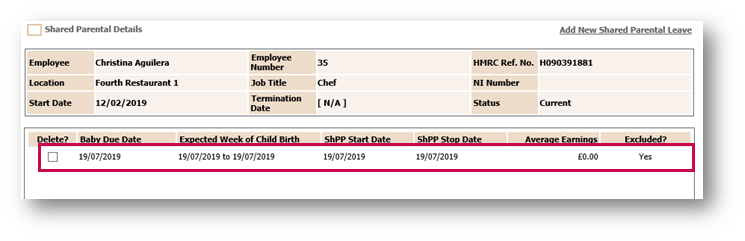
Fig.10 – Shared Parental Leave Record
The ‘Notification of Shared Parental Absence’ screen will display.
The seven hyperlinks at the top of the page can be used to complete the Shared Parental Leave process, each are detailed below:

Fig.11 – Shared Parental Absence Links
Checking Entitlement
- Select the View Entitlement link to determine whether there are any issues with the entitlement
This screen will inform if the employee is able to claim Shared Parental Pay.
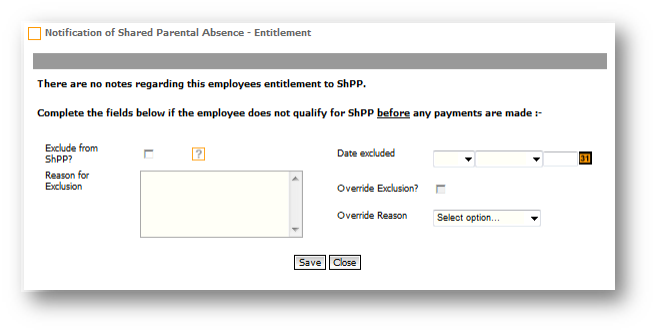
Fig.12 – Entitlement Summary
A reason will be given for why the employee is not entitled to Shared Parental Pay. However, they may still be entitled to Shared Parental Leave.
If the employee is not entitled due to the employee’s average earnings being under the lower earnings limit, but the employee should be entitled – for example, the employee has been TUPED – the earnings can be overridden. The details of this process are outlined later in the ‘Override Earnings’ section of this article.

Fig.13 – Non-Entitlement Reason
Booking SSHP Leave
The Leave Details section of the ‘Notification of Shared Parental Leave’ screen details the number of weeks available to take as leave – the ‘Number of ShPP Weeks available to parents’ field – and the number of weeks taken by the Partner, see Fig.14.
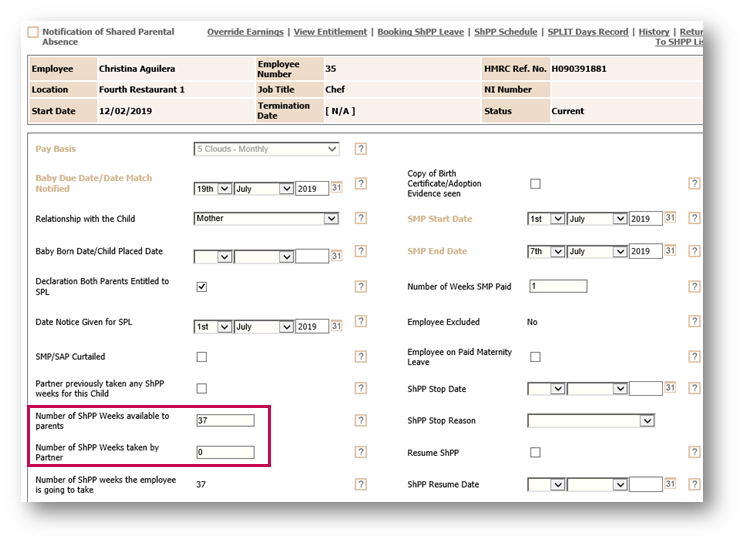
Fig.14 – ‘Notification of Shared Parental Absence’ screen
- Select the Booking ShPP Leave link
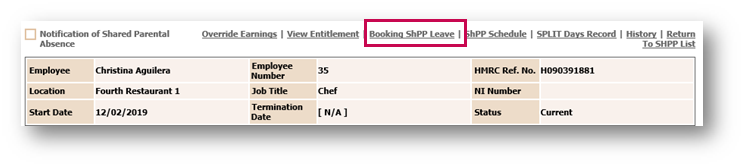
Fig.15 – Booking ShPP Leave
- Select Add New ShPP Leave
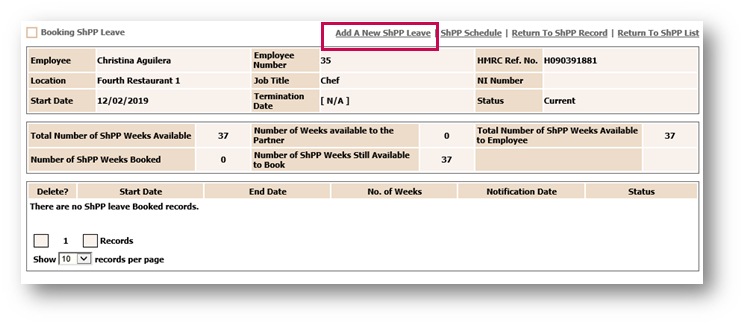
Fig.16 – Add A New ShPP Leave
- Populate the Notification Date, Start Date and End Date
- Select Save
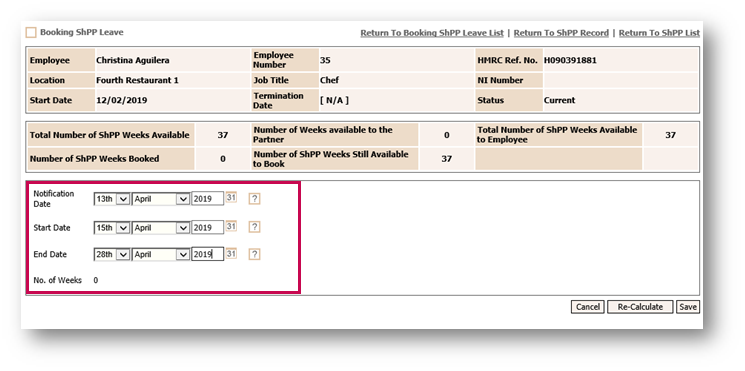
Fig.17 – ShPP Leave Details
The screen will return to the ‘Booking ShPP Leave’ screen and the dates of leave will be displayed.
The number of ShPP weeks will also update, and the number of ShPP weeks available to book will be reduced.
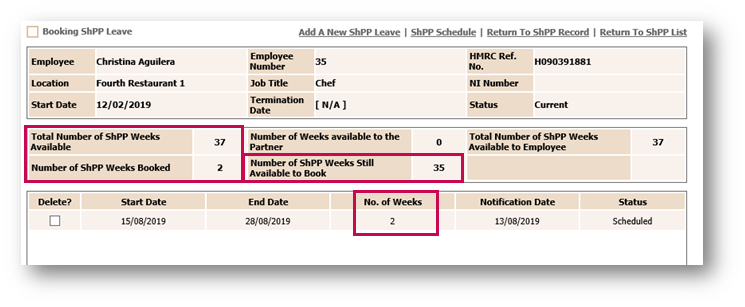
Fig.18 – ShPP Leave Record
ShPP Schedule
- Select the ShPP Schedule link to view the payments which will be made to the employee
Fig.19 – ShPP Schedule Link
The payment amounts are dependable on the Pay Basis setting to align the payments to pay period.
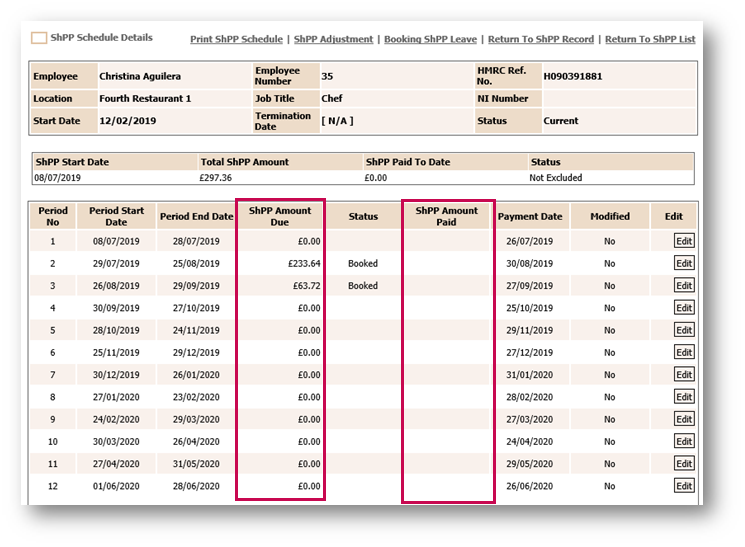
Fig.20 – ShPP Pay
Booking SPLIT Days
- Select the SPLIT Days Record link
Fig.21 – Split Days Record
Employees are entitled to a maximum of 20 days.
- Select Add SPLIT Days Record
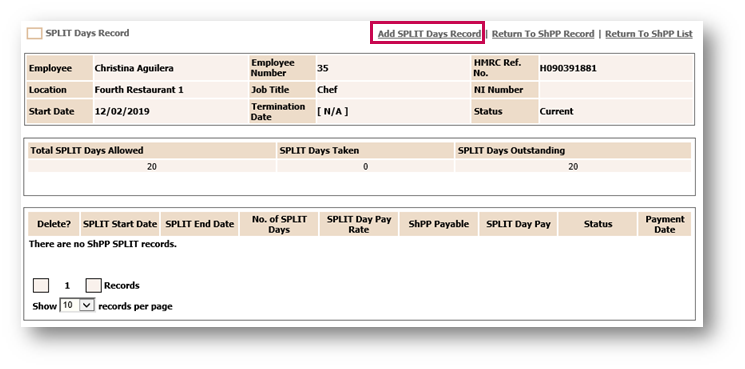
Fig.22 – Add SPLIT Days Record
- Populate the SPLIT Start Date and SPLIT End Date
- Save
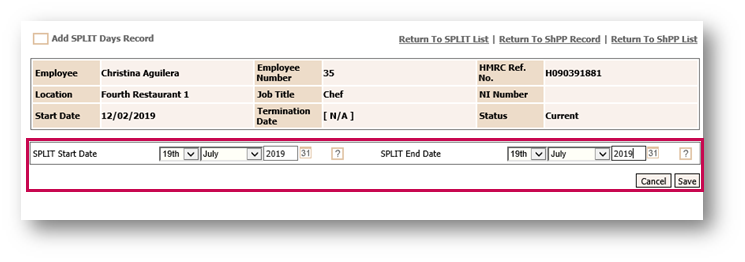
Fig.23 – SPLIT Days Record Details
The SPLIT Day Pay is the Calculated Daily Rate minus the daily Statutory Payment rate.
Payment of SHPP
The ShPP that has been booked will be paid in the relevant tax month. The payment on the payslip should correspond to the ShPP schedule.
- Go to Payroll > Employee > Employee List > Find Employee > Employee Summary > View Payroll Summary
The payment type for Statutory Shared Parental Pay has been added to the system and will be displayed within the Payslip Summary.
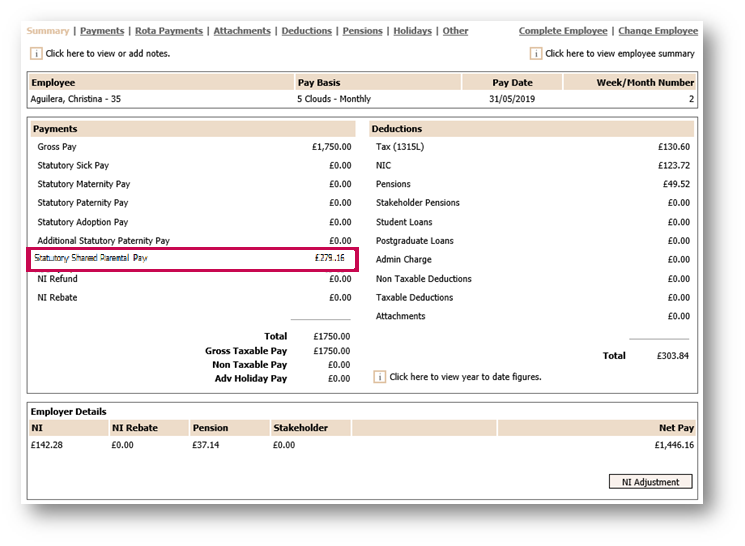
Fig.24 – ShPP Payment Details
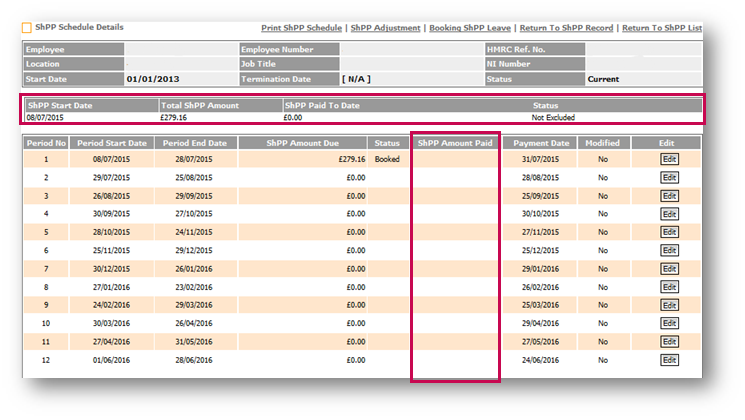
Fig.25 – ShPP Payment Details in the Schedule Details
SPLIT Days
The SPLIT Days which have been booked will be paid as a pro-rate payment in the relevant Tax month.
The payment on the payslip should correspond to the SPLIT Days record.
The payment type for Split Payment has been added to the system and will be displayed on the ‘Payments’ tab within the Payslip.
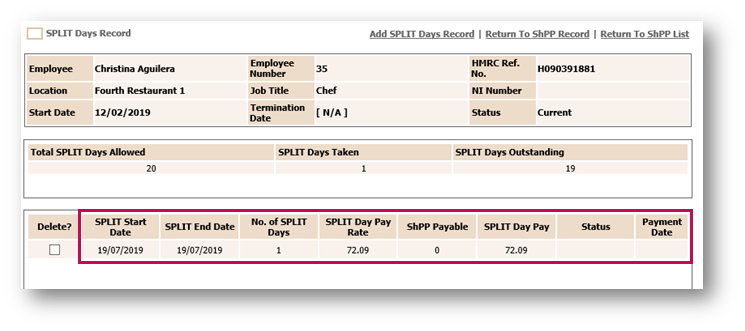
Fig.26 – Split Day Pay in the SPLIT Days Record Screen
Override Earnings
If an employee needs to have any earnings overridden for any reason, a figure can be entered which overrides the system calculation of qualifying earnings.
- On the ‘Notification of Shared Parental Absence’ screen, select the Override Earnings link
- In the ‘Override Earnings’ screen, enter the Average Earnings Override
- Select an Average Earnings Override Reason from the drop-down menu
- Select Save to re-generate the schedule
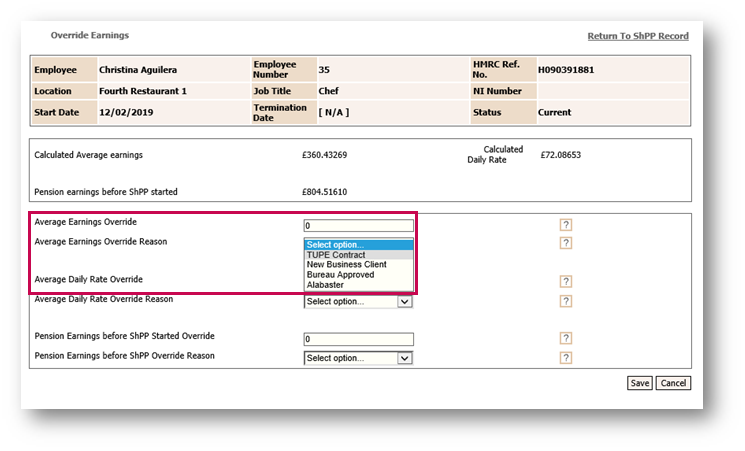
Fig.27 – Override Amount and Reason
Also See
Comments
Please sign in to leave a comment.